In this article we are going to cover How to Install ArgoCD on Minikube and How to Deploy Application on Minikube using ArgoCD UI.
Table of Contents
Prerequisite:
- Install minikube
- Install kubectl
Step #1:Install Argocd on Minikube
Start the minikube Kubernetes cluster on Ubuntu 22.04 LTS
minikube start --vm-driver docker
Just like other Kubernetes tools, ArgoCD requires a namespace with its name. Therefore, we will create a namespace for argocd.
kubectl create namespace argocd
ArgoCD can be installed using its manifests. First, you’ll need to download these manifests and apply them to your Minikube cluster.
kubectl apply -n argocd -f https://raw.githubusercontent.com/argoproj/argo-cd/stable/manifests/install.yaml
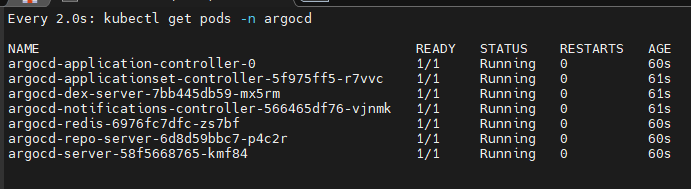
Once the installation completes successfully, you can use the watch command to check the status of your Kubernetes pods:
watch kubectl get pods -n argocd
Step #2:Access ArgoCD UI on Browser
By default, the ArgoCD server is not exposed outside the cluster. You can expose it using port-forwarding to access the ArgoCD UI.
kubectl port-forward svc/argocd-server -n argocd --address 0.0.0.0 8080:443
The ArgoCD UI will be available at http://localhost/IP:8080. Access it through your web browser.
Now we can go to a browser and open instance_ip:8080
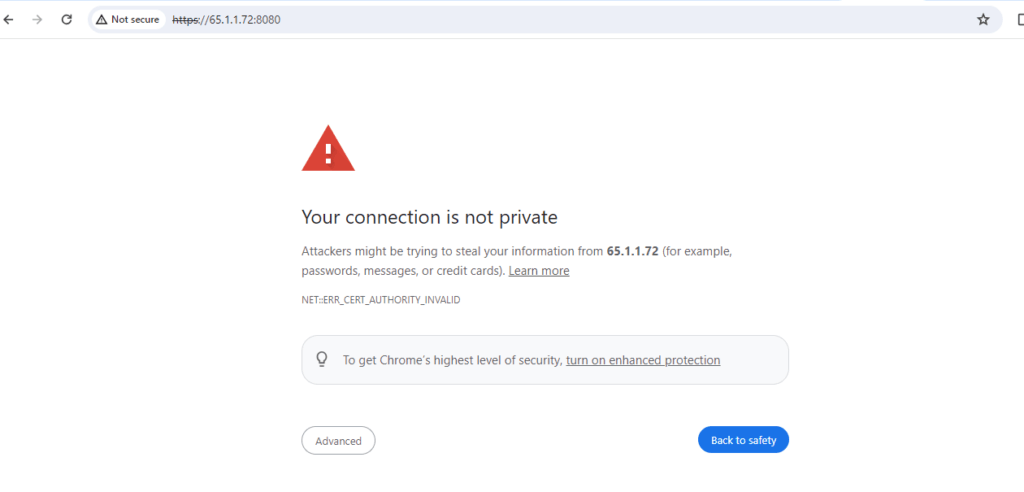
You will see a privacy warning. Just ignore the warning, click on Advanced and then hit on Proceed to localhost (unsafe) to continue to the GUI interface. (Your browser setting may present a different option to continue).
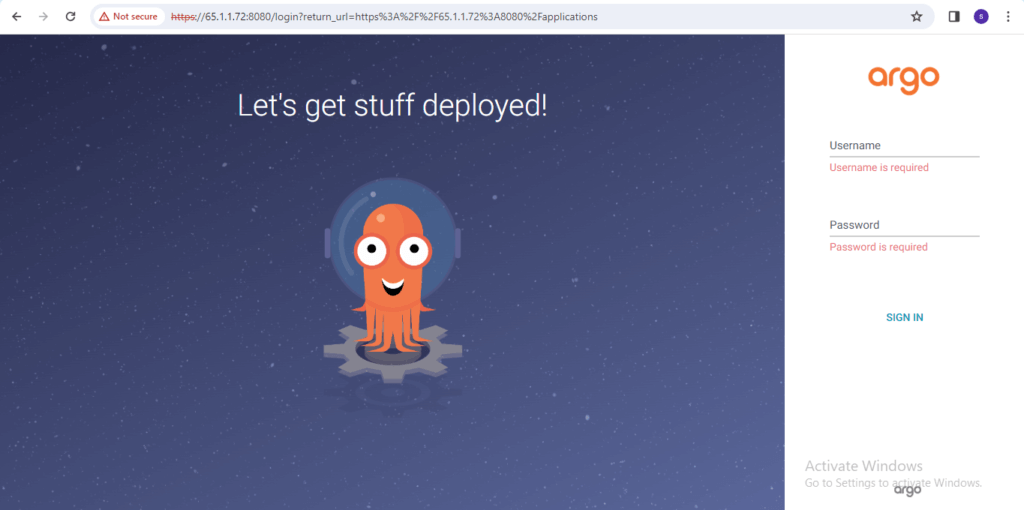
Get the initial password for the admin user to log in
kubectl -n argocd get secret argocd-initial-admin-secret -o jsonpath="{.data.password}" | base64 -d
Step #3:Deploy Application on Minikube using ArgoCD UI
Here we are going to deploy GuestBook Application from ArgoCD official example apps repository.
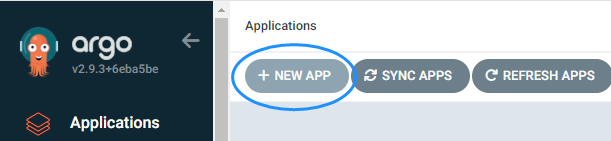
After logging in, click the + New App button as shown below:
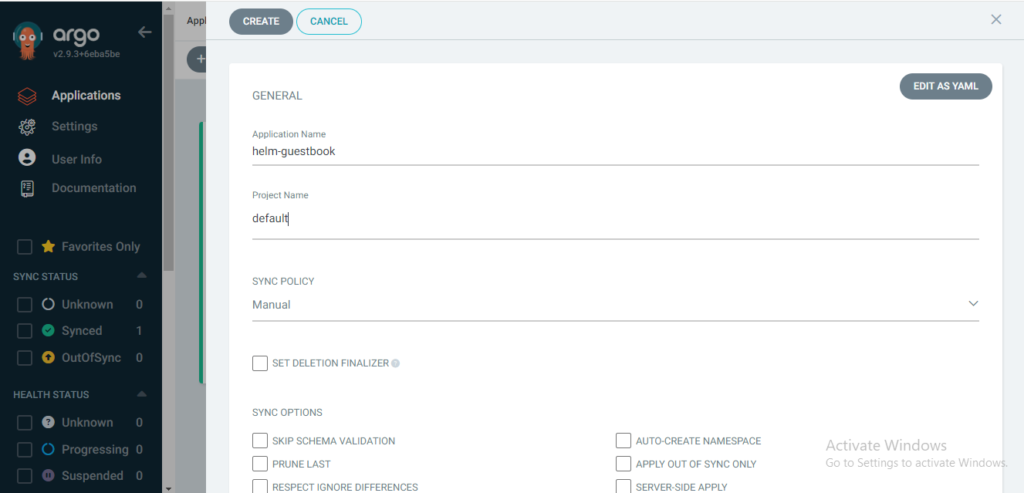
Give your app the name helm-guestbook, use the project default, and leave the sync policy as Manual:
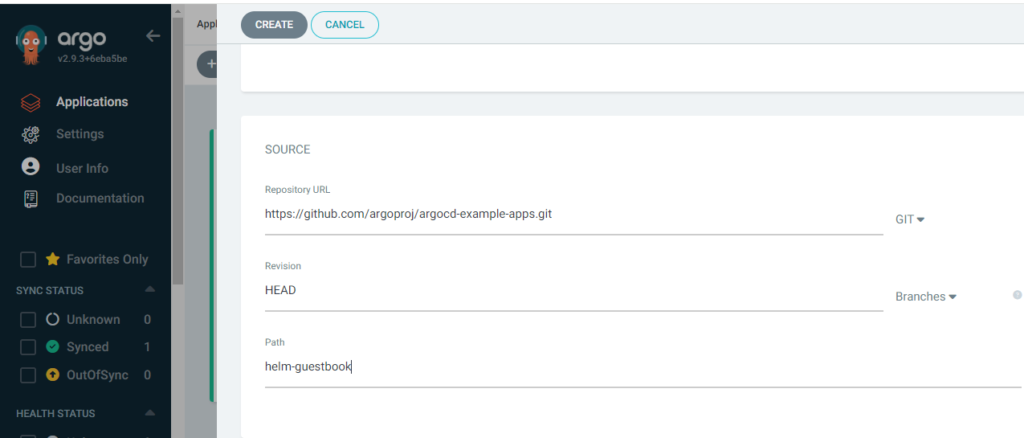
Connect the ArgoCD Example apps repo to Argo CD by setting repository url to the github repo url, leave revision as HEAD, and set the path to helm-guestbook:
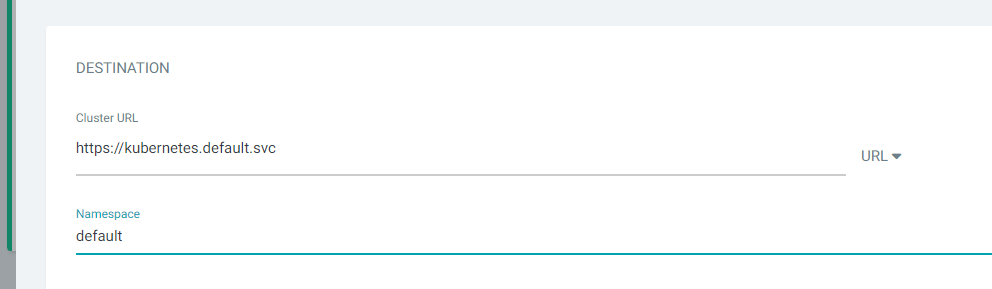
For Destination, set cluster URL to https://kubernetes.default.svc (or in-cluster for cluster name) and namespace to default:
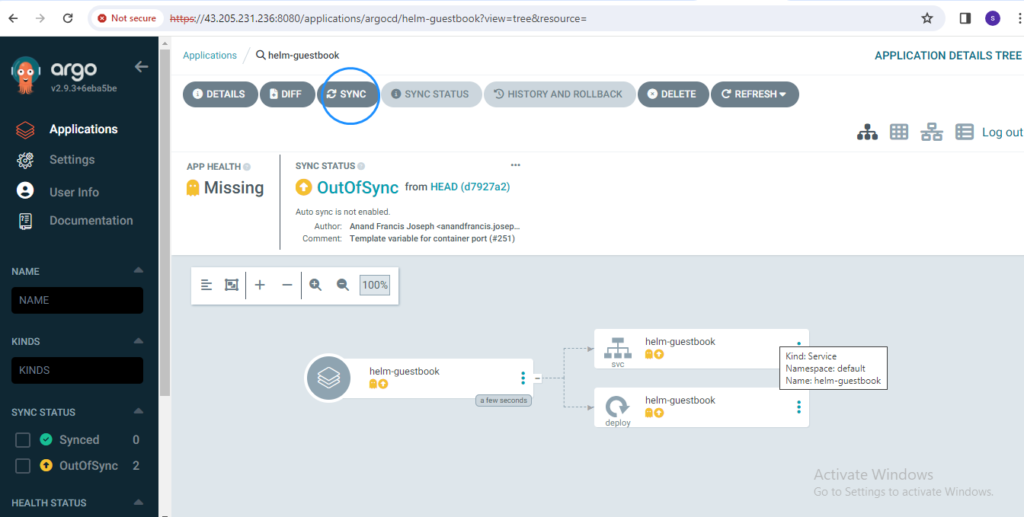
Click on SYNC
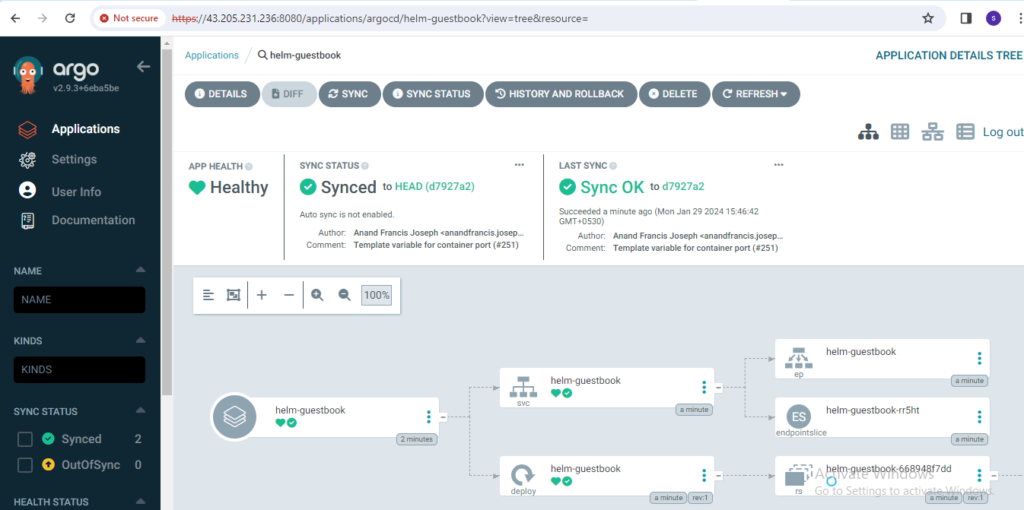
To check help-guestbook pods status using kubectl
kubectl get podsTo check help-guestbook deployment status using kubectl
kubectl get deployTo check help-guestbook service status using kubectl
kubectl get svcAfter App Heath is Healthy. To access helm-guestbook deployment on browser forward svc/helm-guestbook to port 9090 using kubectl
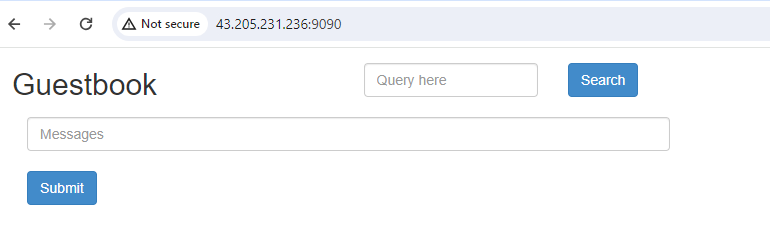
kubectl port-forward --address 0.0.0.0 svc/helm-guestbook 9090:80
After that Instance_ip:9090 hit on browser you will get the output
Conclusion:
In this article we have covered Install ArgoCD on Minikube and How to Deploy Application on Minikube using ArgoCD UI.
Related Articles:
Nicely articulated writeup. One question as a newbie. How can I use persistent storage in this scenario with minikube for argocd?