In this article we are going to cover How to Install Nginx on CentOS 8,Adjust the Firewall in CentOS 8,Verify Nginx Installation on CentOS 8,,Managing Nginx processes using systemctl,Configure Nginx Server-Blocks on CentOS 8,Nginx Configuration files and Directories.
Table of Contents
What is Nginx ?
Nginx is a free, open-source, high-performance HTTP server and reverse proxy, as well as an IMAP/POP3 proxy server. Nginx is known for its stability, rich feature set, simple configuration, and low resource consumption.
Nginx is a web server that is used to serve web pages. It is a popular choice for web servers because it is fast and reliable. Nginx can be used to host websites and applications. It can also be used as a reverse proxy server.
Benefits of using Nginx
Nginx is a high-performance web server with a small footprint. It is efficient and can handle a large number of concurrent connections with ease. Nginx is also highly scalable and can be used to load balance across multiple servers.
Using Nginx can result in significant performance gains for your website or application. Nginx is able to handle more concurrent connections than other web servers, meaning that it can serve more users at the same time without slowing down. Nginx is also much more efficient than other web servers, using less memory and CPU resources.
Additionally, Nginx is highly scalable and can be used to load balance across multiple servers. This means that if you have a large website or application with heavy traffic, Nginx can distribute the load across multiple servers to ensure that your site remains responsive.
Why might someone choose to use Nginx over another web server software ?
Main reasons:
- Nginx is known for its performance and efficiency. It can handle a large number of concurrent connections and has a small memory footprint, which makes it a good choice for high-traffic websites.
- Nginx is also highly scalable. It can be easily configured to handle a large amount of traffic, and it can be easily scaled up or down as needed.
- Nginx is also very versatile. It can be used as a reverse proxy, load balancer, and HTTP cache, which makes it a good choice for a wide range of applications.
- Nginx is also easy to configure and maintain. Its configuration files are simple and straightforward, which makes it easy to manage even for users who are not experienced with web server software.
Overall, Nginx is a popular choice for web server software because of its performance, efficiency, scalability, versatility, and ease of use.
Prerequisites:-
- You should have create VM CentOS 8
- Have a user account with sudo privileges
- Have a domain name pointing to your public server IP.
Step #1:Install Nginx on CentOS 8
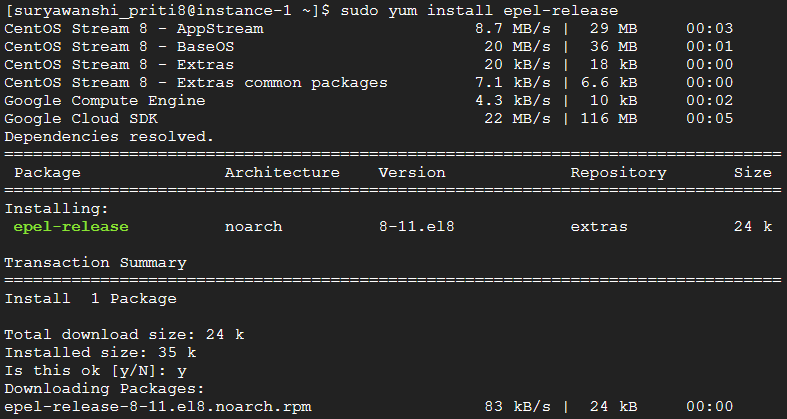
To install the extended package repository using
sudo yum install epel-release
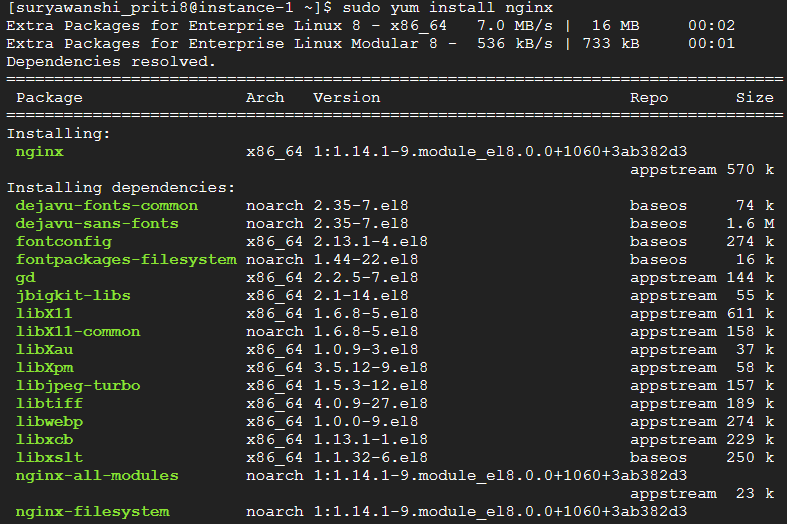
Install NGINX on CentOS 8 using below command
sudo dnf install nginx
OR
sudo yum install nginx
To start Nginx on CentOS
sudo systemctl start nginx
To check with the systemd init system to make sure the nginx service is running or not using command
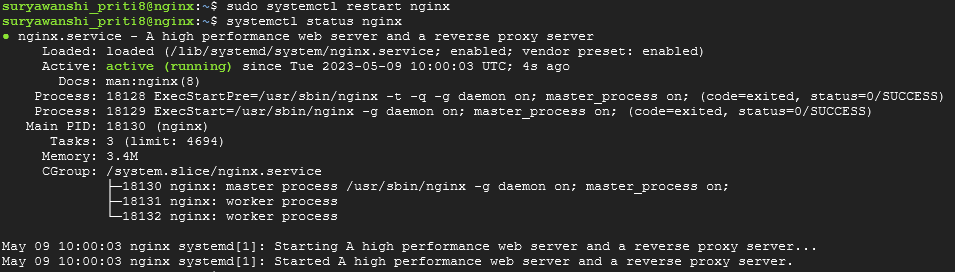
sudo systemctl status nginx

Step #2:Adjust the Firewall in CentOS 8
If you are installing Nginx on you local system then allow traffic on port 80 in ufw , if you are installing on Cloud Instance then allow port in cloud security group.
sudo firewall-cmd --permanent --add-service=http
OR
sudo firewall-cmd --permanent --list-allyou will see below output
Output:
public
  target: default
  icmp-block-inversion: no
  interfaces:
  sources:
  services: cockpit dhcpv6-client http ssh
  ports:
  protocols:
  masquerade: no
  forward-ports:
  source-ports:
  icmp-blocks:
  rich rules:
To apply the changes, reload the firewall service:
sudo firewall-cmd --reloadStep #3:Verify Nginx Installation on CentOS 8
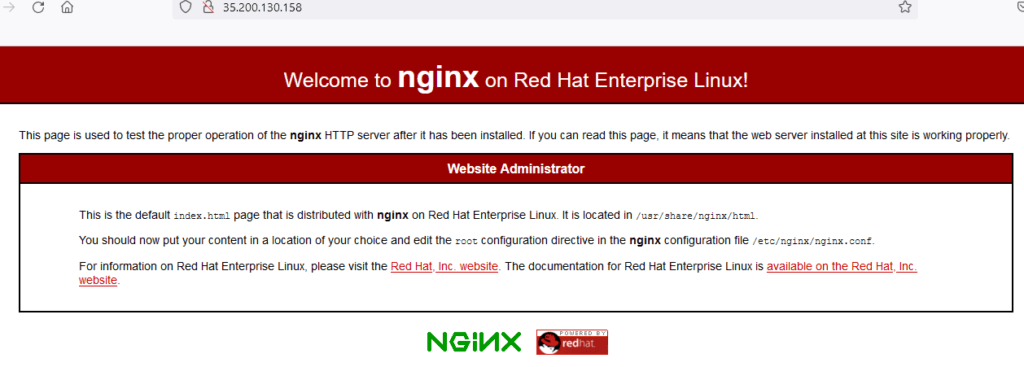
To Verify Nginx was installed correctly, open a web browser and type in the address bar http://server_ip_address
After opening this URL you can see the Nginx default page as in the image below:
VM IP / localhost
We have covered Install Nginx on CentOS 8.
Step #4:Managing Nginx processes on CentOS 8
Below are systemctl commands to manage Nginx web server on CentOS 8
Use below command to stop Nginx process using systemctl
sudo systemctl stop nginx
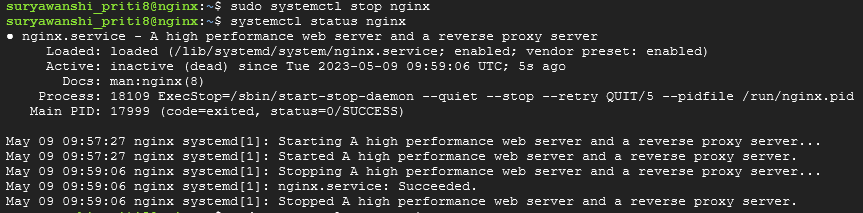
.To start the Nginx web server when it is stopped
sudo systemctl start nginx

To restart Nginx web server using systemctl
sudo systemctl restart nginx
If you are only making configuration changes, Nginx can reload without dropping connections.
sudo systemctl reload nginx
By default, Nginx is configured to start automatically when the server boots. If this is not what you want, you can disable this behavior
sudo systemctl disable nginx
To re-enable the service to start up at boot
sudo systemctl enable nginx
Step #5:How to Configure Nginx Server-Blocks in CentOS 8
Create a directory structure
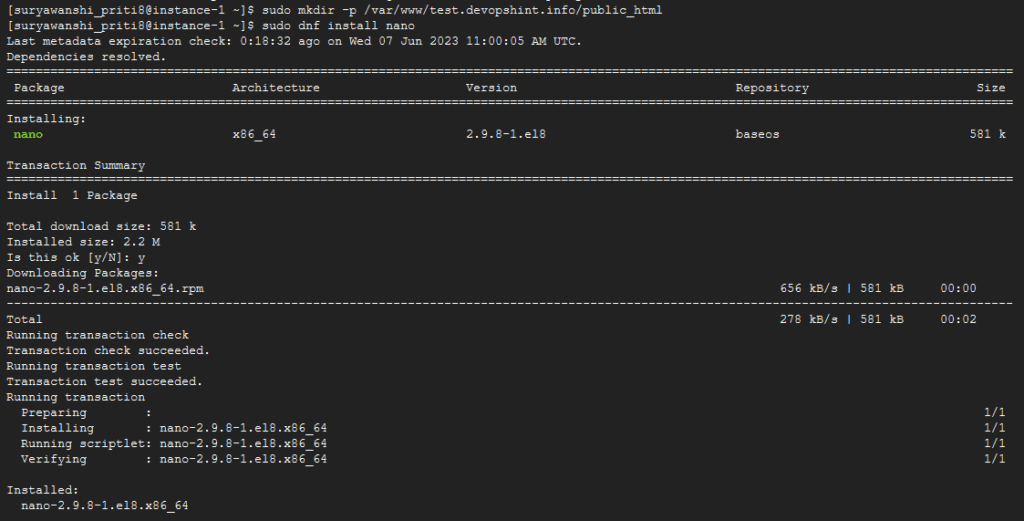
sudo mkdir -p /var/www/test.devopshint.info/public_html
To install a more user-friendly editor such as nano to facilitate editing configuration files on your CentOS 8 server
sudo dnf install nano
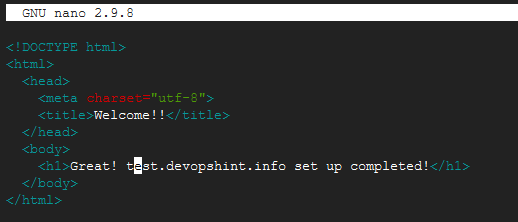
Create a index.html file within the domain document root directory for testing purpose.
sudo nano /var/www/test.devopshint.info/public_html/index.html
Paste the following HTML content
<!DOCTYPE html>
<html>
  <head>
    <meta charset="utf-8">
    <title>Welcome!!</title>
  </head>
  <body>
    <h1>Great! test.devopshint.info set up completed!</h1>
  </body>
</html>
Note:- To save and exit press ctrl+x + y enter
Grant the logged-in user the read, write and execute permissions.
sudo chown -R nginx: /var/www/test.devopshint.info
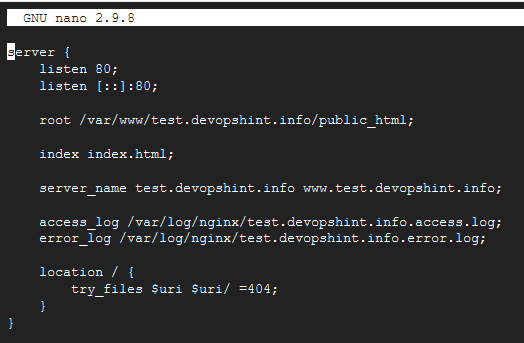
Create a new file for test.devopshint.info using your choice text editor by typing
sudo nano /etc/nginx/conf.d/test.devopshint.info.conf
Paste the following HTML content
server {
    listen 80;
    listen [::]:80;

    root /var/www/test.devopshint.info/public_html;

    index index.html;

    server_name test.devopshint.info www.test.devopshint.info;

    access_log /var/log/nginx/test.devopshint.info.access.log;
    error_log /var/log/nginx/test.devopshint.info.error.log;

    location / {
        try_files $uri $uri/ =404;
    }
}
You should now confirm whether all configurations are in order
sudo nginx –t
For the changes to occur, restart Nginx then confirm whether it is running
sudo systemctl restart nginxNginx is running on your CentOS 8 machine
The following command will allow your custom document root to be served as HTTP content:
sudo chcon -vR system_u:object_r:httpd_sys_content_t:s0 /var/www/test.devopshint.info/
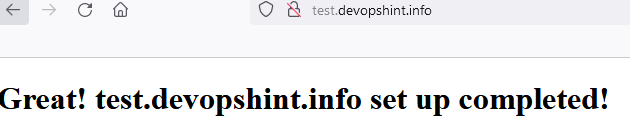
Test the Nginx server block we will test by browsing your domain name in your favorite browser.
Step #6:Nginx Configuration files and Directories
Below are Important Nginx configuration files and directory which you should know
Default Nginx web content:
- /var/www/html: When we install Nginx be default /var/www/html directory gets created and when you access it on browser then content loads from this directory.
Nginx Server configuration files:
/etc/nginx: this is Nginx configuration directory. All of the Nginx configuration files reside here./etc/nginx/nginx.conf: this is Nginx global configuration file when you modify it , it will apply to all content which used Nginx./etc/nginx/sites-available/: To enable a website, you must create a symbolic link inside the /etc/nginx/sites-enabled directory pointing to the actual vhost file in /etc/nginx/sites-available . The nginx. conf file reviews the contents of the sites-enabled directory and determines which virtual host files to include/etc/nginx/sites-enabled/: The ../sites-enabled/ folder will include symlinks to the site configuration files located within /etc/nginx/sites-available//etc/nginx/snippets: Snippets allow you to insert raw NGINX config into different contexts of the NGINX configurations that the Ingress Controller generates.
Conclusion:
We have covered How to Install Nginx on CentOS 8,Adjust the Firewall in CentOS 8,Verify Nginx Installation on CentOS 8,,Managing Nginx processes using systemctl,Configure Nginx Server-Blocks on CentOS 8,Nginx Configuration files and Directories
Related Articles:
How to Install Nginx on Ubuntu 22.04 LTS
Reference: