In this article, We are going to perform how to download and install MongoDB on Windows and Windows Server. Before we start, let me give brief explanation about MongoDB.
Table of Contents
Introduction
MongoDB is an open source database management system (DBMS) which is document-oriented database program. MongoDB is high-performance document-oriented NoSQL database.
Instead of storing data in tables as is done in a “classical” relational database, MongoDB stores structured data as JSON-like documents with dynamic schemas, making integration with certain types of applications easier and faster.
To know more about, Please visit MongoDB official site,
Prerequisites
- Window Server (x86-32bit / x64-64bit)
- Windows 10 (x86-32bit / x64-64bit)
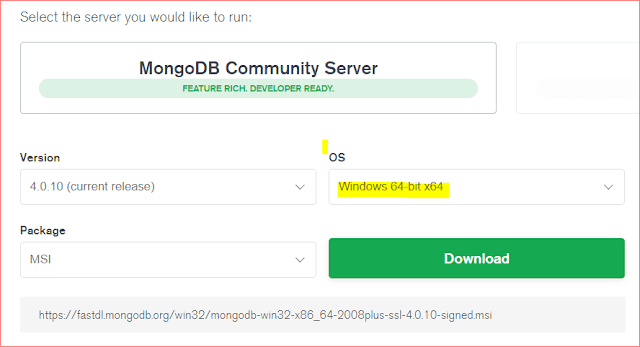
Step 1: Download MongoDB for Windows
Download the MongoDB .msi file using the link-here.
Here, We are installing 64-bit version for windows.
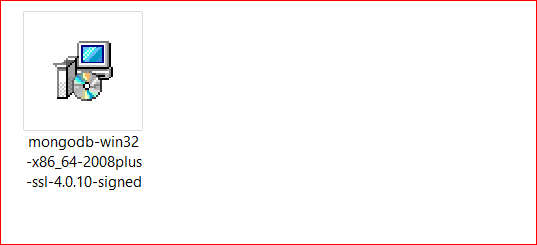
After downloading, you will see like below icon, right click on the .msi application and “Run as Administrator”.
Step 2: Install MongoDB on Windows
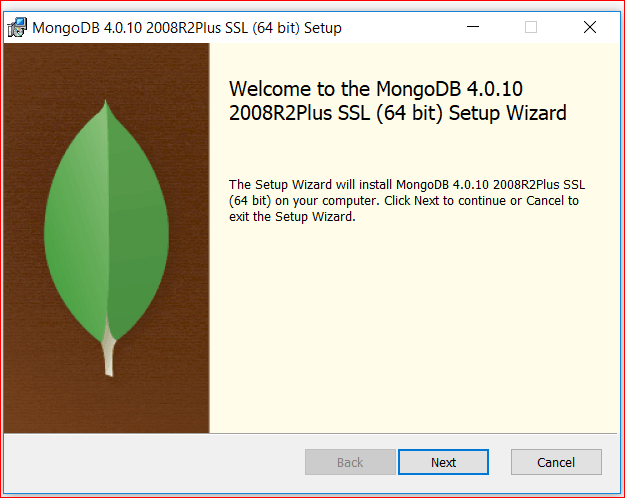
2.1: Install Wizard Setup
After that it prompts for Wizard setup. Click “Next” to proceed for installation.
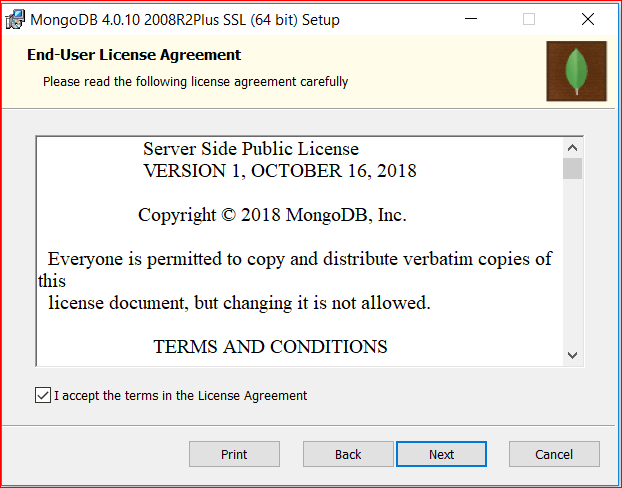
2.2: End-User Licence Agreement
Accept the Licence Agreement and Click “Next” to proceed for installation.
2.3: MongoDb Setup Types
Choose the setup type “Complete”.

2.4: Install MongoDB as a Service
In Service Configuration choose radio button “Install MongoDB as a Service” and “Run service as Network Service User”.
Choose “Next” for further installation.

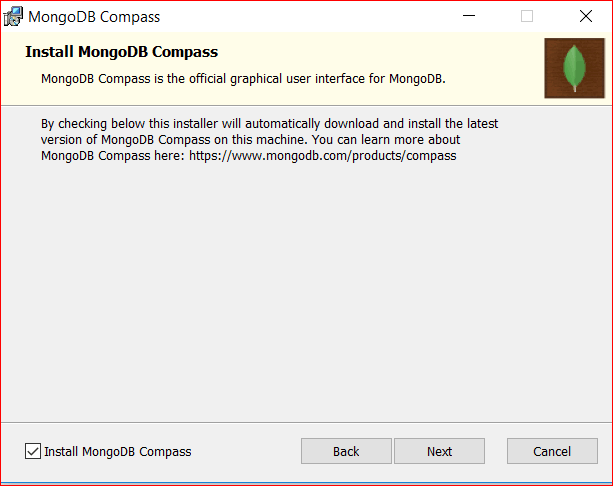
2.5: Install MongoDB Compass
MongoDB Compass is the GUI for MongoDB. Compass allows you to analyze and understand the contents of your data without formal knowledge of MongoDB query syntax.
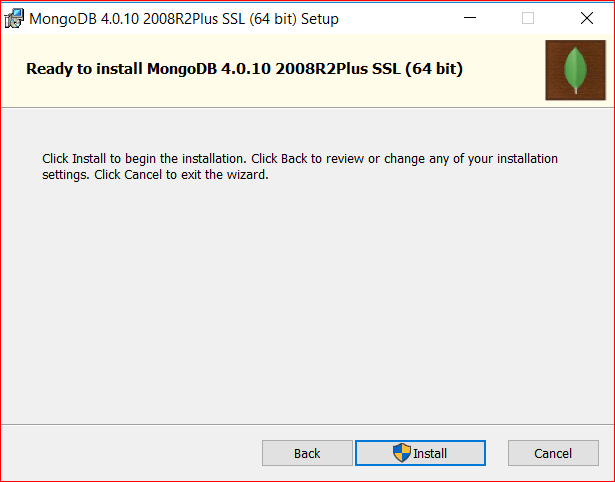
2.6: Start the Installation
Next, click on the “Install” button to start the installation.
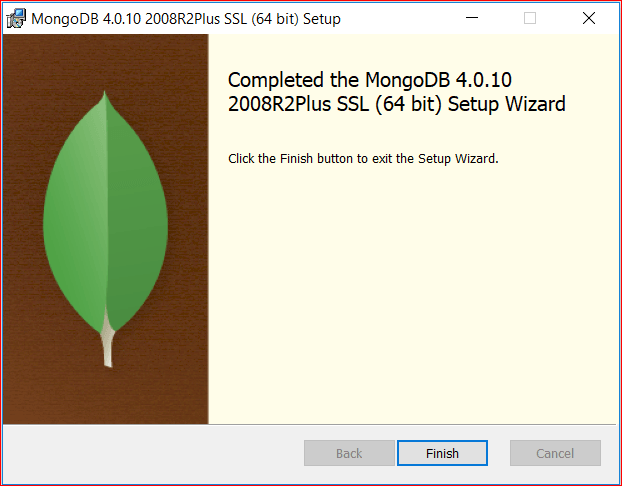
2.7: Complete Installation
Click on “Finish” button to complete the installation.
Step 3: Create Alias shortcuts for Mongo and Mongod
Once Installation is complete, we have to setup MongoDB on local system.
Open your running Git Bash Hyper Terminal and change your home directory with the below command,
cd ~
Here, create a file called .bash_profile with vi using the following command and press “I” keys on the keyboard to enter insert mode.
vi .bash_profile
In your Explorer, go to “C → Program Files → MongoDB → Server → 4.0 → bin →” and paste the below alias command into the “.bash_profile.”
alias mongod="/c/Program\ files/MongoDB/Server/4.0/bin/mongod.exe"
alias mongo="/c/Program\ Files/MongoDB/Server/4.0/bin/mongo.exe"
Hit the “Esc” key on your keyboard to exit the insert mode. Then type
:wq OR :wq! #to force write#
to save and exit “vi” editor.
Step 4: Verify the MongoDB Installation
Reopen the Git Bash terminal and enter the following command,
$ mongo --version
Once you’ve hit “Enter” key, you should see output like below:
Output:
MongoDB shell version v4.0.10
git version: c389e7f69f637f7a1ac3cc9fae843b635f20b766
allocator: tcmalloc
modules: none
build environment:
     distmod: 2008plus-ssl
     distarch: x86_64
     target_arch: x86_64
If the output is displayed on prompt like above, then the you have MogoDB installed and Setup MongoDB successful.
Step 5: MongoDB Shell
Open git bash Hyper terminal again and Enter the below command
$ mongo
it enters into mongo shell,
MongoDB shell version v4.0.10
connecting to: mongodb://127.0.0.1:27017/?gssapiServiceName=mongodb
Implicit session: session { "id" : UUID("5ca3cabf-dcce-4902-8d09-6b2033d5d02a") }
MongoDB server version: 4.0.10 >
“>” this shows up after entering into mongo shell.
Step 6: How to list all databases in the mongo shell
Now let’s check the databases in mongo shell using below command,
> show dbs
Output:
admin   0.000GB
config  0.000GB
local   0.000GB
Step 7: How to Create User & add Role in MongoDB
Before creating user lets enter into database and then create user in that particular database. Here we are creating user in admin database using below command,
> use admin
Let’s create a user administrator in MongoDB by using the createUser method. The following command shows to create user.
 db.createUser(
   {       user: "sivasai",
           pwd: "********",
           roles:[{role: "userAdminAnyDatabase" , db:"admin"}]})
Output:
 Successfully added user: {
        "user" : "sivasai",
        "roles" : [
                       {
                              "role" : "userAdminAnyDatabase",
                              "db" : "admin"
                        }
                   ]
}
Step 8: How to list all users in the mongo shell
To see the list of users, use the following command,
> show users
Output:
 {
             "_id" : "test.sivasai",
             "userId" : UUID("g7343321-3f18-8b90-abcd-53fdghi12345"),
             "user" : "sivasai",
             "db" : "test",
             "roles" : [
                            {
                            "role" : "userAdminAnyDatabase",
                            "db" : "admin"
                            }
                       ],
                            "mechanisms" : [
                                             "SCRAM-SHA-1",
                                             "SCRAM-SHA-256"
                                           ]
 }
Step 9: How to Allow Remote Connections to MongoDB in Windows
Now we will change the Bind-IP-Address to login from remote system.
Go to the path “C:/Program_Files/MongoDB/Server/4.0/bin/mongo.cnf”
Open Git Bash Command Prompt and to the path above:
vi mongo.cnf
In the “mongo.cnf” file find the “net” and change the ip from 127.0.0.1 to 0.0.0.0
 net:
      port: 27017
      bindIp: 0.0.0.0
Step 10: Enable authentication in mongod configuration file
Now lets set the authentication for MongoDB and secure our database from anonymous users and data leak like hacking.
Go to the path “C:/Program_Files/MongoDB/Server/4.0/bin/mongo.cnf” and open “mongo.cnf” file in git terminal.
vi mongo.cnf
In the config file uncomment “Security” and paste the below line on “mongo.cnf”.
 security:
      authorization: "enabled"
Now ,we have enabled authentication and secured the database, to effect changes restart MongoDB service using below commands.
 net stop MongoDB
 net start MongoDB
Step 11: Login into MongoDB with username and password using CLI
Using above “step 7” ,we have created user, to login into mongodb with username and password using the CLI. Enter below command.
mongo --username <username> --password <password> --authenticationDatabase admin --host <ip/domain_address> --port 27017
Output:
MongoDB shell version v4.0.10
connecting to: mongodb://localhost:27017/?authSource=admin&gssapiServiceName=mongodb
Implicit session: session { "id" : UUID("g7343321-3f18-8b90-abcd-53fdghi12345") }
MongoDB server version: 4.0.10
>
Step 12: Start & Stop MongoDB using CLI
To start the MongoDB services
$ net start MongoDB
Output:
The MongoDB Server service is starting..
The MongoDB Server service was started successfully.
To stop the MongoDB services.
$ net stop MongoDB
Output:
The MongoDB Server service is stopping.
The MongoDB Server service was stopped successfully.
Conclusion:
In this article, we’ve installed MongoDB, created users, configured authentication, added Bind-IP-Address and security in the mongo.cnf file, learned commands to login using CLI and to start and stop mongodb services. Now you can start exploring MongoDB.
Related Articles:
How to Install MongoDB on Ubuntu 18.04/16.04 LTS
Hi ..Akash i need a call back from u