In this article we are going to cover How to Install ArgoCD on Minikube using Helm and Deploy an App on ArgoCD.
Table of Contents
Prerequisites:
- Install Minikube on Linux
- Install Kubectl on Minikube Instance
- Install Helm on Minikube
Install Minikube and kubectl on Ubuntu 22.04 LTS
Step #1:Install ArgoCD on Minikube using Helm
once Minikube setup done, Add the ArgoCD Helm repository to Helm. Run the following command:
git clone https://github.com/argoproj/argo-helm.git
Change the folder where you need to install Argo using helm charts
cd argo-helm/charts/argo-cd/
Just like other Kubernetes tools, ArgoCD requires a namespace with its name. Therefore, we will create a namespace for argocd named myargo
kubectl create ns myargo
You can modify any custom values in values.yaml. But for now we will process using default values.yaml
Update the dependencies in the chart by executing the below command.
helm dependency up
Install argo using helm command
helm install myargo . -f values.yaml -n myargo
Error:
Error: rendered manifests contain a resource that already exists. Unable to continue with install: CustomResourceDefinition "applications.argoproj.io" in namespace "" exists and cannot be imported into the current release: invalid ownership metadata; label validation error: missing key "app.kubernetes.io/managed-by": must be set to "Helm"; annotation validation error: missing key "meta.helm.sh/release-name": must be set to "myargo"; annotation validation error: missing key "meta.helm.sh/release-namespace": must be set to "myargo"
Solution:
If you face the above issues with CRDs, then comment crds install value to ‘false’ in values.yaml. Refer to the below command.
crds:
# -- Install and upgrade CRDs
install: false
Step #2:Verify ArgoCD Installation on Minikube
Once the installation is complete, let’s see the pods running
kubectl get po -n myargo

Step #3:Access ArgoCD UI on Browser
By default, the ArgoCD server is not exposed outside the cluster. You can expose it using port-forwarding to access the ArgoCD UI.
After ensuring the pods are running, then port-forward the Argo cd service to access the service from the browser.
kubectl port-forward svc/myargo-argocd-server -n myargo --address 0.0.0.0 8080:443The ArgoCD UI will be available at http://localhost/IP:8080. Access it through your web browser.
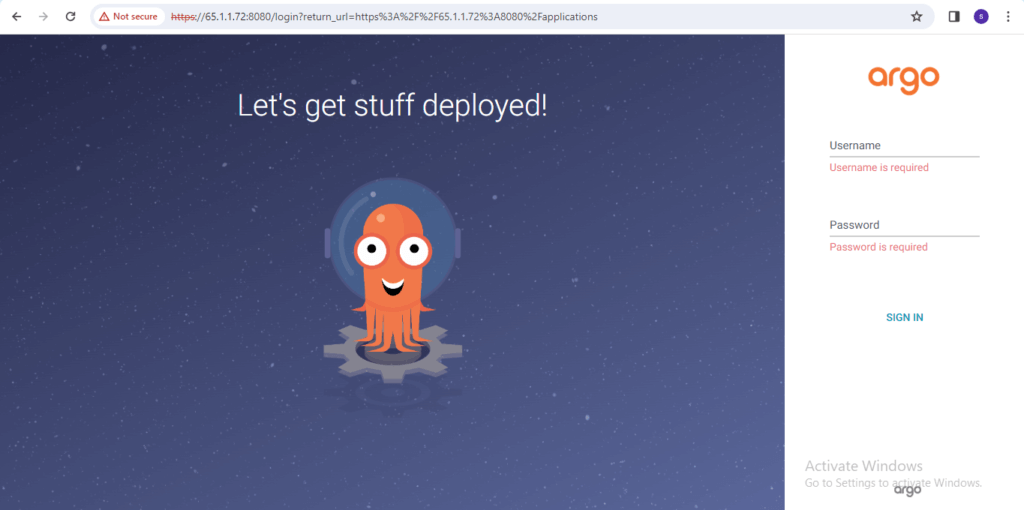
Now we can go to a browser and open instance_ip:8080

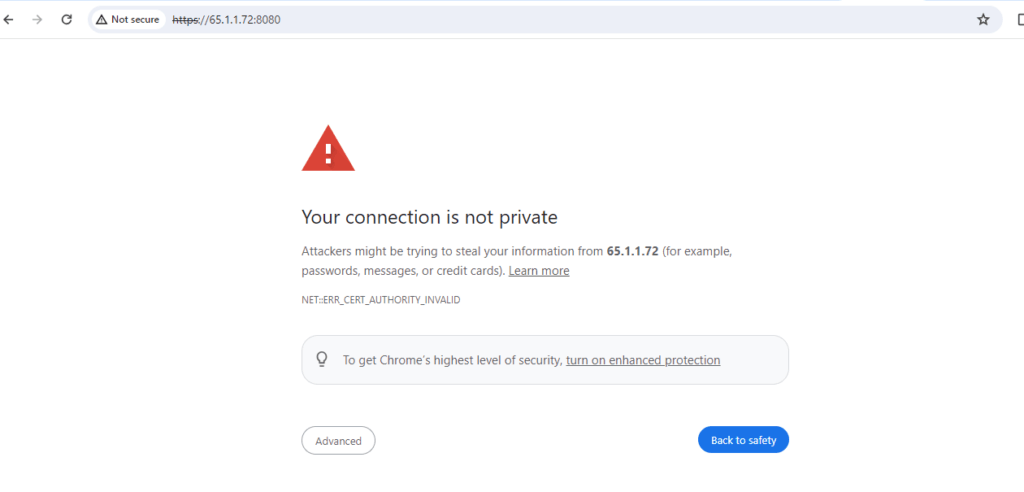
You will see a privacy warning. Just ignore the warning, click on Advanced and then hit on Proceed to localhost (unsafe) to continue to the GUI interface. (Your browser setting may present a different option to continue).

Get the initial password for the admin user to log in
kubectl -n argocd get secret argocd-initial-admin-secret -o jsonpath="{.data.password}" | base64 -d
Use the generated password to log in as the admin user in the ArgoCD UI.
We have covered Install ArgoCD on minikube using Helm
Step #4:Deploying an app on ArgoCD
Now that we are in the user interface, we can create a new app. The source code for my application is in my GitHub repo, so We will connect my GitHub repo to ArgoCD.
After logging in, click the + New App button as shown below:

Give your app the name guestbook, use the project default, and leave the sync policy as Manual:

Connect the https://github.com/argoproj/argocd-example-apps.git repo to Argo CD by setting repository url to the github repo url, leave revision as HEAD, and set the path to guestbook:

For Destination, set cluster URL to https://kubernetes.default.svc (or in-cluster for cluster name) and namespace to default:

Click on Create after that you can see

click on guestbook then you will see the result

Click on Synchronize


Now we can App got deployed on ArgoCD.
Conclusion:
We have covered How to Install ArgoCD on Minikube using Helm and Deploy an App on ArgoCD.
Related Articles:
