In this article we are going to cover How to Integrate Nexus Repository with Jenkins Pipeline.
In the world of DevOps, automation and streamlined workflows are crucial to efficiently managing software delivery pipelines. Jenkins, a widely adopted automation server, offers powerful pipeline capabilities that enable Continuous Integration (CI) and Continuous Delivery (CD). When combined with Nexus Repository, a popular artifact repository manager, it becomes even more effective. Nexus stores and manages build artifacts and dependencies, ensuring consistent and reliable access to required components across multiple environments.
This article provides a step-by-step guide on integrating Nexus with Jenkins Pipeline. By implementing this integration, you’ll be able to automate the storage and retrieval of build artifacts, improve dependency management, and optimize your CI/CD workflows.
Prerequisites
Jenkins and Sonatype Nexus Repository should be pre-installed and signed in
Create Repository in Nexus Artifactory
Create Repository in Nexus Artifactory
Click on settings symbol:

Click on Repositories:

Click on Create Repository:

Click on maven2 (hosted):

Give a Name and click on Create Repository at the bottom of the page:
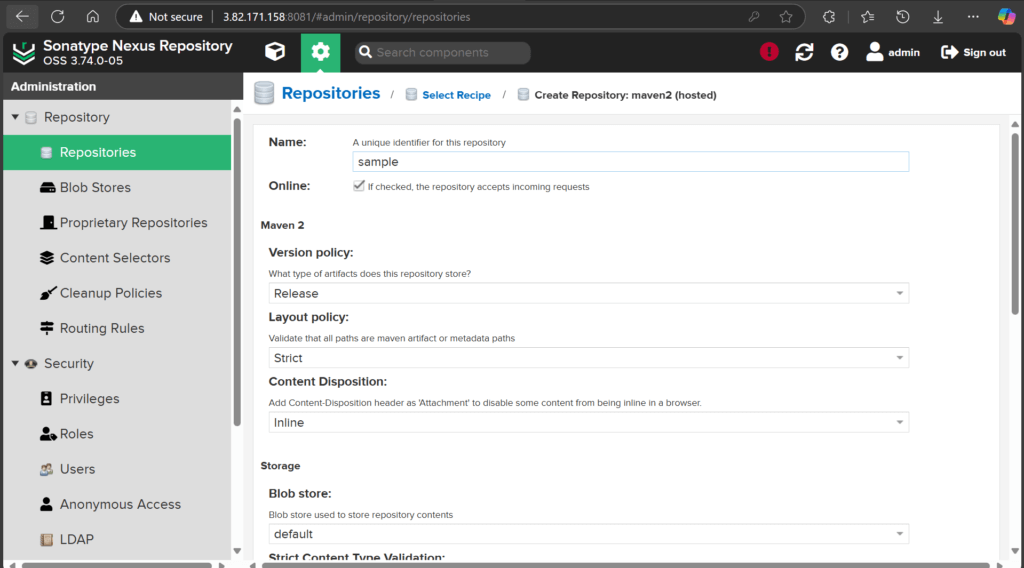
Integrate Nexus Repository with Jenkins Pipeline
Download the plugin (Nexus Artifact Uploader):
Manage Jenkins — > plugins — > Available Plugins — > Nexus Artifact Uploader — > install

Configure the Pipeline
pipeline {
    agent any

    stages {
        stage('checkout') {
            steps {
                git '<git repository url>'
            }
        }
        stage('build') {
            steps {
                sh 'mvn compile'
            }
        }
        stage('test') {
            steps {
                sh 'mvn test'
            }
        }
        stage('artifact') {
            steps {
                sh 'mvn package'
            }
        }
        stage('artifact upload') {
            steps {
                nexusArtifactUploader artifacts: [[artifactId: '', classifier: '', file: 'target/SAMPLE-1.2.2.war', type: '.war']], credentialsId: 'nexus', groupId: '', nexusUrl: '3.82.171.158:8081', nexusVersion: 'nexus3', protocol: 'http', repository: 'sample', version: '1.2.2'
            }
        }

    }

}
You can edit the artifact ID, file, credentials, group ID, nexus url, and repository
You can see the jenkins output:

After the artifact upload is done you can download the .war file from Nexus Repository
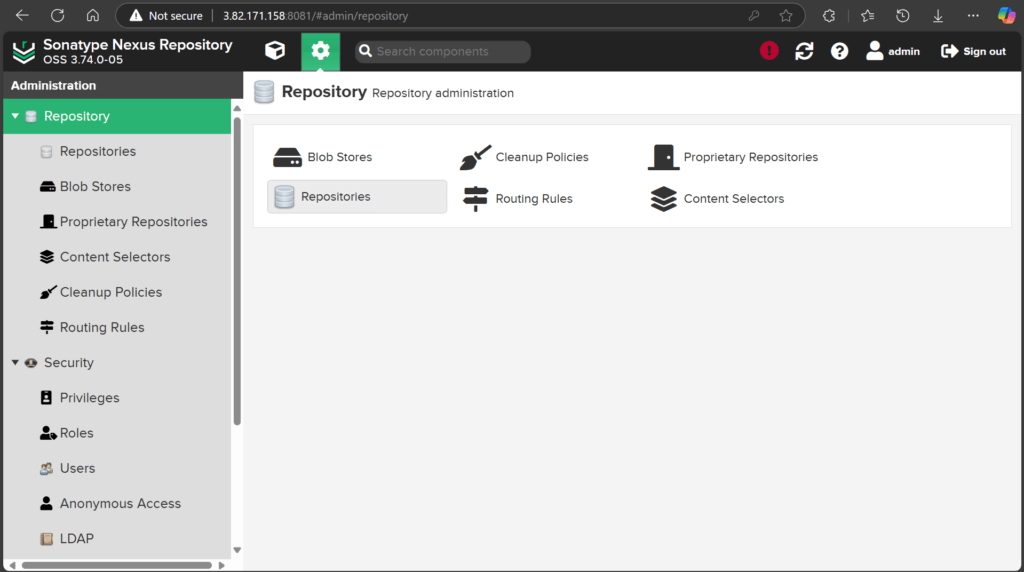
Go to Nexus website and click on Settings icon:

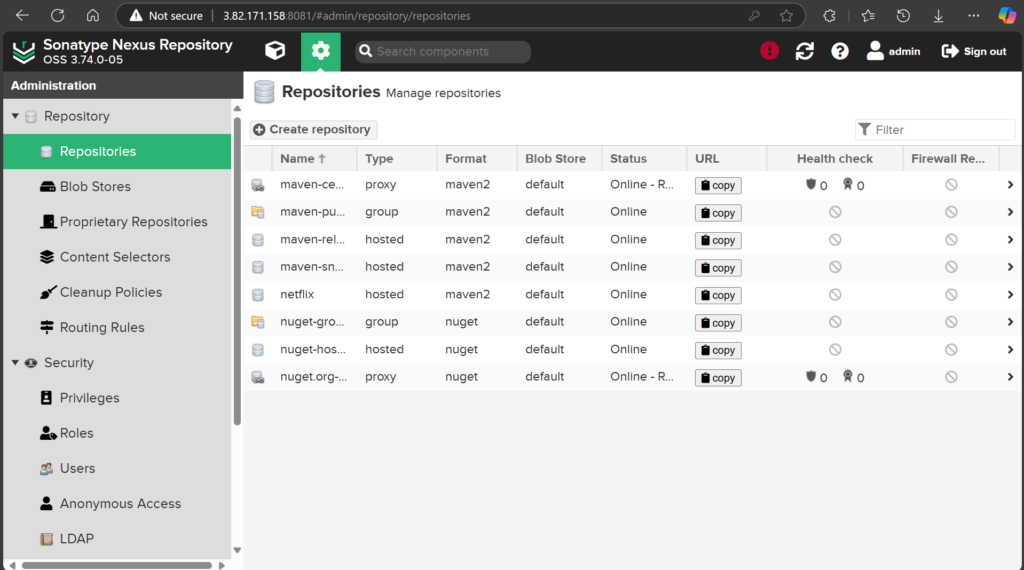
Select Repositories:
Select your Repository:
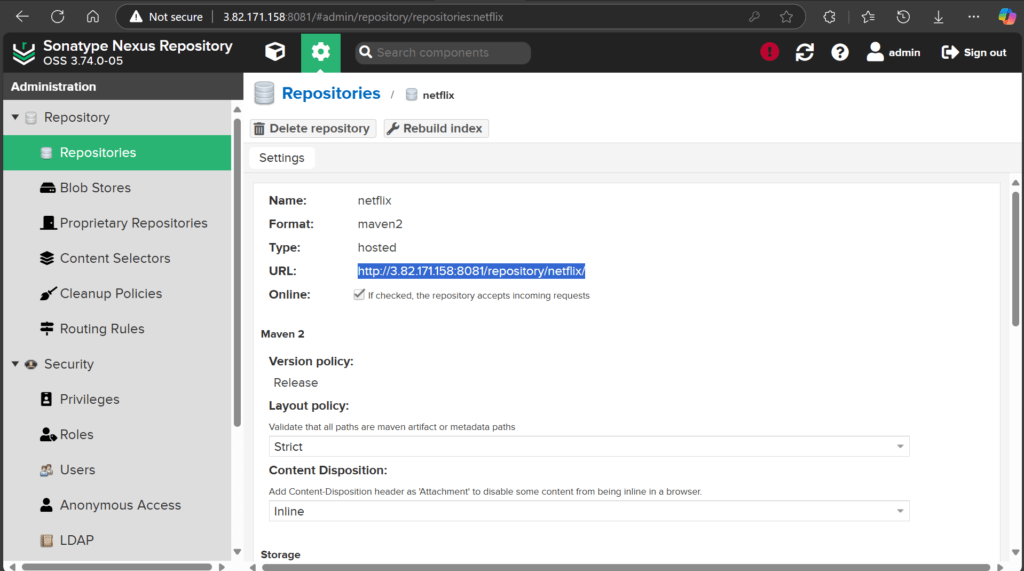
Copy the URL and paste it in the browser:
You can see the UI as shown below:

Click on HTML index –> in –> group ID –> artifact ID –> version –> .war file
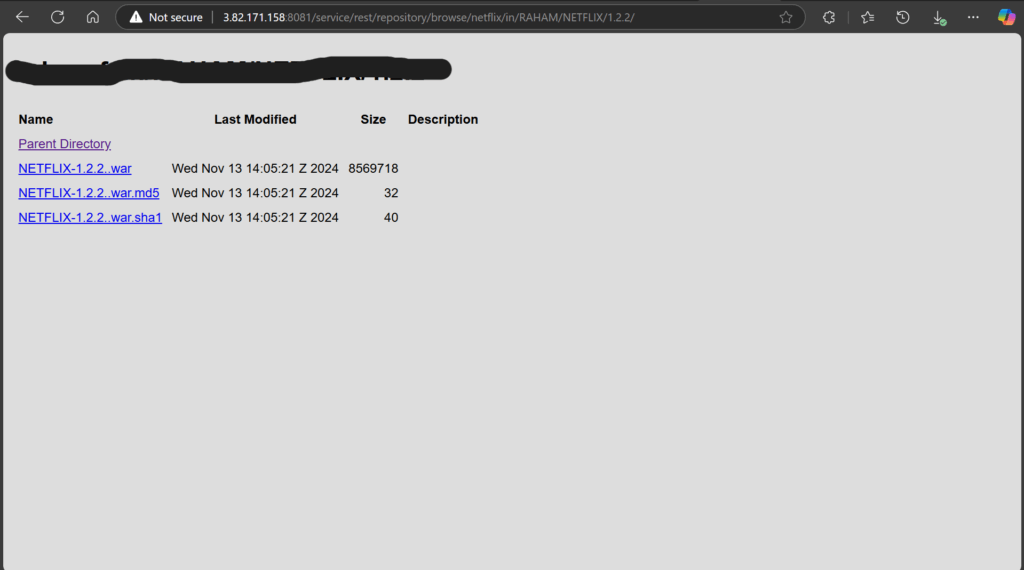
If you click on your .war file the file will be downloaded
Conclusion:
Integrating Nexus with Jenkins Pipeline provides a streamlined approach to managing and deploying artifacts within a CI/CD workflow. By configuring Nexus as a repository for Jenkins, you can securely store and manage build artifacts, ensuring consistent deployment practices across environments.
This integration not only simplifies artifact management but also enhances the traceability and reliability of releases, making the development process more efficient and maintainable. Adopting Nexus in Jenkins Pipelines supports the automation and scalability essential for modern DevOps practices, contributing significantly to a robust, well-managed software delivery lifecycle.
