In this article, we will see Setting up a Java Maven Project with GitHub Actions. We will conduct a deep, code-section-by-section analysis of a standard Java project setup, demonstrating how Apache Maven manages the build lifecycle and how GitHub Actions automates Continuous Integration (CI) to ensure code quality.
This project is defined by four core files: the Maven build file (pom.xml), the main application source (App.java), the unit tests (AppTest.java), and the CI pipeline definition (maven.yml)
Table of Contents
Step #1: Defining the Project’s Identity and Dependencies
The pom.xml (Project Object Model) is the single most important file for any Maven project. It acts as the project’s blueprint. It’s the central configuration file that tells Maven everything about the project, from its name to its dependencies..
<?xml version="1.0" encoding="UTF-8"?>
<project xmlns="http://maven.apache.org/POM/4.0.0" xmlns:xsi="http://www.w3.org/2001/XMLSchema-instance"
xsi:schemaLocation="http://maven.apache.org/POM/4.0.0 http://maven.apache.org/xsd/maven-4.0.0.xsd">
<modelVersion>4.0.0</modelVersion>
<groupId>com.mycompany.app</groupId>
<artifactId>my-app</artifactId>
<version>1.0-SNAPSHOT</version>
<name>my-app</name>
<!-- FIXME change it to the project's website -->
<url>http://www.example.com</url>
<properties>
<project.build.sourceEncoding>UTF-8</project.build.sourceEncoding>
<maven.compiler.source>1.7</maven.compiler.source>
<maven.compiler.target>1.7</maven.compiler.target>
</properties>
<dependencies>
<dependency>
<groupId>junit</groupId>
<artifactId>junit</artifactId>
<version>4.11</version>
<scope>test</scope>
</dependency>
</dependencies>
<build>
<pluginManagement><!-- lock down plugins versions to avoid using Maven defaults (may be moved to parent pom) -->
<plugins>
<!-- clean lifecycle, see https://maven.apache.org/ref/current/maven-core/lifecycles.html#clean_Lifecycle -->
<plugin>
<artifactId>maven-clean-plugin</artifactId>
<version>3.1.0</version>
</plugin>
<!-- default lifecycle, jar packaging: see https://maven.apache.org/ref/current/maven-core/default-bindings.html#Plugin_bindings_for_jar_packaging -->
<plugin>
<artifactId>maven-resources-plugin</artifactId>
<version>3.0.2</version>
</plugin>
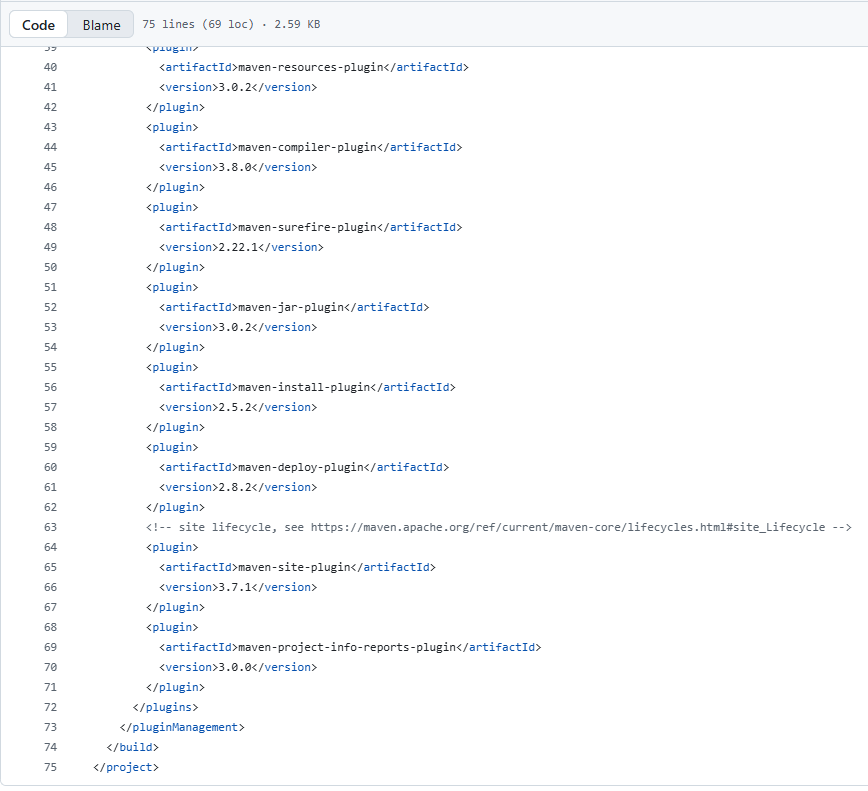
<plugin>
<artifactId>maven-compiler-plugin</artifactId>
<version>3.8.0</version>
</plugin>
<plugin>
<artifactId>maven-surefire-plugin</artifactId>
<version>2.22.1</version>
</plugin>
<plugin>
<artifactId>maven-jar-plugin</artifactId>
<version>3.0.2</version>
</plugin>
<plugin>
<artifactId>maven-install-plugin</artifactId>
<version>2.5.2</version>
</plugin>
<plugin>
<artifactId>maven-deploy-plugin</artifactId>
<version>2.8.2</version>
</plugin>
<!-- site lifecycle, see https://maven.apache.org/ref/current/maven-core/lifecycles.html#site_Lifecycle -->
<plugin>
<artifactId>maven-site-plugin</artifactId>
<version>3.7.1</artifactId>
</plugin>
<plugin>
<artifactId>maven-project-info-reports-plugin</artifactId>
<version>3.0.0</version>
</plugin>
</plugins>
</pluginManagement>
</build>
</project>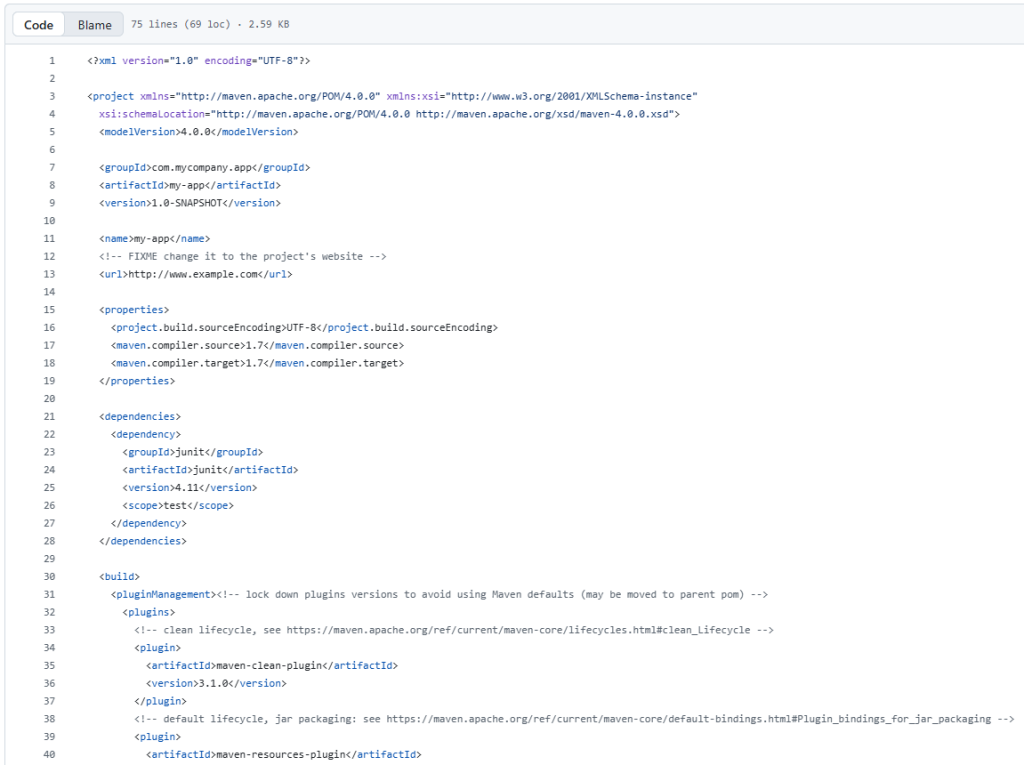
Explanation:
- Project Identity: It sets our coordinates:
com.mycompany.app:my-app:1.0-SNAPSHOT. - Target Compatibility: The
<properties>section specifies<maven.compiler.target>1.7</maven.compiler.target>. This is crucial: we are instructing the compiler to produce bytecode compatible with Java 7, even though we might build it with a newer JDK (which we will, in Step 3!). - Dependencies: We rely on JUnit 4.11. The
<scope>test</scope>means this library is only used when running tests, not when the final application JAR is executed.
Step #2: The Java Application and Test Code
Maven expects our code to be in a specific folder structure (src/main/java for the app and src/test/java for the tests).
First we will create the Main Application Code (src/main/java/com/mycompany/app/App.java). This is the actual product we’re building.
package com.mycompany.app;

/**
 * Hello world!
 *
 */
public class App
{
    public static void main( String[] args )
    {
        System.out.println( "Hello World!" );
    }
}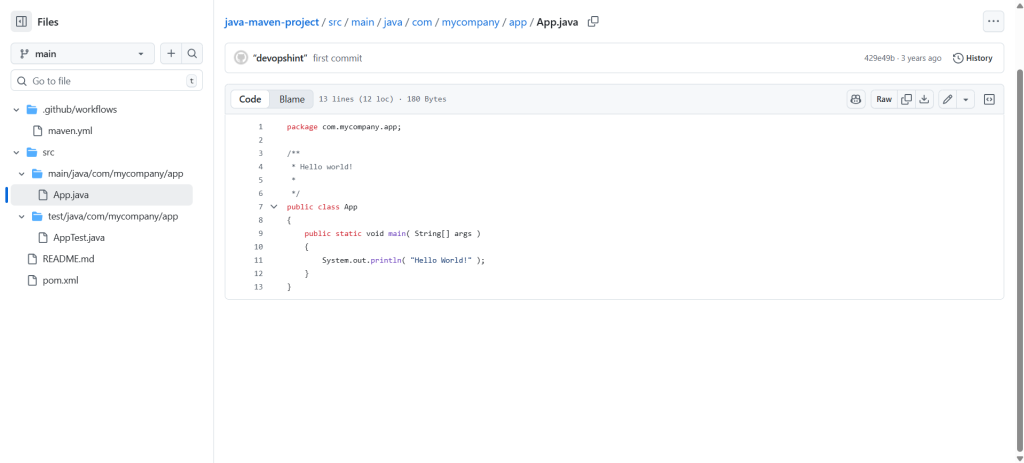
Explanation: It’s a simple program that prints "Hello World!" to the console. The build process primarily ensures this file can compile without errors.
Next we will add the Unit Test Code (src/test/java/com/mycompany/app/AppTest.java). This test confirms that our testing infrastructure is correctly set up.
package com.mycompany.app;

import static org.junit.Assert.assertTrue;

import org.junit.Test;

/**
 * Unit test for simple App.
 */
public class AppTest
{
    /**
     * Rigorous Test :-)
     */
    @Test
    public void shouldAnswerWithTrue()
    {
        assertTrue( true );
    }
}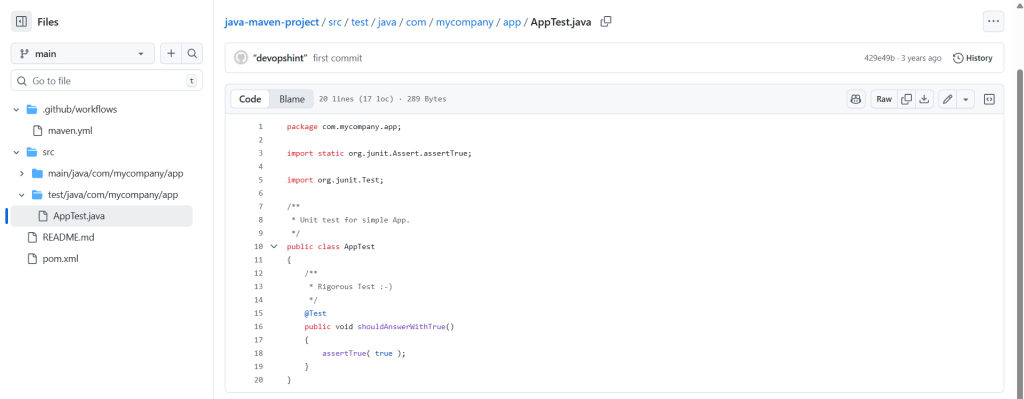
Explanation: The shouldAnswerWithTrue() method is marked with @Test and simply asserts that true is true. Its real value is confirming that Maven finds the test, loads the JUnit library, and can execute the test successfully.
Step #3: Automating the Build with GitHub Actions CI
This YAML file sets up our Continuous Integration (CI). Every time we make a code change, GitHub automatically executes these steps on a remote server.
Here is the .github/workflows/maven.yml:
# This workflow will build a Java project with Maven, and cache/restore any dependencies to improve the workflow execution time
# For more information see: https://help.github.com/actions/language-and-framework-guides/building-and-testing-java-with-maven

name: Java CI with Maven

on:
  push:
    branches: [ "main" ]
  pull_request:
    branches: [ "main" ]

jobs:
  build:

    runs-on: ubuntu-latest

    steps:
    - uses: actions/checkout@v3
    - name: Set up JDK 11
      uses: actions/setup-java@v3
      with:
        java-version: '11'
        distribution: 'temurin'
        cache: maven
    - name: Build with Maven
      run: mvn -B package --file pom.xml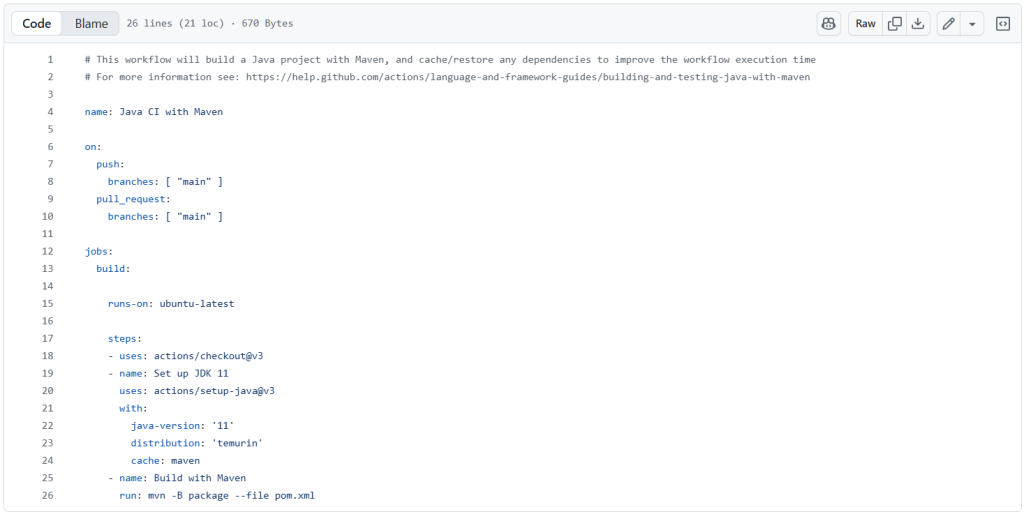
Explanation:
- Triggers (
on): We start the workflow automatically on everypushorpull_requesttargeting the"main"branch. - Environment: The job runs on an
ubuntu-latestvirtual machine. - Step 1: Checkout:
actions/checkout@v3grabs our code from the repository. - Step 2: Install Java 11:
actions/setup-java@v3installs JDK 11 (a newer version than the Java 7 target in thepom.xml!).- The
cache: mavenline is a performance trick: it saves downloaded dependencies to speed up subsequent CI runs.
- The
- Step 3: Build and Test:
mvn -B package --file pom.xmlexecutes the build.package: Runs the whole build lifecycle, including compiling the Java 7-targeted code, running the unit tests, and creating the final JAR package.-B: Batch Mode ensures the command runs non-interactively, perfect for automation.
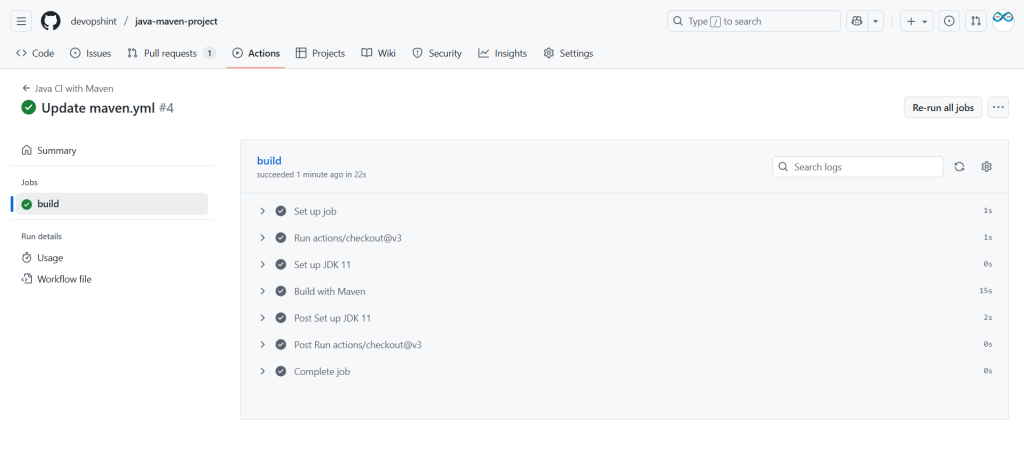
Final Outcome
When you push a change, the GitHub Action starts, runs all these steps, and produces a pass/fail result. A successful run means:
The ultimate goal of setting up the .github/workflows/maven.yml file is to achieve an automated, successful validation of our code. The execution of this workflow, as observed in GitHub Actions, confirms the entire process runs smoothly and efficiently.
Successful CI Validation
The result of the build job shows a status of “succeeded” in just 22 seconds. This swift execution confirms that all the preceding steps—from environment setup to the final build—worked flawlessly.
The key steps executed successfully include:
- Run
actions/checkout@v3: The source code was downloaded onto the runner. Set up JDK 11: The required Java Development Kit (JDK 11) was installed and configured, leveraging the Maven cache for optimal speed.Build with Maven(Duration: 15s): This is the most critical step. The execution ofmvn -B packagesuccessfully performed:- Code compilation (targeting Java 7, using JDK 11).
- Execution and passing of the unit tests defined in
AppTest.java. - Packaging of the final application artifact (a JAR file).
The green checkmark next to the “Build with Maven” step confirms that our integrated development environment—combining Java, Maven, and GitHub Actions—is fully operational, providing fast and reliable feedback on the health of our project.
Conclusion:
We’ve successfully pieced together a professional Java development environment. By leveraging Maven, we standardized the build and testing process, and the GitHub Actions workflow automated this entire sequence. This robust setup turns every code commit into a self-validated artifact, ensuring continuous quality assurance and a reliable foundation for future development
Related Articles:
Building and Testing Go Project on GitHub Actions
Reference: