In this article, we will learn how to harness the power of Amazon Relational Database Service (Amazon RDS) to seamlessly create, connect to, and manage a Microsoft SQL Server database instance in the cloud. We’ll navigate the AWS Management Console, configure instance settings, and establish a connection using Microsoft SQL Server Management Studio (SSMS).
Prerequisites
- An AWS account.
- Basic knowledge of AWS services.
Step #1:Create Microsoft SQL server RDS instance
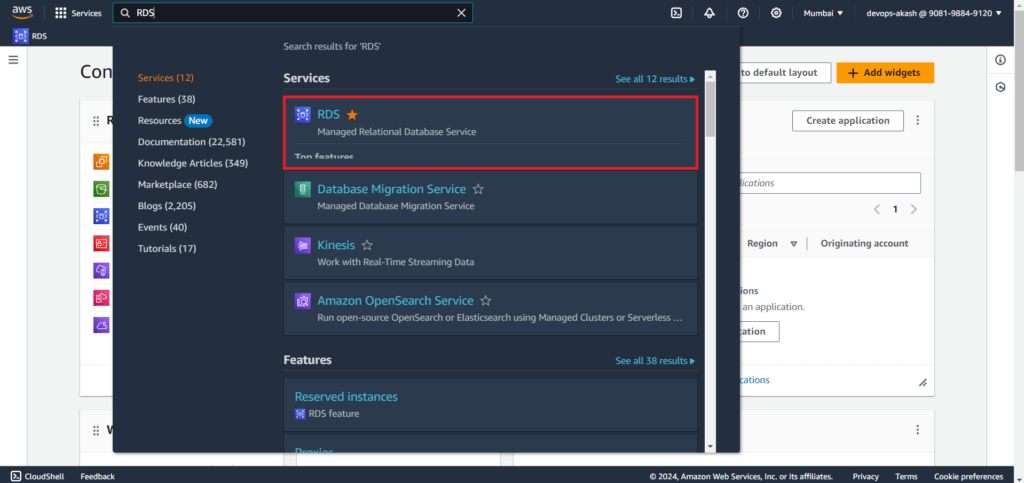
First to create a RDS instance, open the AWS Management Console and navigate to RDS using the search bar.
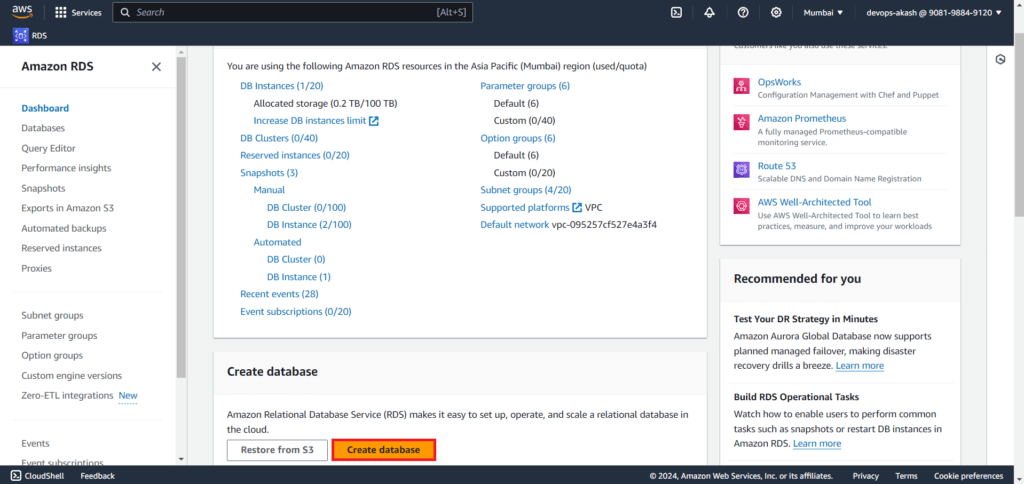
Click on Create database.
Choose Standard create as database creation method and select Microsoft SQL Server as an engine option.

Select the SQL Server Standard Edition and keep Amazon RDS as database management type. Keep License and Engine Version default.

Configure settings such as DB instance identifier, master username. You can change the Master username. Select Self managed as Credential management and create Master password and confirm it.

Select Burstable classes in Instance Configuration as DB instance class.

Select General Purpose SSD (gp2) as a storage type. Select the default of 20 to allocate 20 GB of storage for your database. Disable the Storage autoscaling.

Configure connectivity settings including network type, VPC, and security groups. Choose the default VPC and Subnet group. Select Yes to give public access so Amazon EC2 instances and other resources outside of the VPC can connect to your database.

Create new VPC security group and name it. Choose the availability zone as No preferences. Keep the default value of database port 1433.

Microsoft SQL Server Windows Authentication, leave this option disabled.

Disable the Turn on Performance Insights. Use the default value of Enable Enhanced monitoring.

Select Enable auto minor version upgrade to receive automatic updates. Disable the Deletion protection. Then click on Create database.

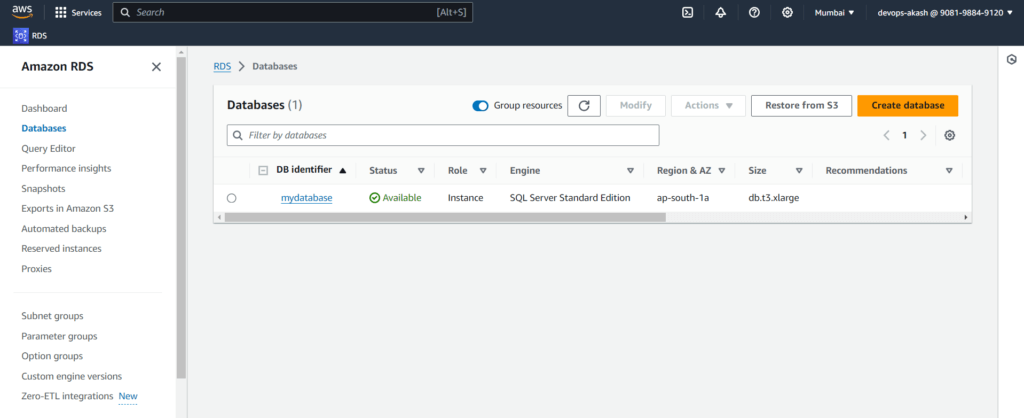
As you can see our DB instance is running properly.
Step #2:Download a SQL client and Connect to the Microsoft SQL Server database
Go to the SQL Documentation. Look for SQL Server Management Studio (SSMS). Download the latest version of SQL Server Management Studio.
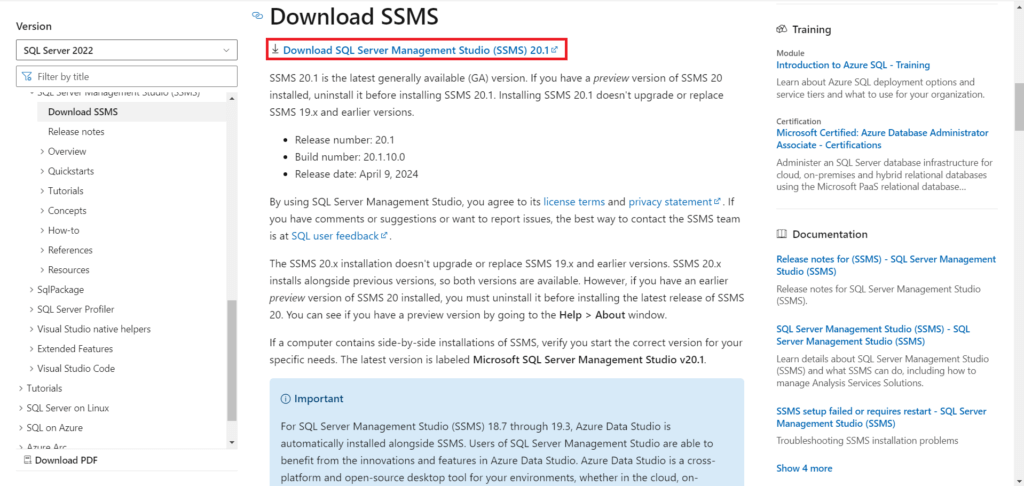
After download is complete, install and run the program.
Copy the end point and port of the Database instance.

Paste it in Server name separating them with comma. Ex. Endpoint,1433
Select SQL Server Authentication. In Login and Password, type in the Username and Password you created for the Amazon RDS database.
Then click on Connect.

Now you are connected to database. Connection to your Microsoft SQL Server database hosted on Amazon RDS. Here you can create table, insert data and run queries.
Conclusion:
In conclusion, we have learned how to effectively utilize Amazon RDS to handle the lifecycle of a Microsoft SQL Server database instance. By seamlessly creating, connecting to the database, we’ve experienced the streamlined management capabilities offered by Amazon RDS. This tutorial underscores the platform’s ability to simplify database administration tasks, empowering users to concentrate on their core applications and business objectives. Embrace the power of cloud-based relational databases with Amazon RDS for enhanced efficiency and scalability.
Related Articles:
How to Monitor Memcached with Prometheus and Grafana
Reference:
