In this article we are going to cover Kubernetes Autoscaling: HPA and VPA | Horizontal and Vertical Autoscaling in Kubernetes with Examples.
Kubernetes autoscaling helps manage workloads efficiently by ensuring applications get the right amount of resources while minimizing costs. There are two main autoscaling mechanisms:
- Horizontal Pod Autoscaler (HPA): Scales the number of pods based on CPU, memory, or custom metrics.
- Vertical Pod Autoscaler (VPA): Adjusts CPU and memory resource requests for existing pods dynamically.
This guide provides a step-by-step approach to setting up and using HPA and VPA in Kubernetes.
Table of Contents
Prerequisites
Before starting, ensure you have:
- A running Kubernetes cluster (Minikube, EKS, GKE, AKS, etc.)
- kubectl installed and configured
- Basic knowledge of Kubernetes Deployments and Pods
Step #1:Install Horizontal Pod Autoscaler (HPA)
HPA requires the Metrics Server to collect CPU and memory usage data.
Install Metrics Server on Minikube
minikube addons enable metrics-server
Verify the installation:
kubectl get deployment metrics-server -n kube-system
Step #2:Install Vertical Pod Autoscaler (VPA)
VPA requires specific components to function properly.
1. Clone the VPA Repository
git clone https://github.com/kubernetes/autoscaler.git
cd autoscaler/vertical-pod-autoscaler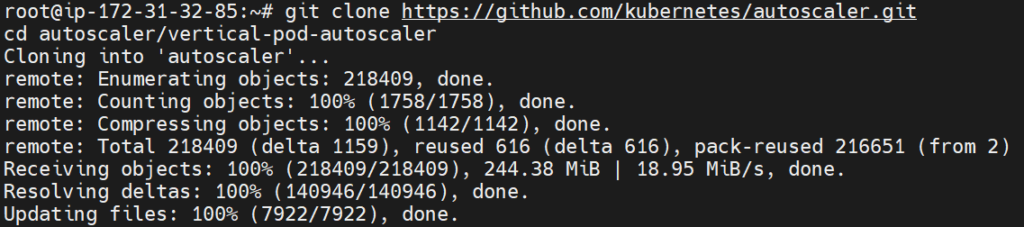
2. Deploy the VPA Components
./hack/vpa-up.sh
3. Verify the Installation
kubectl get pods -n kube-system | grep vpa
Horizontal Pod Autoscaler (HPA)
HPA automatically scales the number of replicas of a deployment based on CPU or memory usage.
Step #1:Deploy a Sample Application
Create a deployment with CPU requests/limits:
deployment.yaml:
apiVersion: apps/v1
kind: Deployment
metadata:
  name: nginx-deployment
spec:
  replicas: 2
  selector:
    matchLabels:
      app: nginx
  template:
    metadata:
      labels:
        app: nginx
    spec:
      containers:
      - name: nginx
        image: nginx
        ports:
        - containerPort: 80
        resources:
          requests:
            cpu: "250m"
          limits:
            cpu: "500m"
Apply it:
kubectl apply -f deployment.yaml

Step #2:Expose the Deployment
Create a Service to access the Nginx pods.
kubectl expose deployment nginx-deployment --type=NodePort --port=80
Check the Service:
kubectl get svc nginx-deployment

Step #3:Create a Horizontal Pod Autoscaler (HPA)
Create a file hpa.yaml:
apiVersion: autoscaling/v2
kind: HorizontalPodAutoscaler
metadata:
  name: nginx-hpa
spec:
  scaleTargetRef:
    apiVersion: apps/v1
    kind: Deployment
    name: nginx-deployment
  minReplicas: 2
  maxReplicas: 5
  metrics:
  - type: Resource
    resource:
      name: cpu
      target:
        type: Utilization
        averageUtilization: 10
  behavior:
    scaleDown:
      stabilizationWindowSeconds: 30   # Default is 300s (5 min), lower it to 30s
      policies:
      - type: Percent
        value: 50   # Reduce pods by 50% at a time
        periodSeconds: 30  # Every 30 seconds
Apply the HPA:
kubectl apply -f hpa.yaml
Check the HPA:
kubectl get hpa

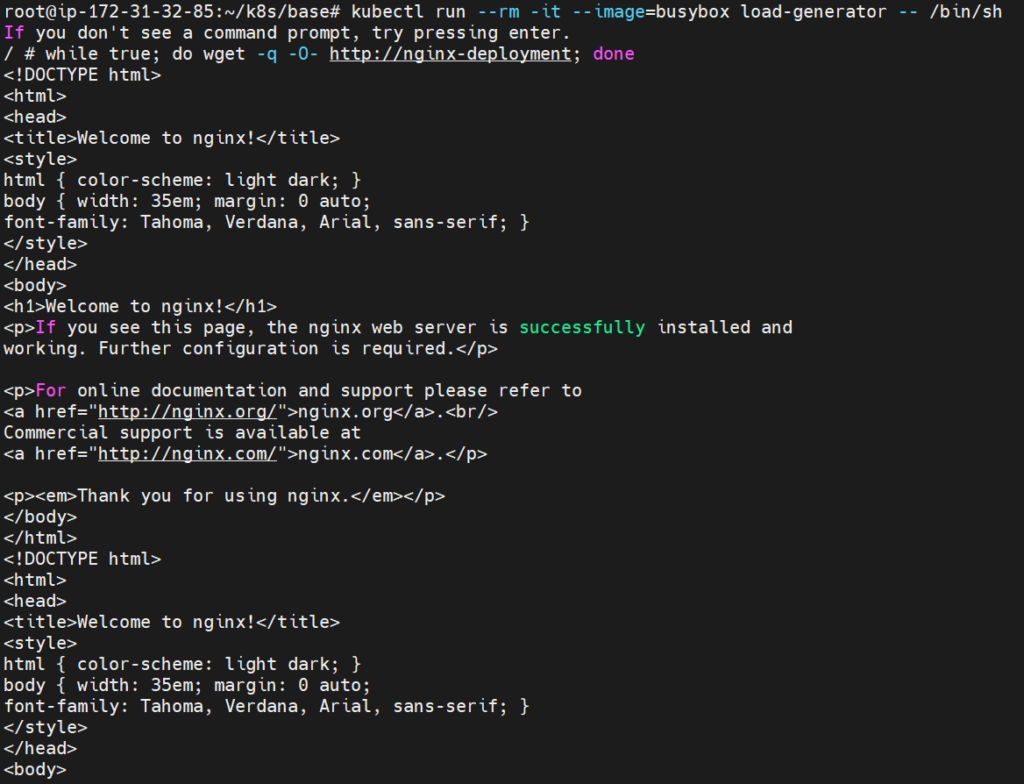
Step #4:Generate Load to Test Auto-Scaling
To see auto-scaling in action, generate CPU load:
kubectl run --rm -it --image=busybox load-generator -- /bin/sh

Inside the pod, run:
while true; do wget -q -O- http://nginx-deployment; done
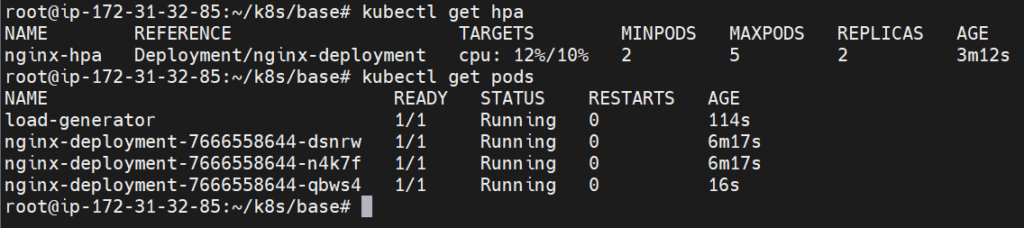
Check if HPA scales the pods:
kubectl get hpa
kubectl get pods
When the cpu hits the target new pod got created as you can check it in the below image:
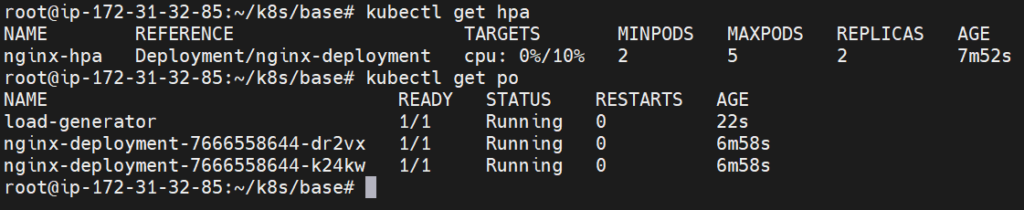
When the load on cpu gets lower the newly created pods will be deleted as shown in below image:
Vertical Pod Autoscaler (VPA)
VPA automatically adjusts CPU/memory requests of a running pod based on usage.
Step #1:Create a VPA Resource
Define a VPA for the nginx-deployment:
vpa.yaml:
apiVersion: autoscaling.k8s.io/v1
kind: VerticalPodAutoscaler
metadata:
  name: nginx-vpa
spec:
  targetRef:
    apiVersion: "apps/v1"
    kind: Deployment
    name: nginx-deployment
  updatePolicy:
    updateMode: "Auto"
Apply it:
kubectl apply -f vpa.yamlCheck the VPA:
kubectl get vpa
Step #2:Check VPA Recommendations
kubectl get vpa nginx-vpa --output yamlYou will see recommended CPU/memory values.
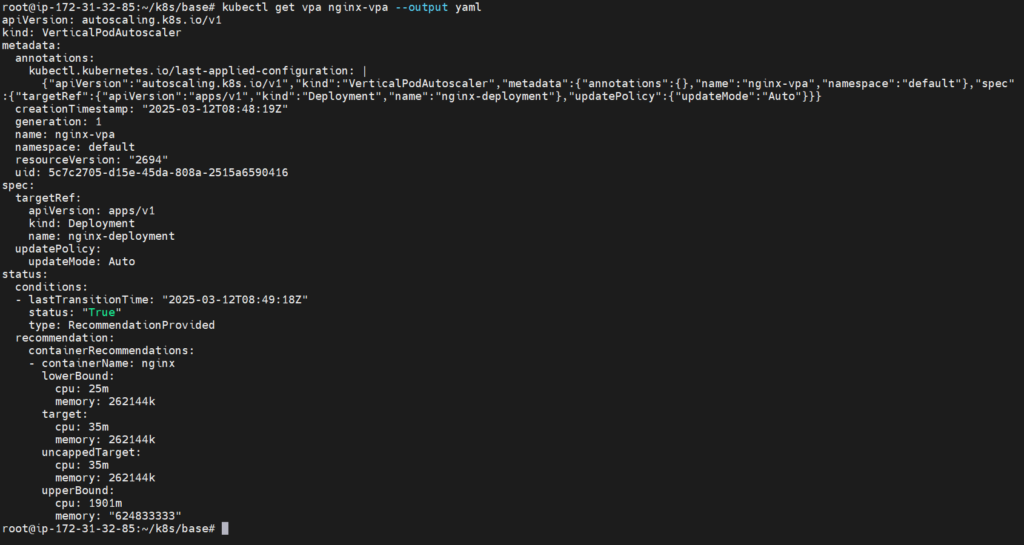
- Lower Bound → Minimum CPU/memory required
- Upper Bound → Maximum it should have
- Target → Ideal value
Step #3:Generate Load to Test Auto-Scaling
To see auto-scaling in action, generate CPU load:
kubectl run --rm -it --image=busybox load-generator -- /bin/sh
Inside the pod, run:
while true; do wget -q -O- http://nginx-deployment; done
After some time, check if pods restart with updated requests/limits:
Conclusion:
HPA and VPA help Kubernetes automatically adjust resources based on workload. HPA scales pods up or down, while VPA adjusts CPU and memory requests. Using them together ensures efficient resource management and better application performance. Try them out to keep your cluster running smoothly!
Related Articles:
Kubernetes Pod Troubleshooting Commands with Examples
Reference: