In this article, We are going to cover How to Install Git on Windows 10, Download git for Windows, configure git on Windows
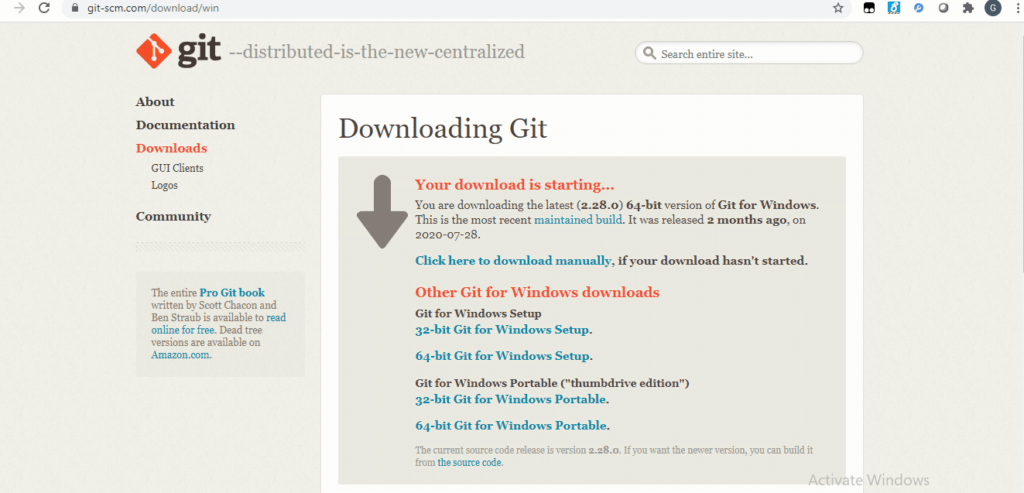
Step #1: Download Git for Windows from Git Official Site.
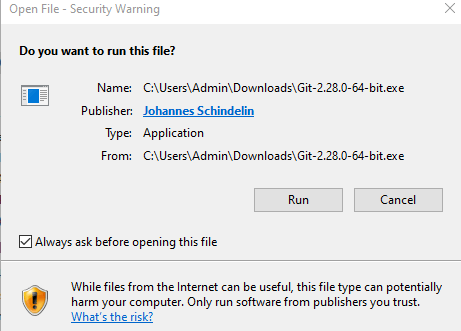
Step #2: Run Git Installer .exe for windows and click on Run.
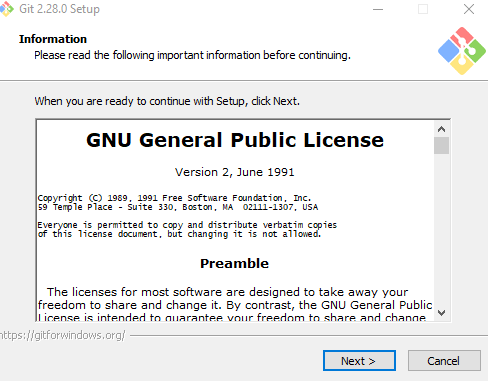
Step #3: Accept git Public License and click on Next
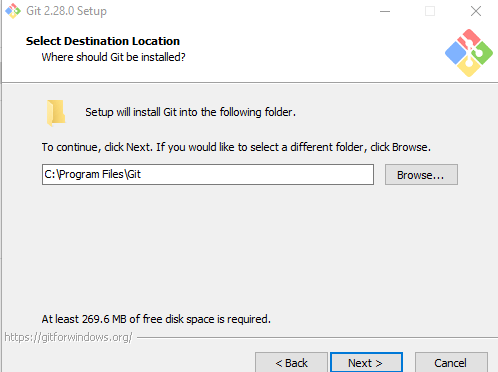
Step #3: Select Git Installation path in Windows 10 and click on Next
Step #4: Select Git components to Install on Windows 10 and click on Next
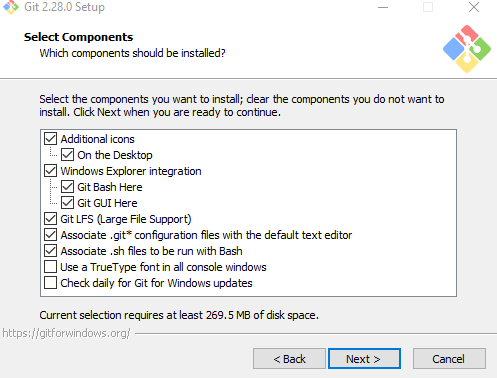
Step #5: Select Git Shortcut on Windows 10 and click on Next
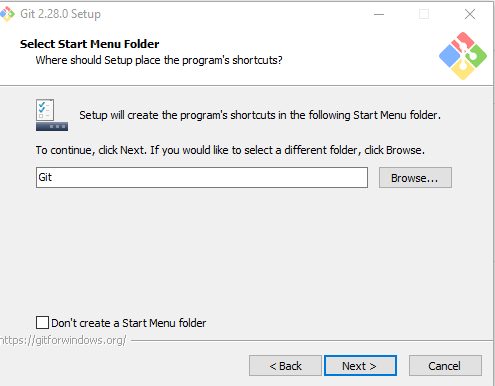
Step #6: Select Git PATH Environment and click on Next

Step #7: Select Git PATH Environment and click on Next
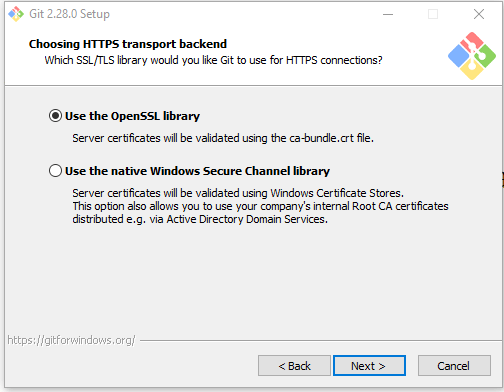
Step #8: Select Git Checkout style and click on Next
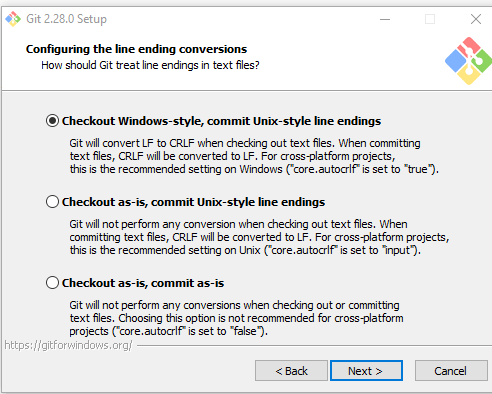
Step #9: Select Git Terminal for Windows 10 and click on Next

Step #10: Enable extra options and click on Next
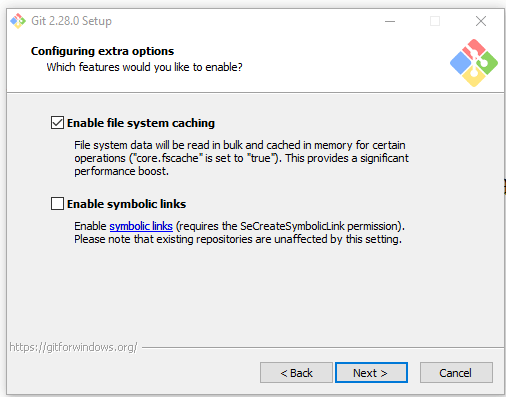
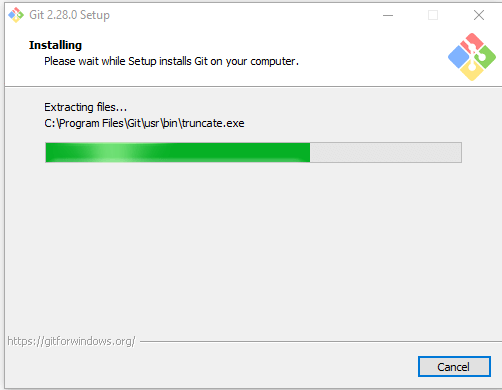
Step #11: How to Install Git on Windows 10, wait to finish to Install Git on Windows
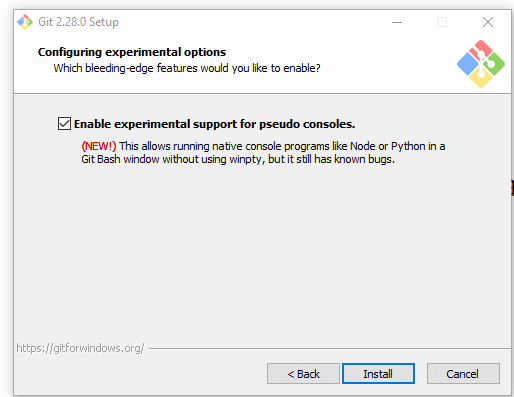
Step #12: Enable git experimental options and click on Next
Step #13: once installed, it will open git command prompt on your system.

Conclusion
We have covered How to Install Git on Windows 10, Download git for Windows, configure git on Windows
Related Articles
