In this article we will learn how to Automate S3 File Processing with Python and Lambda. Managing file uploads and processing data manually can be time-consuming and error-prone, especially at scale. Thankfully, AWS provides a seamless way to automate this workflow using S3 and Lambda. Today we’ll walk through how to set up an event-driven system where any CSV file uploaded to an S3 bucket automatically triggers a Lambda function to process the data using Python. Whether you’re dealing with logs, reports, or real-time data feeds, this solution helps you build a lightweight, serverless pipeline that runs reliably without the need to manage infrastructure.
Table of Contents
Prerequisites
- An active AWS Account.
- IAM Role with Lambda & S3 permissions.
- Basic understanding of Python and AWS Console.
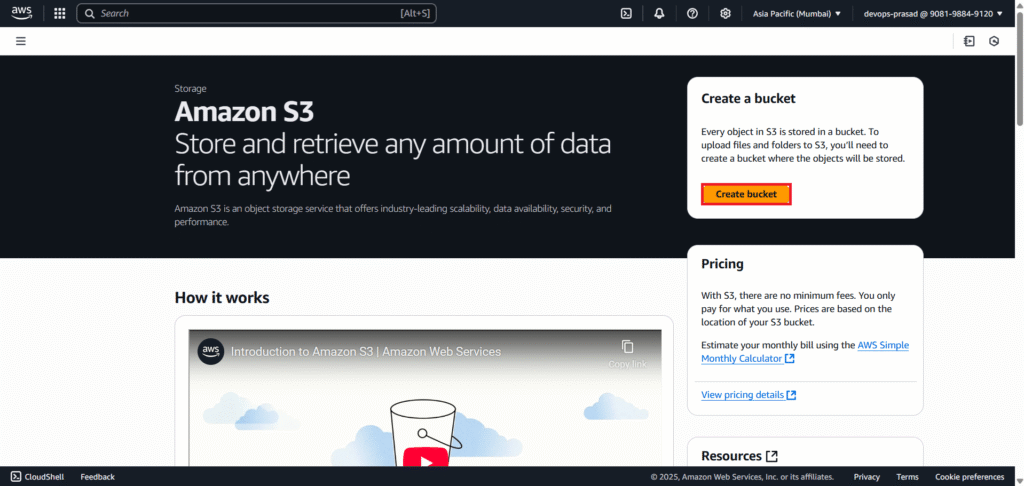
Step #1:Create an AWS S3 Bucket
From the AWS Management Console, navigate to S3 (Simple Storage Service). This bucket will serve as our data landing zone. Click “Create bucket”.
Select Bucket type: General purpose. Provide a unique bucket name (e.g., my-python-aws-lambda-bucket). Remember, S3 bucket names must be globally unique.
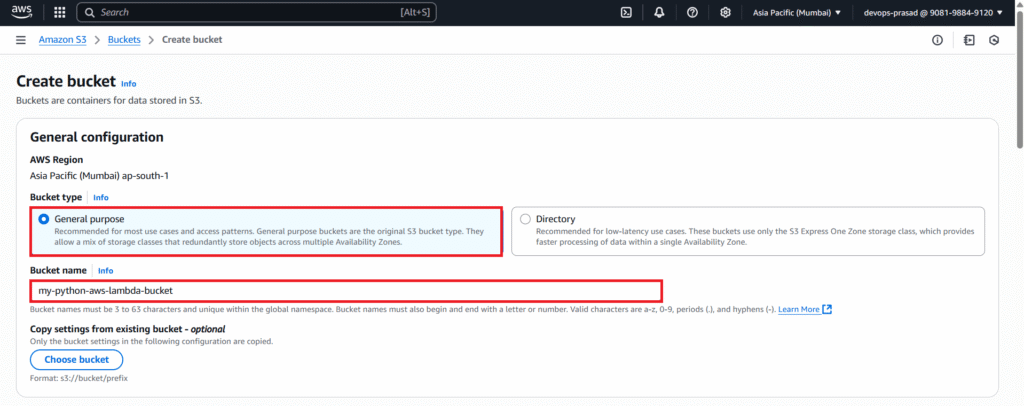
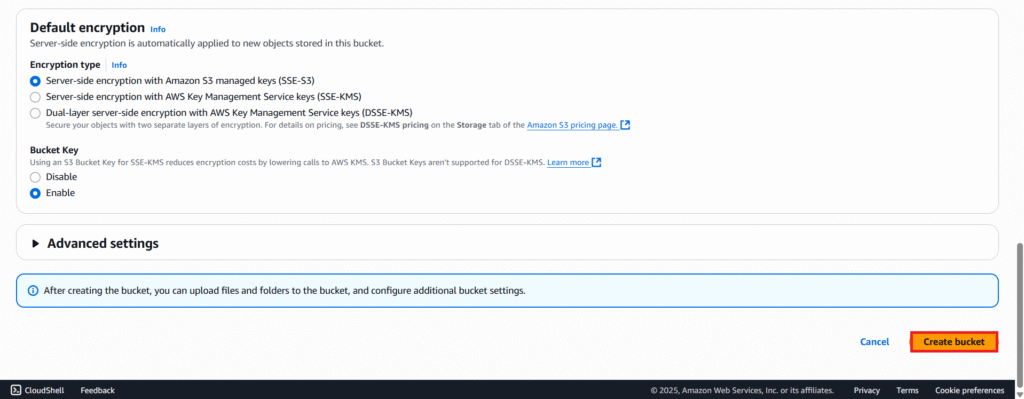
You can leave other options as default for this tutorial. Click “Create bucket”.
Now, let’s create a sample CSV file that we’ll use for testing. Open any plain text editor (e.g., Notepad, VS Code). Add the following content.
EmployeeID,Name,Department,Salary
101,Alice Smith,Engineering,75000
102,Bob Johnson,Marketing,60000
103,Charlie Brown,HR,55000
104,Diana Miller,Sales,80000
Save the file as Employee_Details.csv
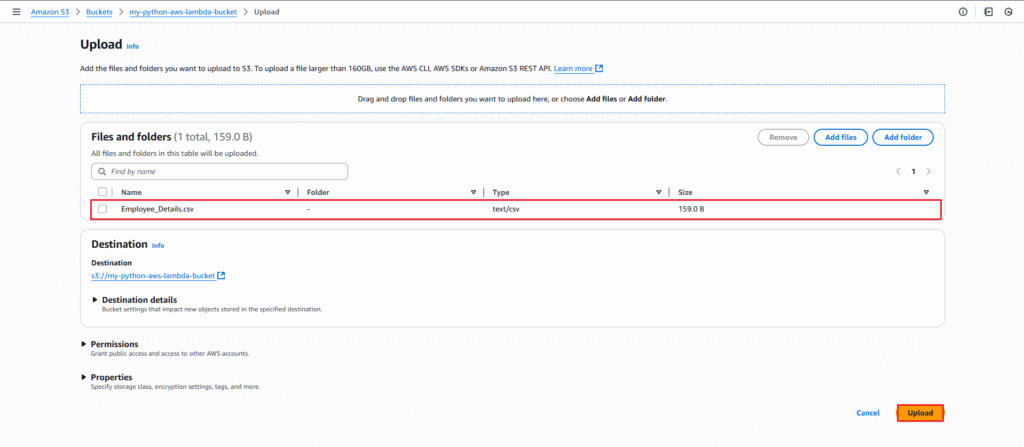
Navigate back to your newly created S3 bucket in the AWS console. Click the “Upload” button.
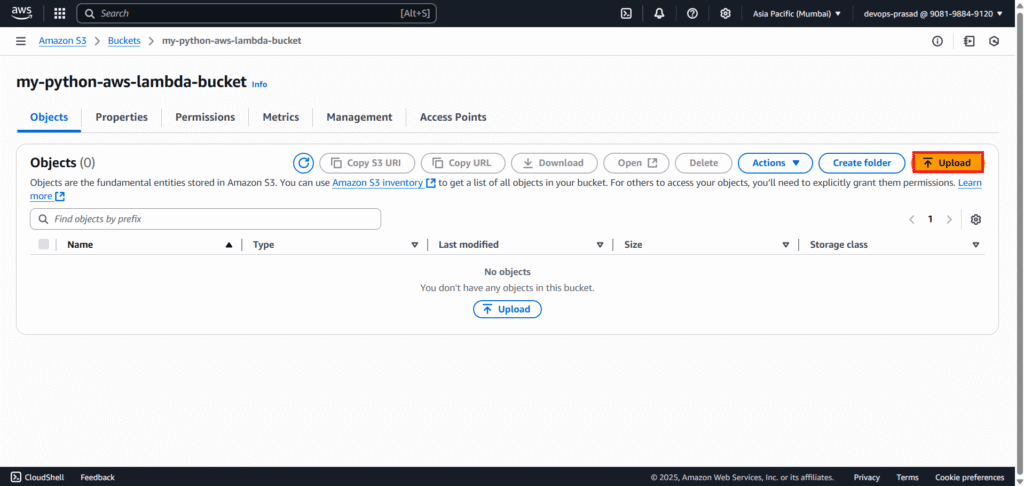
Click “Add files” and select your Employee_Details.csv file. Click “Upload”.
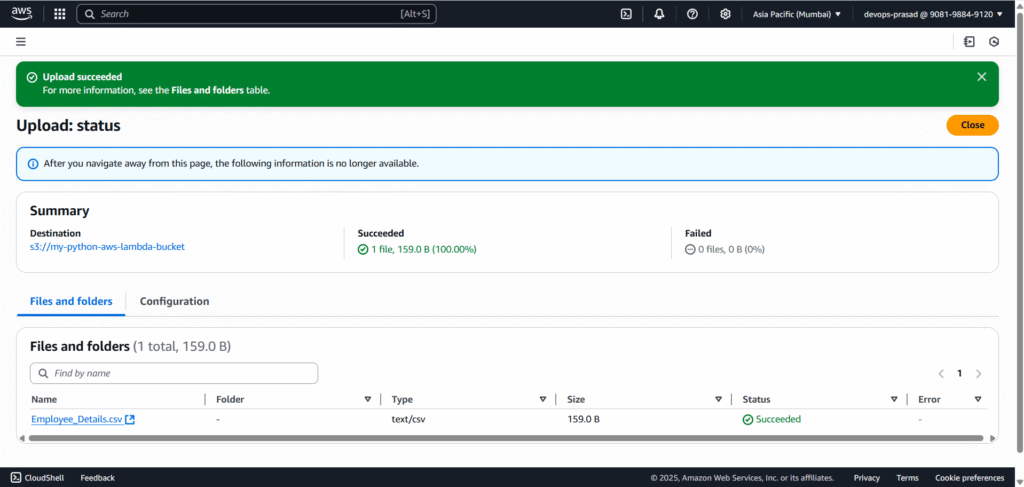
Below you can see the file is uploaded successfully.
Step #2:Create an IAM Role for Lambda in AWS
Every AWS service needs permissions to interact with other services. Our Lambda function will need permission to read from S3 and to write logs to CloudWatch.
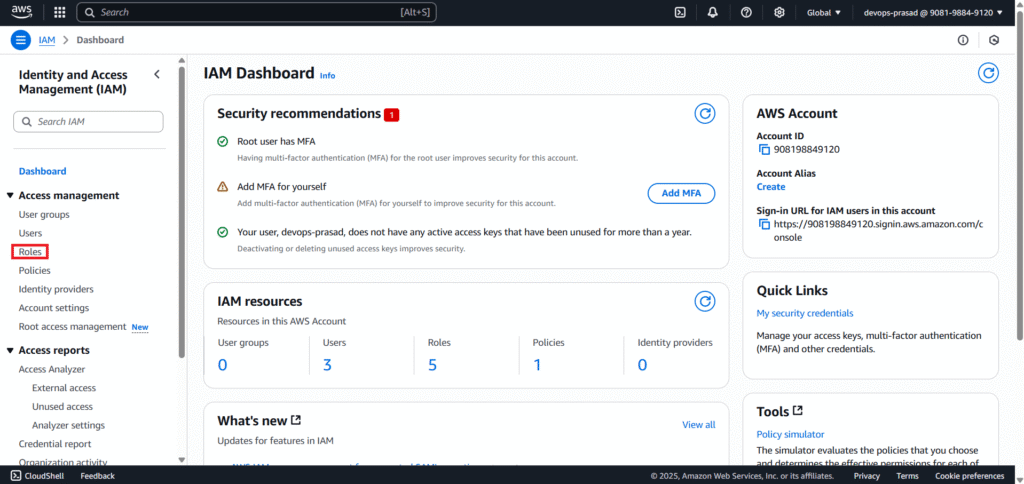
Login to the AWS Management Console. Navigate to IAM (Identity and Access Management).
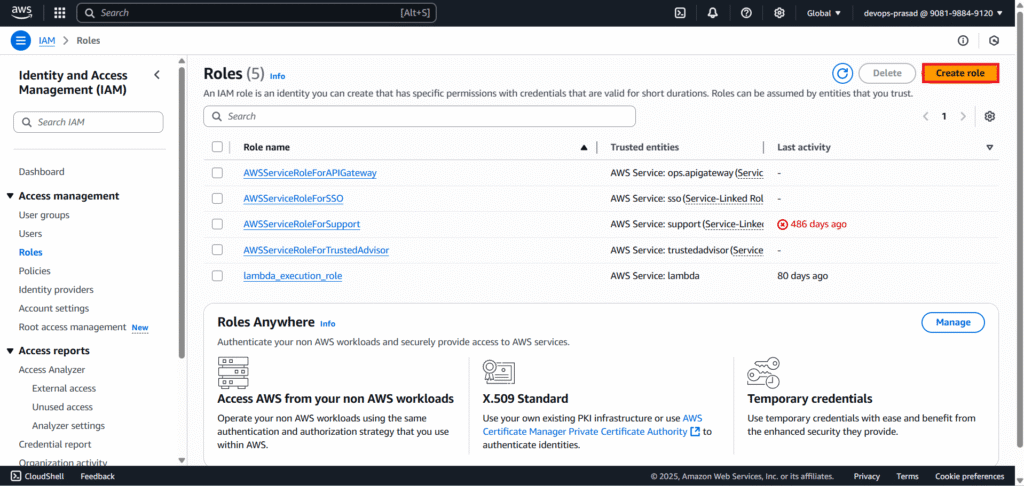
In the left navigation pane, click on “Roles”.
Then click “Create role”.
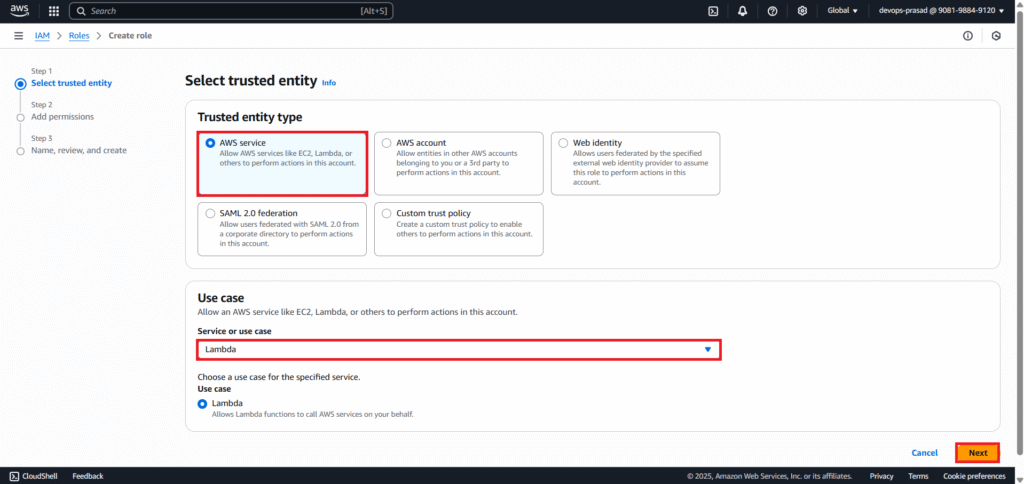
For “Select type of trusted entity,” choose “AWS service”. For “Use case,” select “Lambda” and click “Next”.
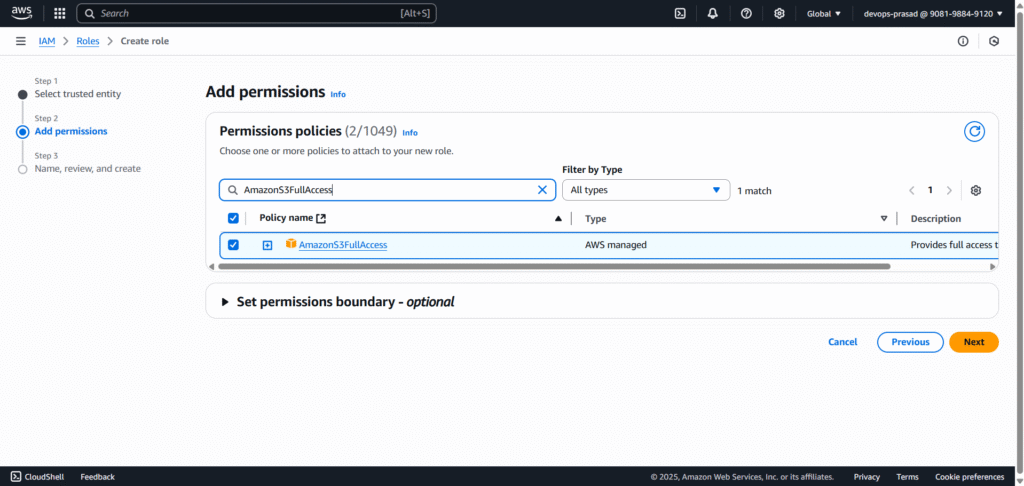
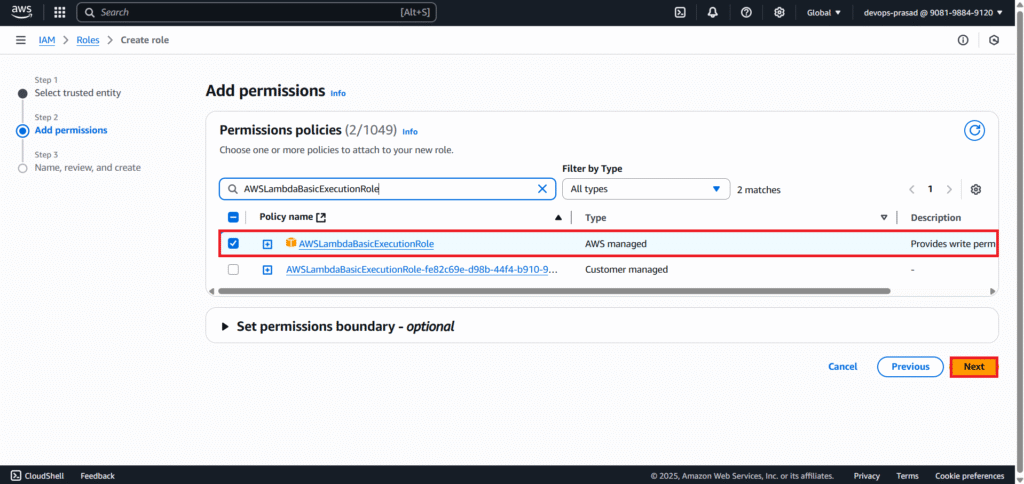
In the “Add permissions” window, search for and select the following managed policies:
AWSLambdaBasicExecutionRole: Grants permissions for Lambda to write logs to CloudWatch.AmazonS3ReadOnlyAccess: Grants read-only access to S3 buckets.
Click “Next”.
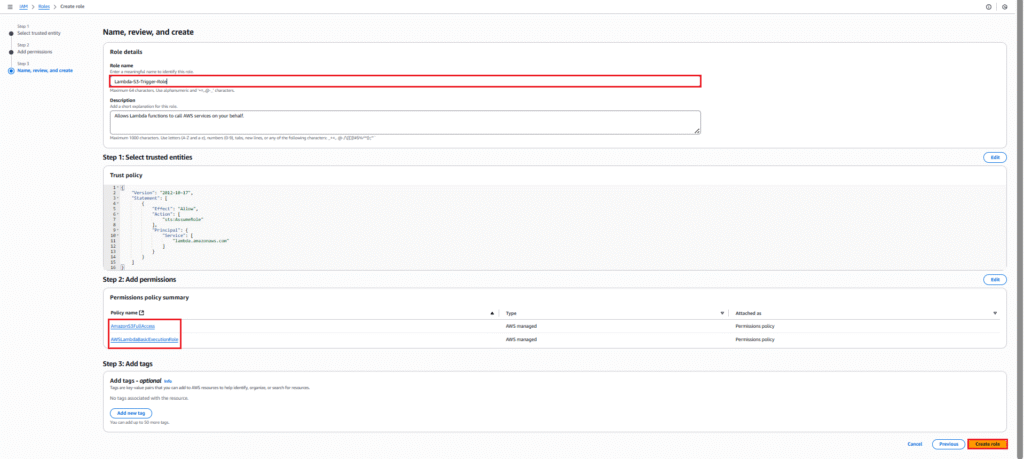
Enter a descriptive Role name. e.g. Lambda-S3-Trigger-Role. Optionally, add a description and tags. Click “Create role”.
You can see below our role Lambda-S3-Trigger-Role is create successfully.

Step #3:Create the AWS Lambda Function with S3 Triggers
This is where we set up the serverless function that will execute our Python code.
rom the AWS Management Console, navigate to Lambda. Click “Create function”.
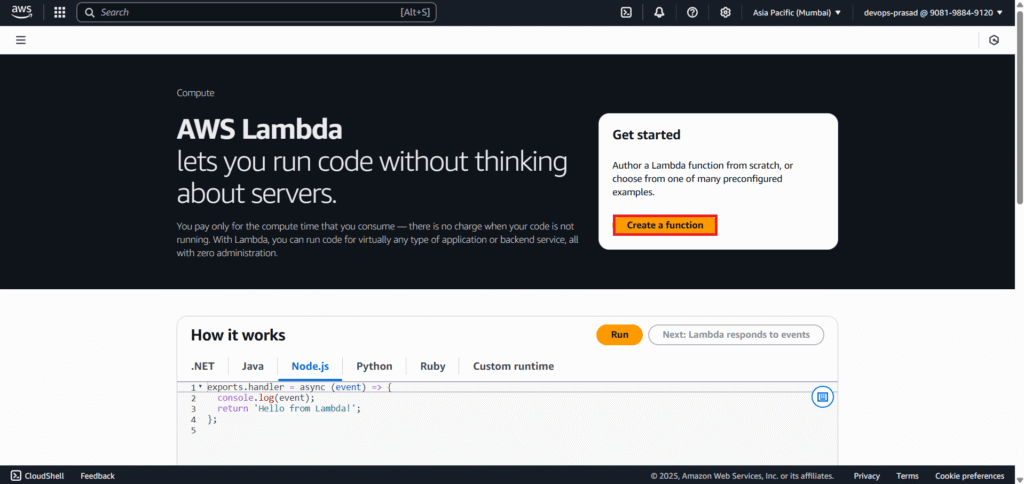
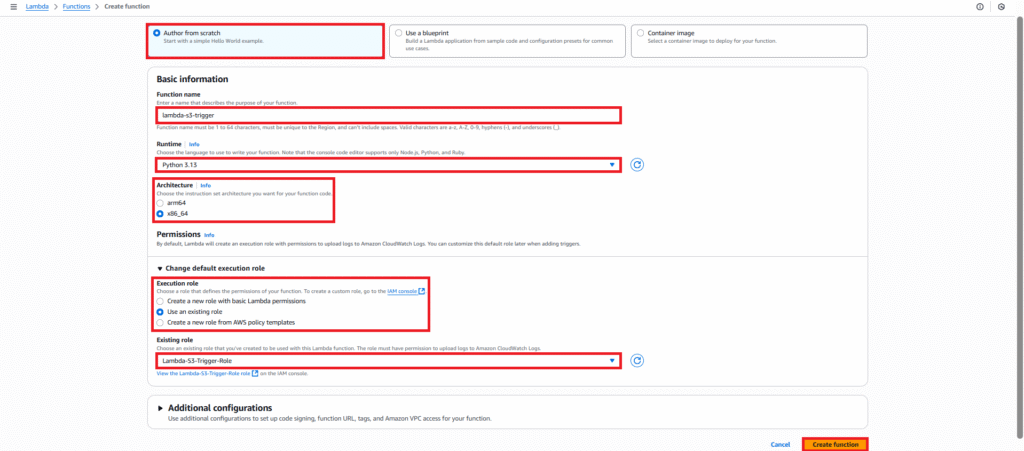
Select “Author from scratch”.
Configure the basic information:
- Function name: lambda-s3-trigger
- Runtime: Choose your Python version (e.g.,
Python 3.8,Python 3.9, orPython 3.13if available). - Architecture:
x86_64(default) - Under “Change default execution role,” select “Use an existing role” and choose the IAM role you created Lambda-S3-Trigger-Role.
- Click “Create function”.
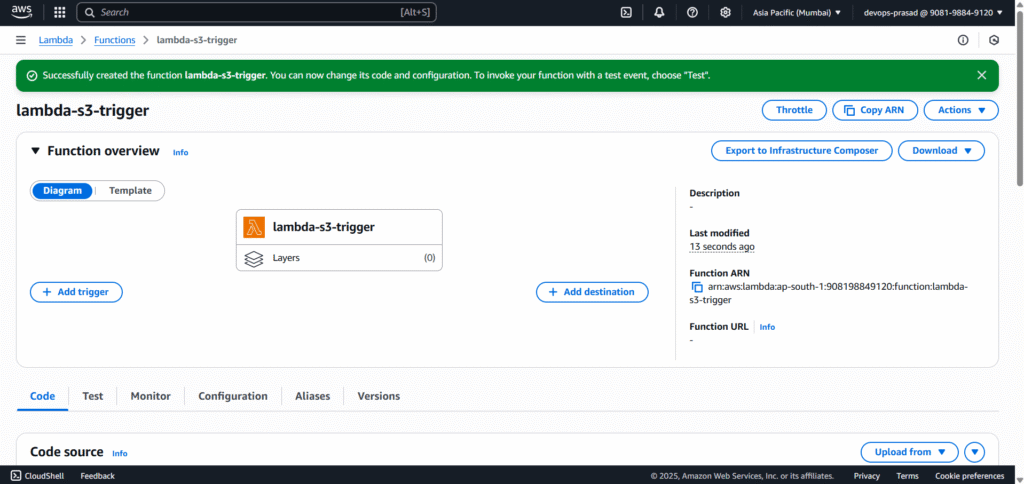
Now, let’s configure the trigger so that our Lambda function runs automatically when a file is uploaded to S3.
Once the Lambda function is created, you’ll see its overview page. Click on the “Add trigger” button.
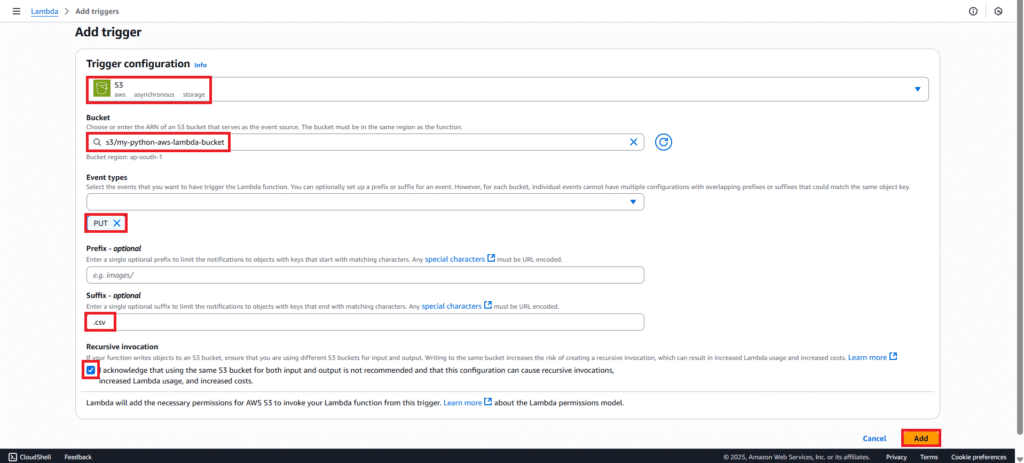
In the “Add trigger” configuration:
- Select S3 from the dropdown list.
- Bucket: Select the S3 bucket you created my-python-aws-lambda-bucket.
- Event types: Select “PUT” for finer control.
- Suffix: Enter
.csvso the function only triggers for CSV files. - Acknowledge the recursive invocation warning (read it carefully!).
- Click “Add”.
Now our trigger is added to lambda function.

Step #4:Update the Lambda Code with Python Script
This is the Python code that will read and process your CSV data.
Open your lambda-s3-trigger function in the Lambda console. Navigate to the “Code” tab.
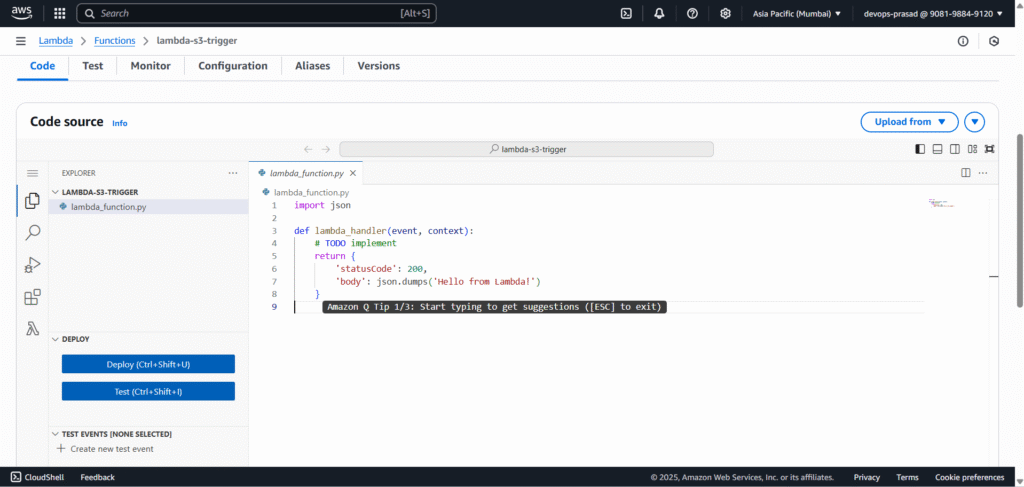
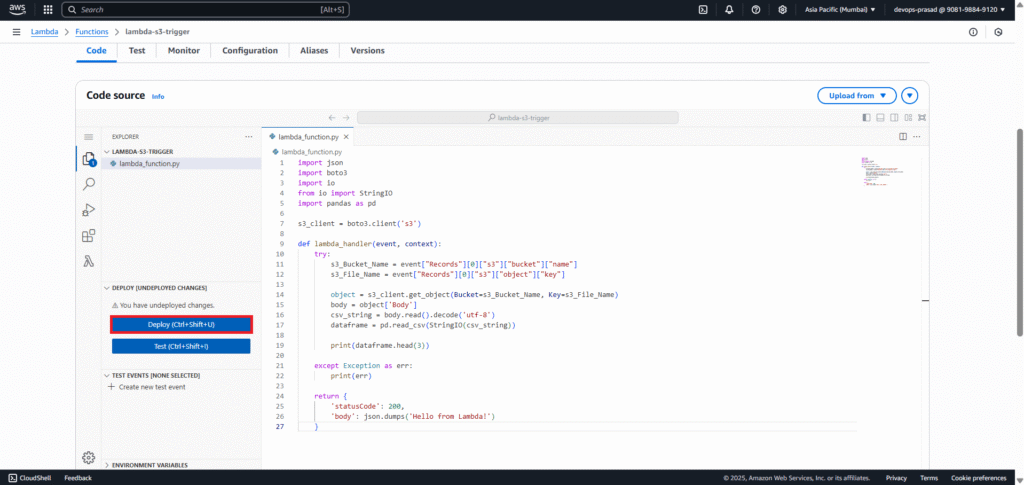
Replace the default code with the following Python script. Important: Click the “Deploy” button to save and deploy your changes.
import json
import boto3
import io
from io import StringIO
import pandas as pd

s3_client = boto3.client('s3')

def lambda_handler(event, context):
    try:
        # Extract bucket name and file name from the S3 event
        s3_Bucket_Name = event["Records"][0]["s3"]["bucket"]["name"]
        s3_File_Name = event["Records"][0]["s3"]["object"]["key"]

        print(f"Processing file: {s3_File_Name} from bucket: {s3_Bucket_Name}")

        # Get the object from S3
        object = s3_client.get_object(Bucket=s3_Bucket_Name, Key=s3_File_Name)
        body = object['Body']

        # Read the CSV content into a Pandas DataFrame
        csv_string = body.read().decode('utf-8')
        dataframe = pd.read_csv(StringIO(csv_string))

        # Print the first 3 rows of the DataFrame to CloudWatch Logs
        print("Successfully read CSV data. Head (first 3 rows):")
        print(dataframe.head(3))

    except Exception as err:
        print(f"An error occurred: {err}")
        # You might want to log the full traceback for debugging in a real scenario
        # import traceback
        # traceback.print_exc()

    return {
        'statusCode': 200,
        'body': json.dumps('Lambda function executed successfully!')
    }
Step #5:Test the Lambda Function
Before we enable full functionality, let’s manually test our code.
- In the Lambda console, click the “Test” button.
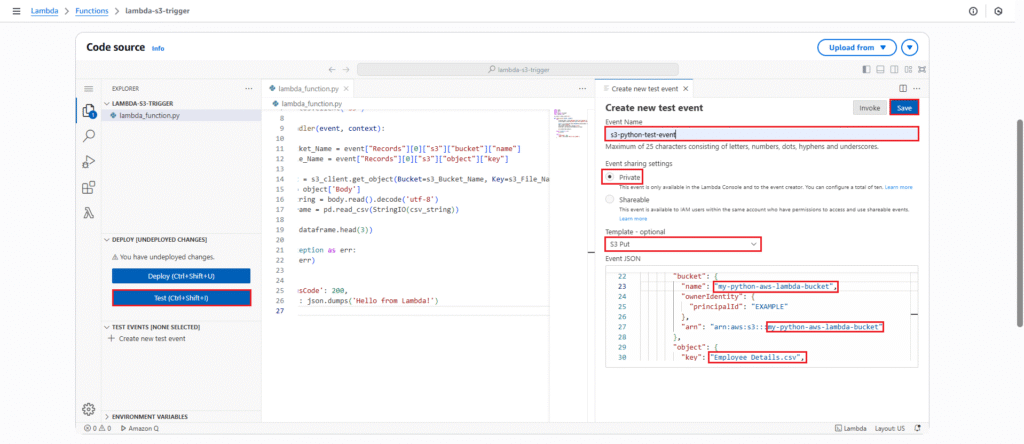
- Choose “Create new event”.
- Event name: Enter s3-python-test-event.
- Event sharing settings: Select Private.
- Event template: Choose s3-put.
- In the test event JSON, replace the placeholder bucket name (
example-bucket) and object key (test/key) with your S3 bucket name my-python-aws-lambda-bucket and the name of the CSV file you uploaded Employee_Details.csv. - Click “Test”.
You will observe an error in the “Execution Results” and “Function Logs” similar to: ModuleNotFoundError: No module named 'pandas'. This is expected because the Pandas library is not natively available in the default Lambda runtime environment.
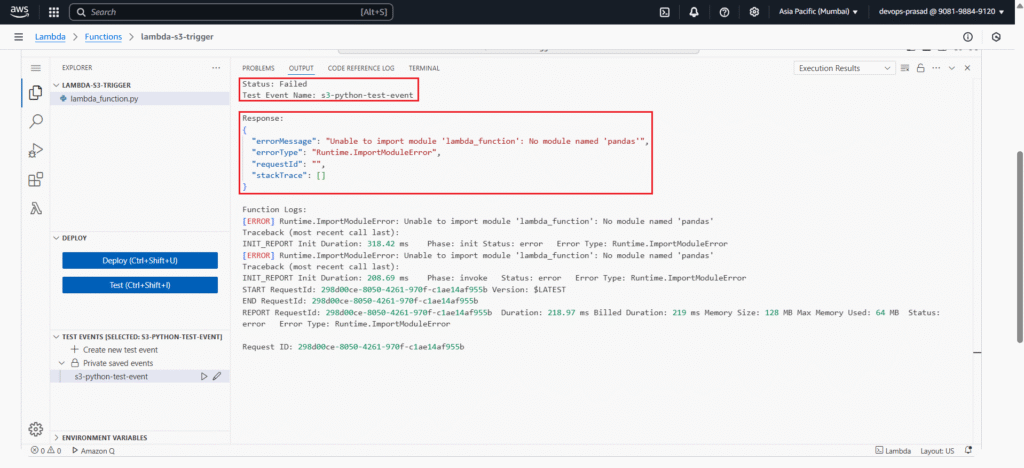
To resolve the ModuleNotFoundError, we need to attach a Lambda Layer containing the Pandas library.
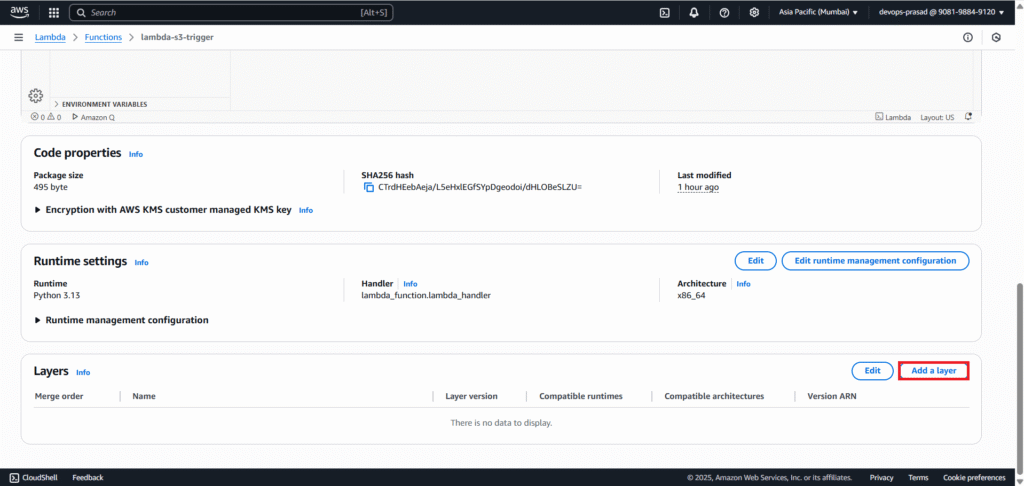
On your Lambda function’s overview page, scroll down to the “Layers” section. Click “Add a layer”.
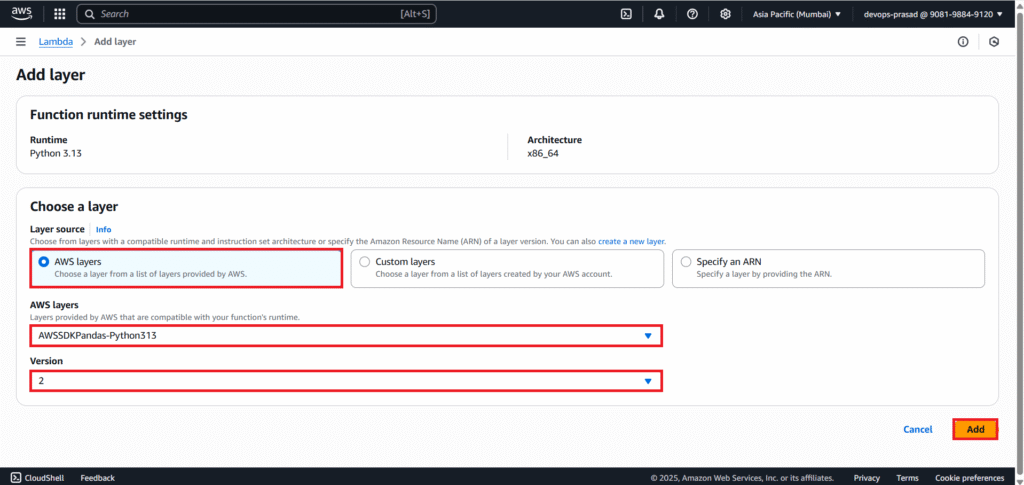
In the “Add layer” window:
- Select “AWS layers”.
- Search for a layer containing “Pandas” that matches your Python runtime e,g, AWSSDKPandas3.13.
- Select the latest “Version” of the chosen Pandas layer.
- Click “Add”.
As you can see our layer is added.

Now that the Pandas layer is attached, let’s run the test again.
- Go back to your Lambda function’s “Code” tab.
- Click the “Test” button.
- Run the
s3-test-eventagain.
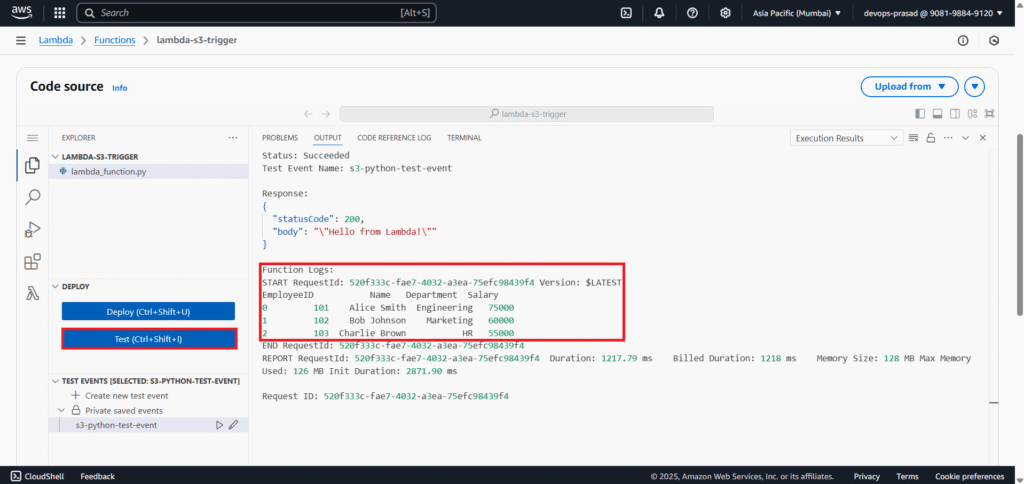
The “Status” in the “Execution Results” should change to “Succeeded”. In the “Function Logs” (scroll down in the execution results), you should now see the output of print(dataframe.head(3)), which will display the first 3 rows of the data from your Employee_Details.csv file, confirming that Pandas was successfully imported and used to read the CSV.
Step #6:Trigger Lambda with a Real S3 Upload
With our Lambda function now fully operational, let’s see it in action by uploading a new file to S3.
Create another CSV file on your local machine, perhaps named Employee_Details_1.csv, with slightly different data (or entirely new data).
ID,Name,City
201,John Doe,New York
202,Jane Doe,Los Angeles
203,Peter Pan,London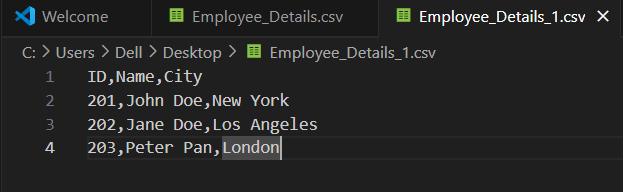
Navigate back to your S3 bucket in the AWS console. Click “Upload”. Select your new Employee_Details_1.csv file and upload it.
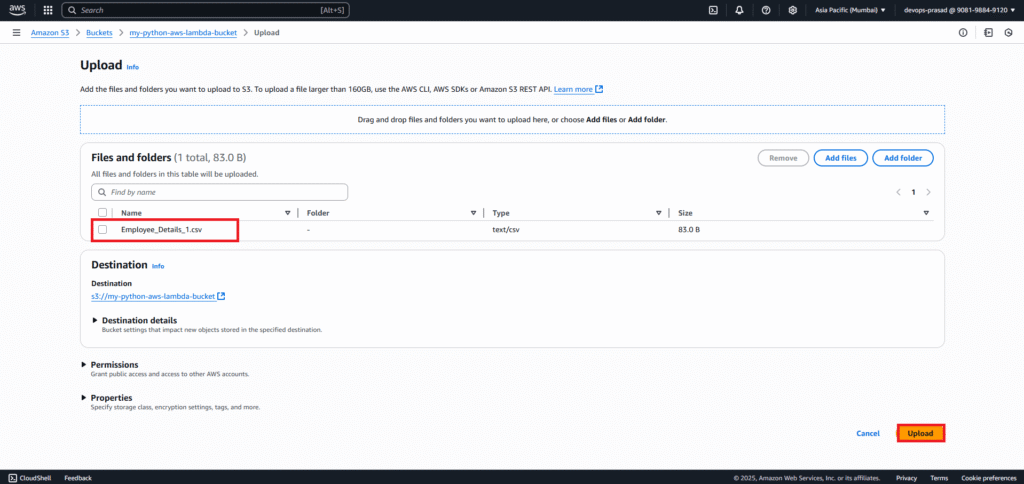
Now our file Employee_Details_1.csv is uploaded successfully.

Step #7:Verify Execution in CloudWatch Logs
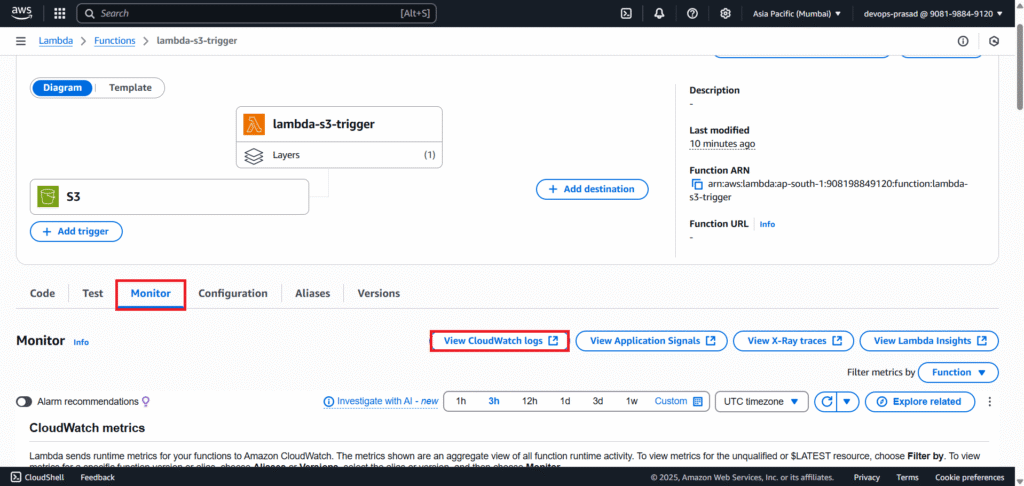
The Lambda function should have executed automatically after the upload. To see its output from your Lambda function’s overview page, click on the “Monitor” tab. Click the “View CloudWatch logs” button.
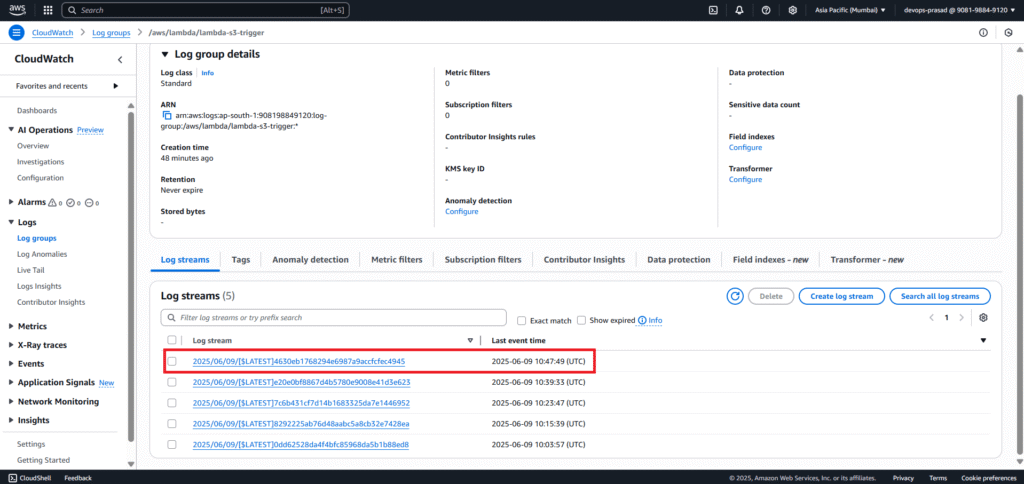
This will take you to the CloudWatch Logs console. Click on the most recent “Log stream”
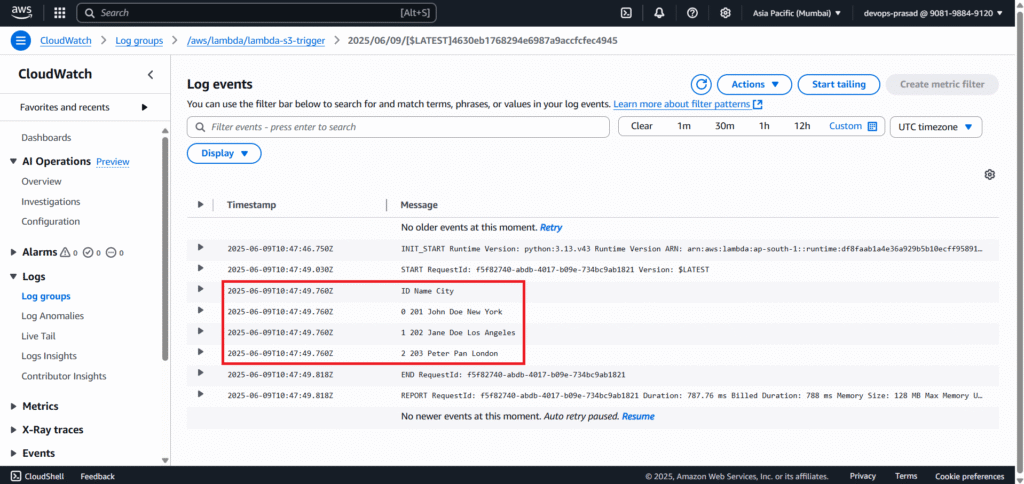
Inside the log stream, you will find the print statements from your Lambda function, including the head(3) output of the data from Employee_Details_1.csv.
Conclusion:
By combining AWS S3 and Lambda, you’ve created a powerful serverless solution that automatically reacts to file uploads and processes data on the fly. This setup not only improves efficiency but also minimizes the operational overhead. Using Python and Pandas adds flexibility, allowing you to manipulate and analyze your data as needed. You can extend this system to perform complex ETL tasks, push data to databases, or trigger downstream services.
Related Articles:
Secure SFTP Setup Using AWS Transfer Family
Reference: