In this article we will learn about Decoupling CI from CD with ArgoCD Image Updater. Continuous Integration (CI) and Continuous Deployment (CD) play crucial roles in ensuring fast and reliable delivery of applications. However, tightly coupling CI and CD processes can lead to inefficiencies, reduced flexibility, and challenges in scaling deployments. By decoupling CI from CD, teams can streamline their workflows and gain better control over deployments.
ArgoCD Image Updater is a powerful tool that facilitates this separation by automatically updating application deployments in Kubernetes when new container images are published. This article explores how to use ArgoCD Image Updater to separate CI from CD, automate image updates, and achieve a clean GitOps workflow for your deployments.
Table of Contents
Prerequisites
- AWS Account with Ubuntu 24.04 LTS EC2 Instance.
- Minikube and kubectl, Helm Installed
- ArgoCD installed and running in your Kubernetes cluster.
- Docker and Docker Hub account.
- A GitHub repository for your GitOps setup.
Step #1:Create a Docker Repository
A Docker repository is essential for storing your application images. Here’s how to create and configure one. First Log in to Docker Hub and click on Create a repository.

Name the repository nginx-demo1 and set visibility as Public. Then click on Create.

As you can see our repo is created successfully.

Step #2:Create a Github Repository
Your GitHub repository will host the ArgoCD configurations and Helm chart files.
Log in to GitHub. Click on New to create a new repository.
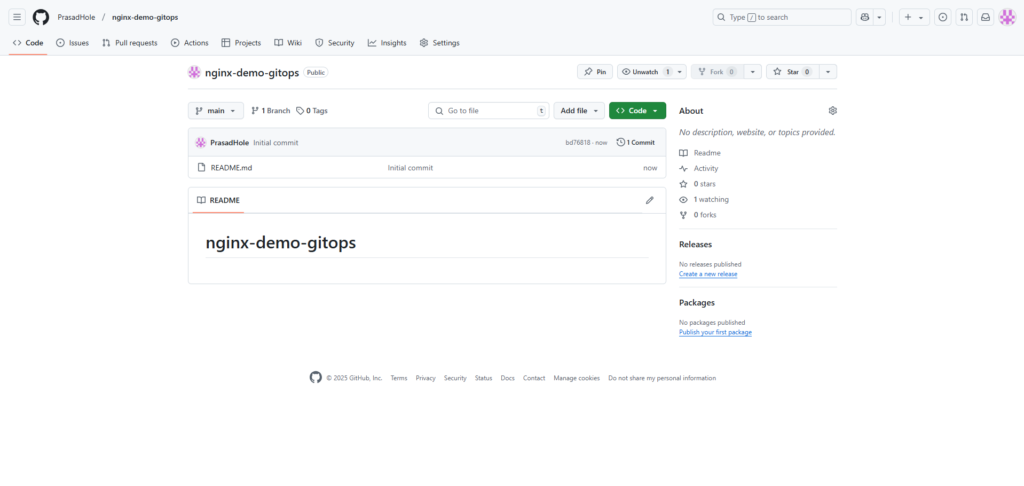
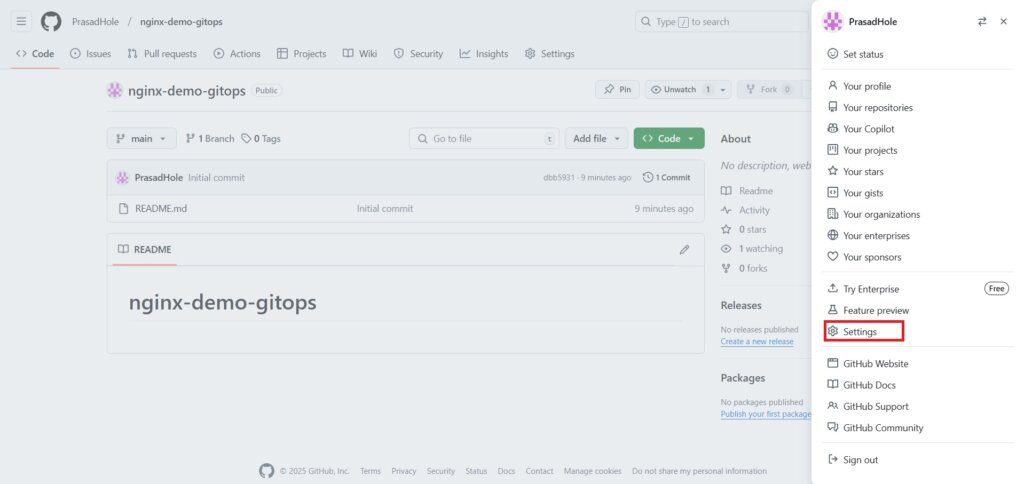
Click New under Repositories. Name the repository nginx-demo-gitops. Choose Public. Initialize the repository with a README file. Click on Create repository.

Below you can see our repo is created.
Step #3:Create a Simple NGINX Application
Create a Dockerfile. The Dockerfile defines the NGINX application and customizes its content.
nano Dockerfile
add following code into it.
# Use the official nginx base image
FROM nginx:alpine

# Add a custom index.html
COPY index.html /usr/share/nginx/html/index.html 
Create an index.html file with custom content.
nano index.html
add following code into it.
<!DOCTYPE html>
<html>
<head>
    <title>Welcome to NGINX!</title>
</head>
<body>
    <h1>NGINX Deployed via ArgoCD!</h1>
</body>
</html> 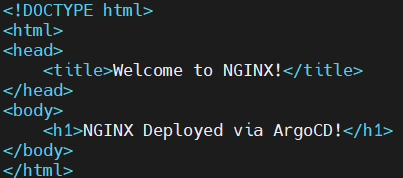
Login into your docker account.
docker login -u prasadhole
Build the Docker image.
docker build -t prasadhole/nginx-demo1:v1.0 .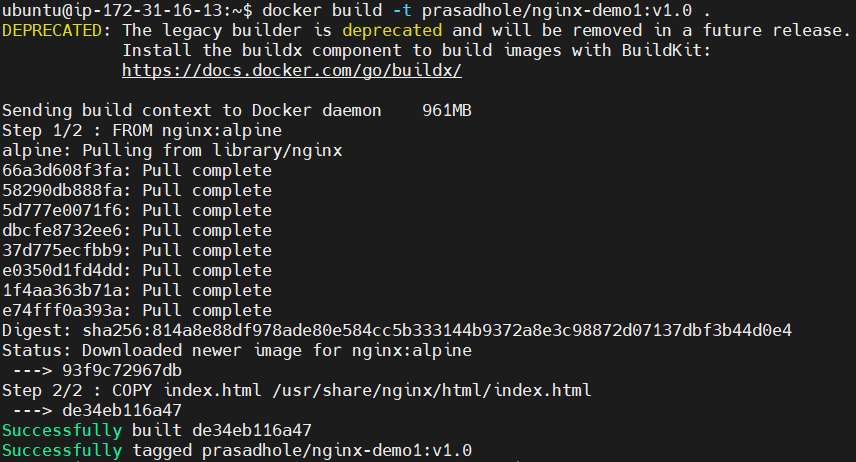
Push the image to Docker Hub.
docker push prasadhole/nginx-demo1:v1.0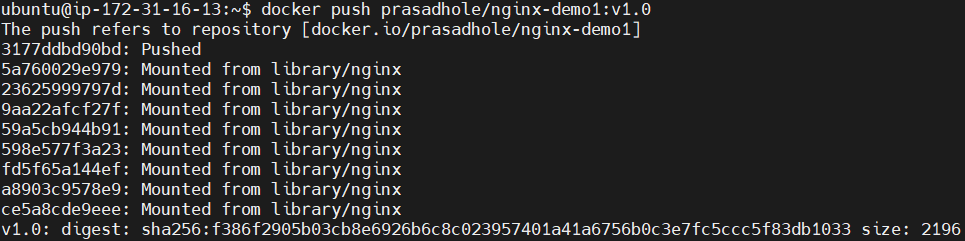
Step #4:Set Up a GitHub Repository
Now generate an SSH key pair (private and public keys). It creates a secure method for authenticating with remote servers or Git repositories without passwords.
ssh-keygen -t ed25519 -C "[email protected]"
Display the contents of the public key file. Copy it.
cat ~/.ssh/id_ed25519.pub
Now go to settings of github.
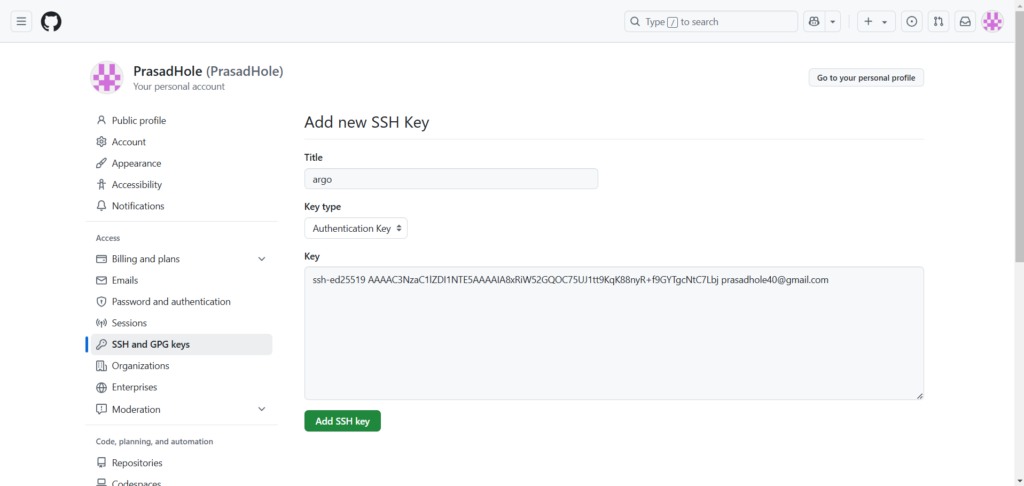
Now go to SSH and GPG keys and click on New SSH key.
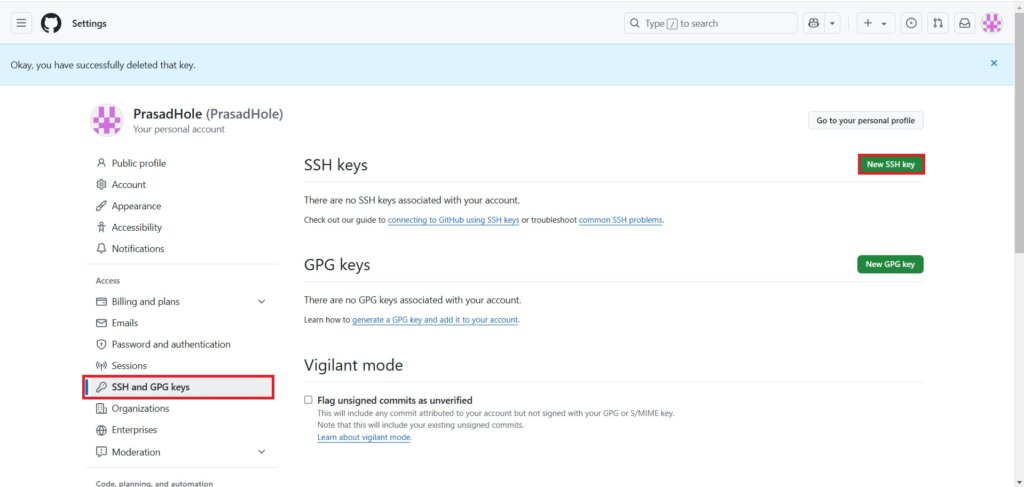
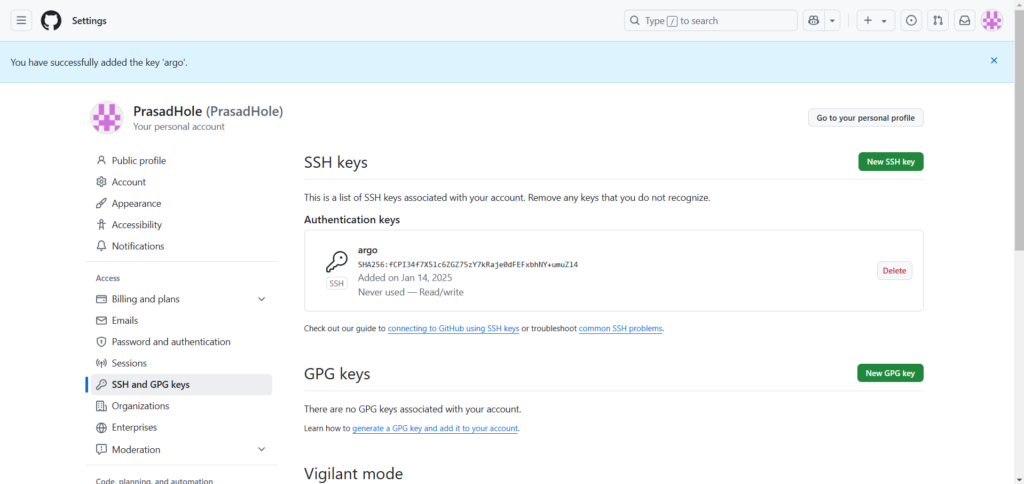
Give the Title and paste public Key in the Key section. Click on Add SSH key.
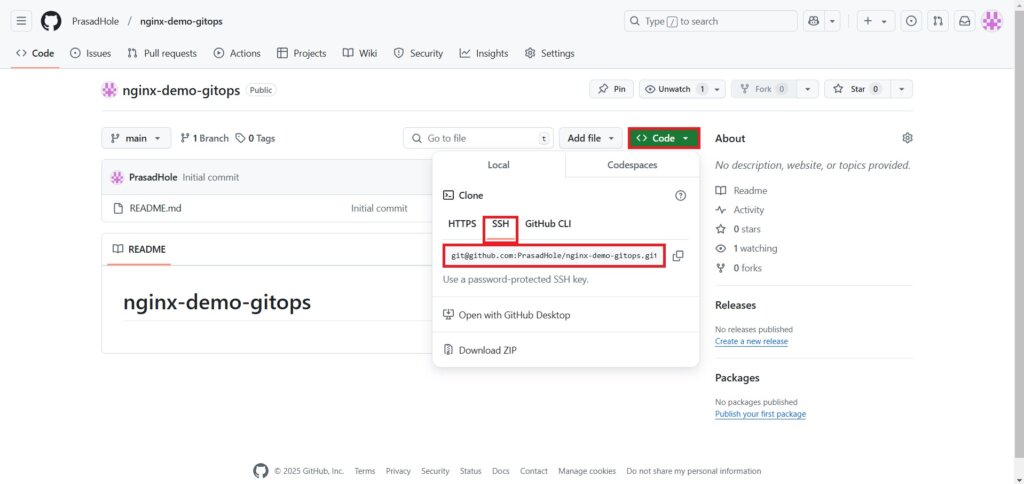
Now go back to repo and click on Code > SSH and copy the code.
Clone your GitHub repository locally.
git clone [email protected]:PrasadHole/nginx-demo-gitops.git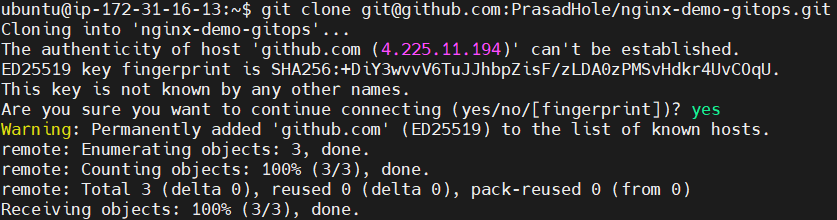
navigate to it.
cd nginx-demo-gitops 
Create a directory nginx in it and navigate to it.
mkdir nginx
cd nginx
Create a Chart.yaml file.
nano Chart.yaml
add the following code into it.
apiVersion: v2
name: nginx
description: A Helm chart for NGINX
version: 0.1.0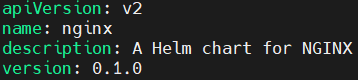
Create a values.yaml file.
nano values.yaml
add the following code into it.
replicaCount: 1

image:
  repository: prasadhole/nginx-demo1
  tag: v1.0
  pullPolicy: IfNotPresent

service:
  type: NodePort
  port: 80

resources: {}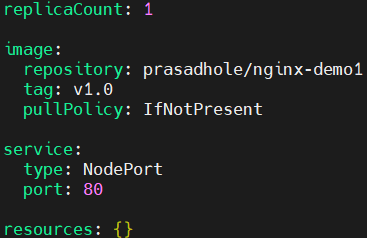
Now create a templates directory and navigate into it.
mkdir templates
cd templates
Create a deploymet.yaml file.
nano deployment.yaml
add the following code into it.
apiVersion: apps/v1
kind: Deployment
metadata:
  name: nginx
spec:
  replicas: {{ .Values.replicaCount }}
  selector:
    matchLabels:
      app: nginx
  template:
    metadata:
      labels:
        app: nginx
    spec:
      containers:
        - name: nginx
          image: "{{ .Values.image.repository }}:{{ .Values.image.tag }}"
          ports:
            - containerPort: 80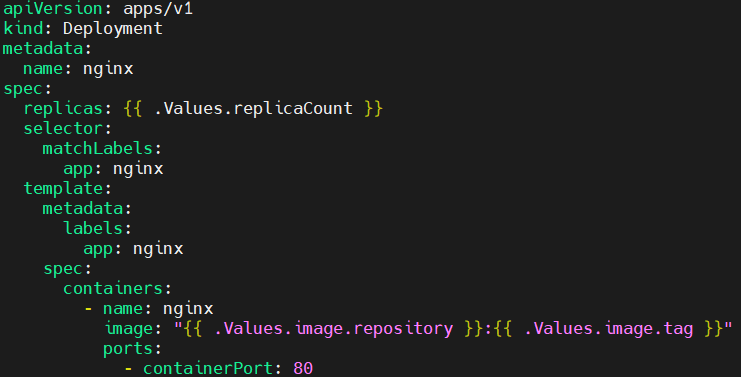
Create a service.yaml file.
nano service.yaml
Add the following code into it.
apiVersion: v1
kind: Service
metadata:
  name: nginx
spec:
  type: {{ .Values.service.type }}
  ports:
    - port: {{ .Values.service.port }}
      targetPort: 80
  selector:
    app: nginx
now get back to root directory.
cd ../..
Create an app.yaml file to define your ArgoCD application.
nano app.yaml
add the following code into it.
apiVersion: argoproj.io/v1alpha1
kind: Application
metadata:
  name: nginx
  namespace: argocd
spec:
  project: default
  source:
    repoURL: [email protected]:PrasadHole/nginx-demo-gitops.git
    path: nginx
    targetRevision: HEAD
  destination:
    server: https://kubernetes.default.svc
    namespace: default
  syncPolicy:
automated: {} 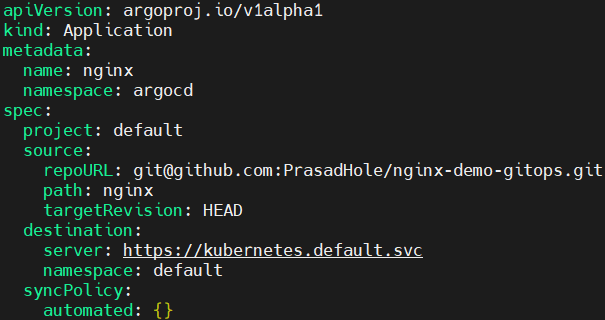
Add and commit your files to GitHub using following commands.
git add .
git commit -m "Added nginx Helm chart and configuration"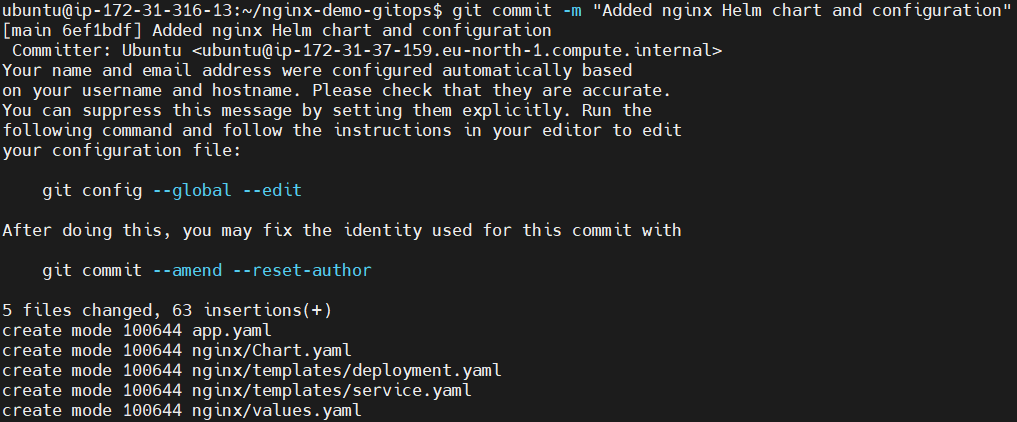
Now push all the files.
git push origin main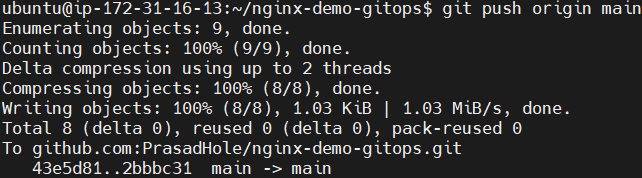
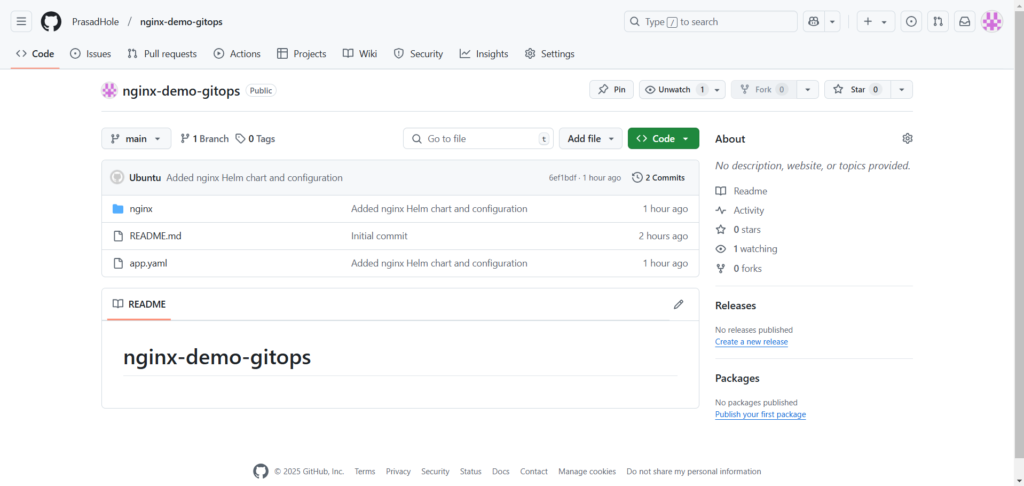
Go back to your nginx-demo-gitops repo on github account and refresh the page. You can see the files and folders have been pushed successfully.
Step #5:Deploy Using ArgoCD
Apply the ArgoCD Application.
kubectl apply -f app.yaml
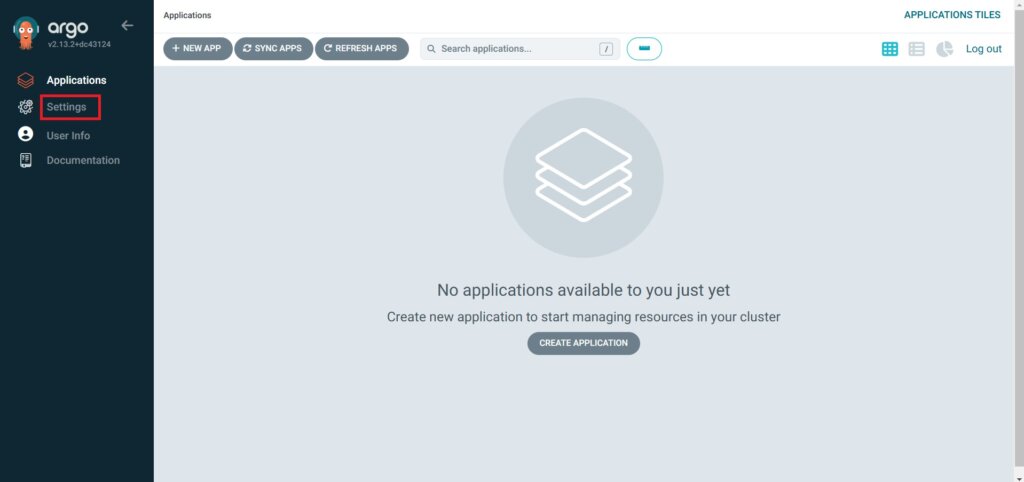
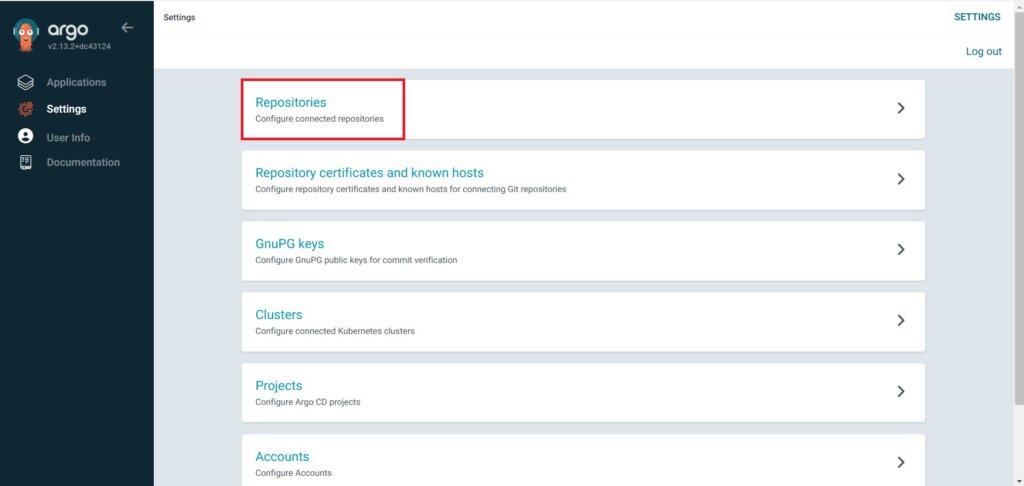
Go to ArgoCD. Click on Settings.
Click on Repositories.
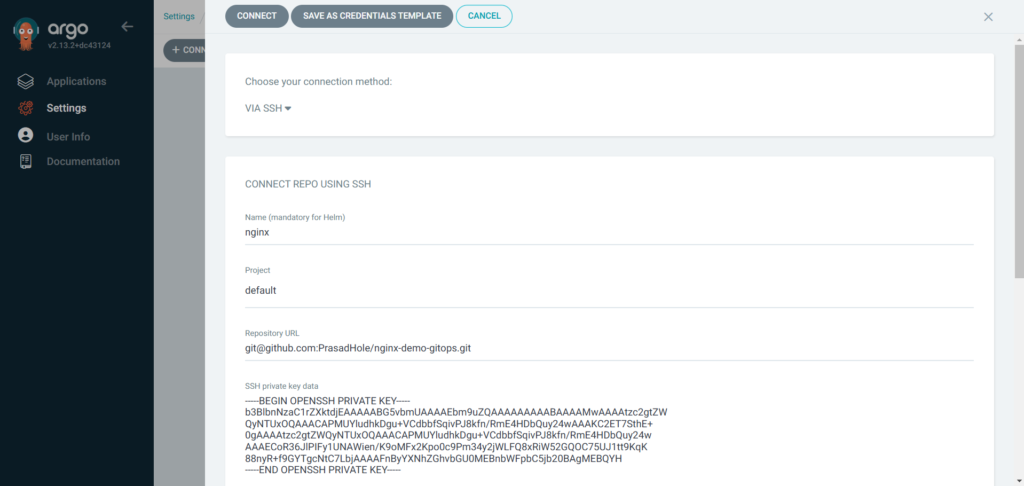
Click on CONNECT REPO.

Copy SSH code from nginx-demo-gitops.
Paste it in Repository URL, Use connection method VIA SSH, Name nginx, Project default, paste the SSH private key. Finally click on connect.
exit the root directory and navigate to .ssh
cd
cd .ssh
Get the private SSH key. Copy and paste it in ArgoCD Connect repo > SSH private key data.
cat id_ed25519
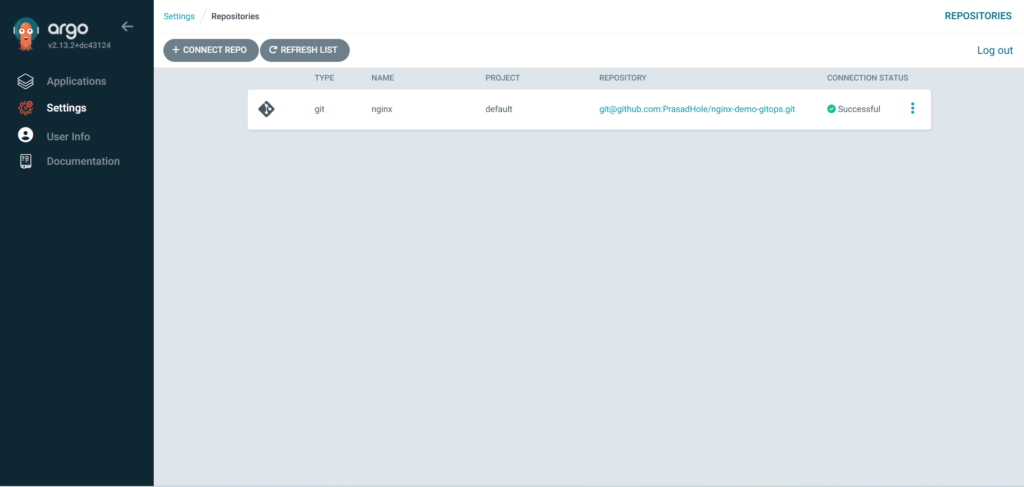
You can see the CONNECTION STATUS as Successfull.
Now go to Applications and Click on NEW APP.
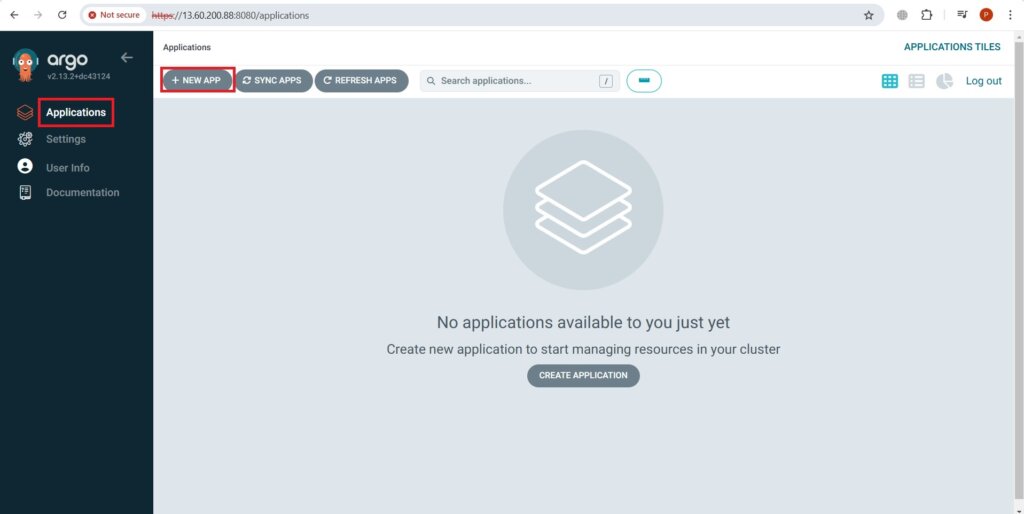
Type Application Name – nginx, Project Name as default, SYNC POLICY as Automatic.
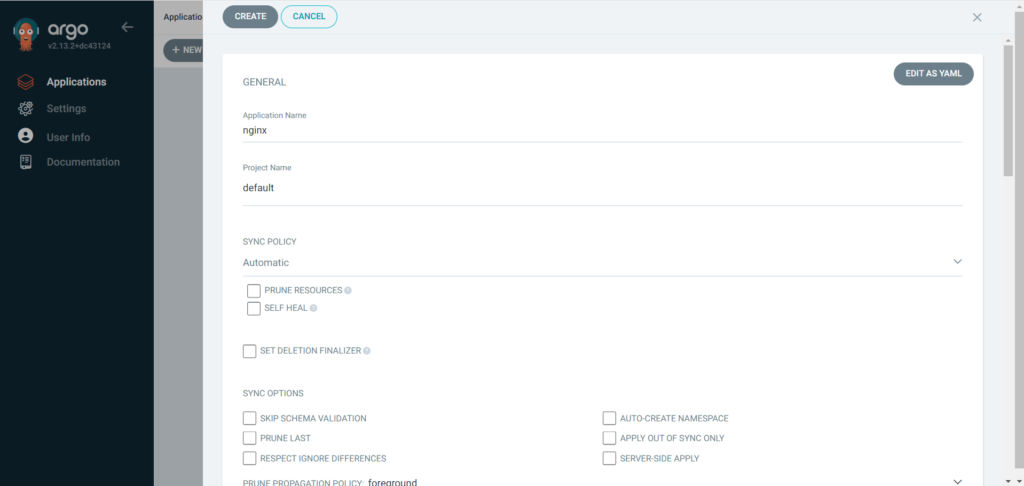
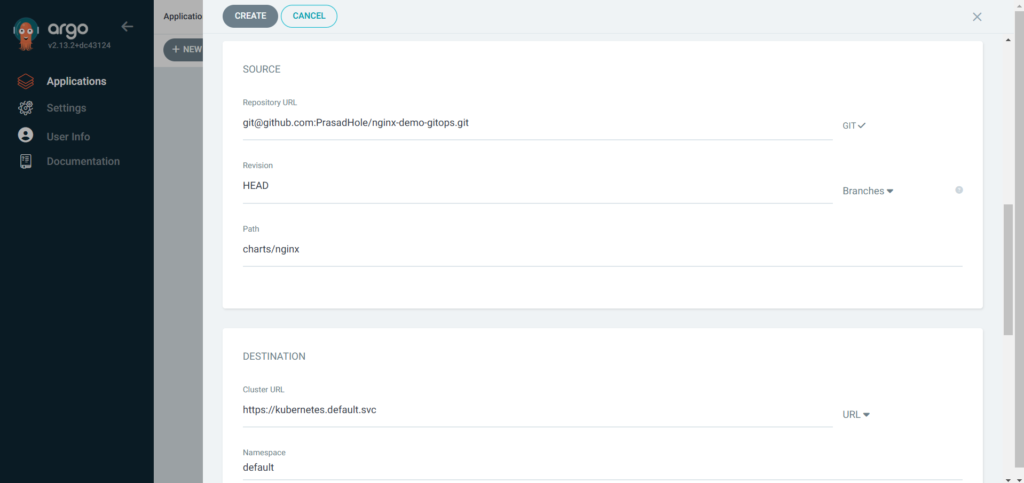
Select Repository URL and other details will be auto filled. Also select Cluster URL, it will be auto filled and Namespace as default.
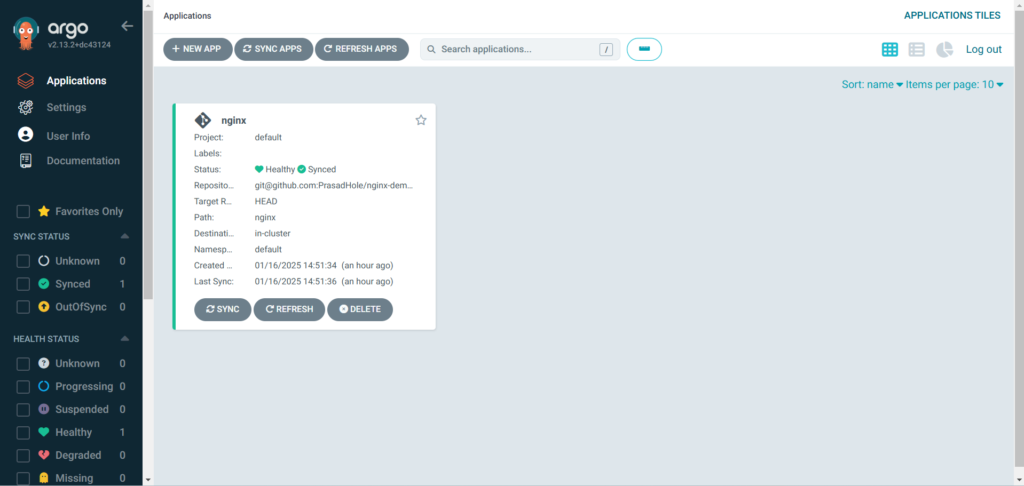
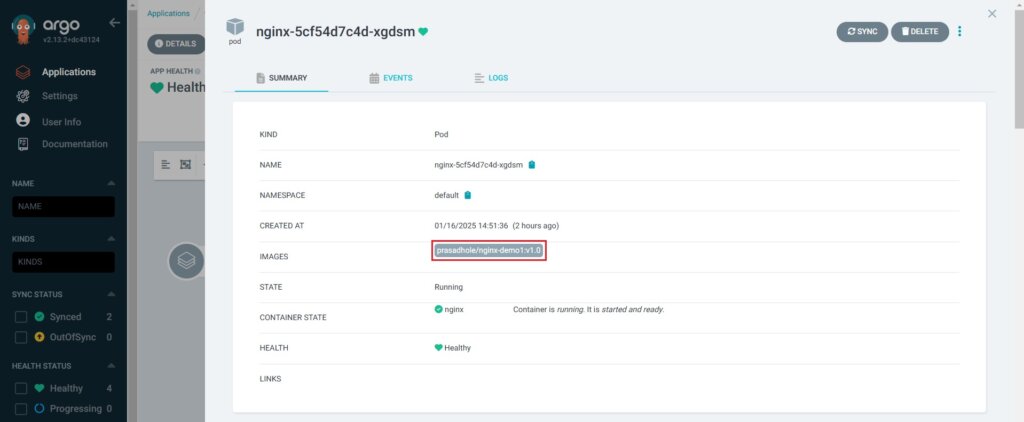
Now our application is created. You can see the Healthy and Synced status. Click on it see the more details.
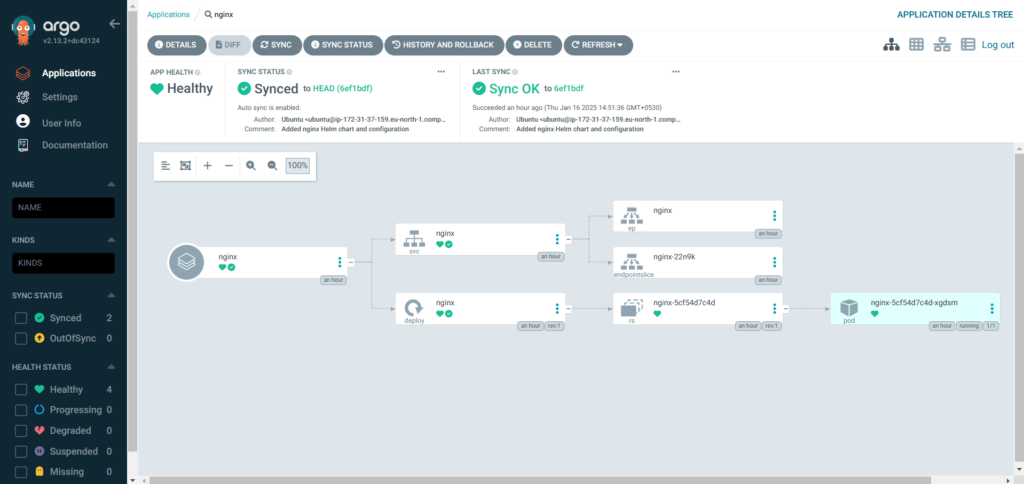
you can click on pod and see the image version which we pushed.
Step #6:Configure ArgoCD Image Updater
Install ArgoCD Image Updater.
kubectl apply -n argocd -f https://raw.githubusercontent.com/argoproj-labs/argocd-image-updater/stable/manifests/install.yaml
go to project directory.
cd nginx-demo-gitops
Update app.yaml for Image Updater.
nano app.yaml
Add the following annotations.
annotations:
    argocd-image-updater.argoproj.io/image-list: prasadhole/nginx-demo1
    argocd-image-updater.argoproj.io/write-back-method: git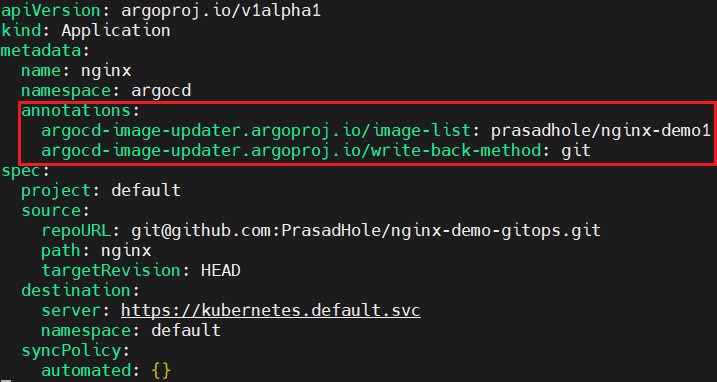
Run the following command to apply the updated app.yaml.
kubectl apply -f app.yaml
To ensure that the updated app.yaml is reflected in the GitHub repository, commit and push the changes.
git add .
git commit -m "Updated app.yaml with Image Updater annotations"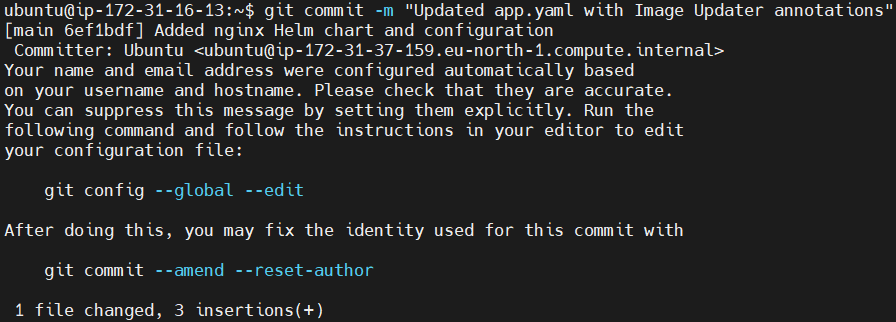
git push origin main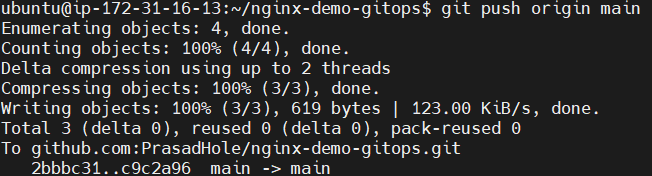
Exit the root project directory.
cdNow lets test Image Updates. For that push a new image version. (v1.1)
First build the Docker image.
docker build -t prasadhole/nginx-demo1:v1.1 .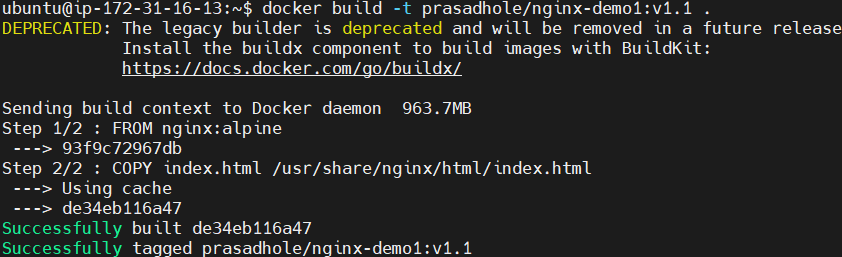
Push the image to Docker Hub.
docker push prasadhole/nginx-demo1:v1.1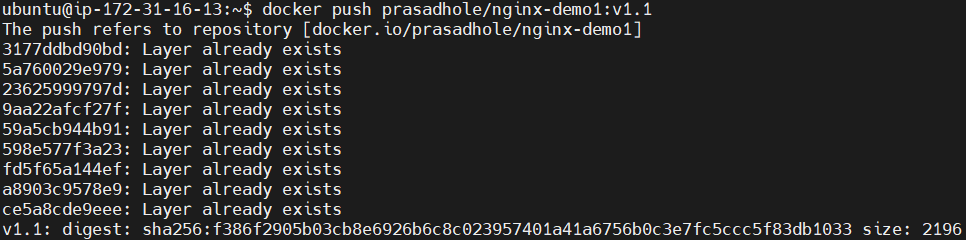
The ArgoCD Image Updater will:
- Detect the new image tag (v1.1).
- Automatically sync the changes with the ArgoCD application.
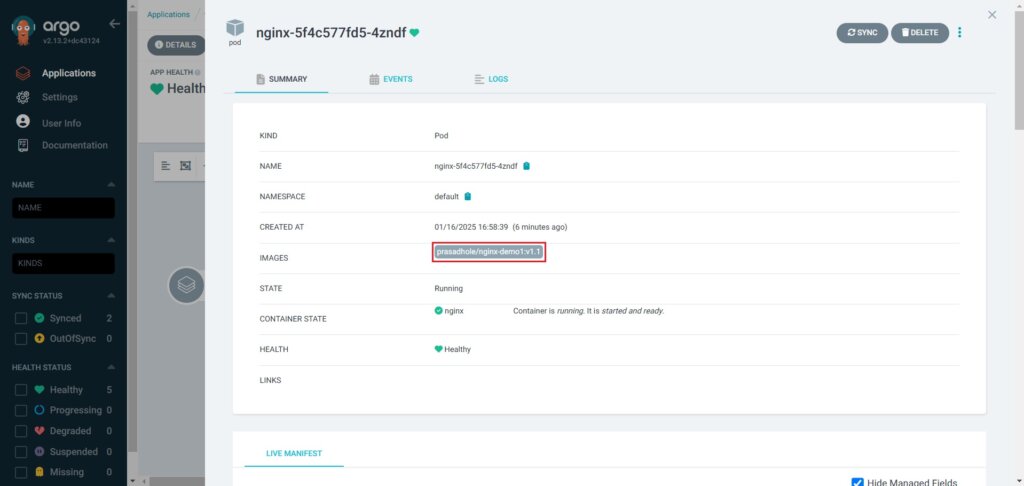
Go back to application and check pod.
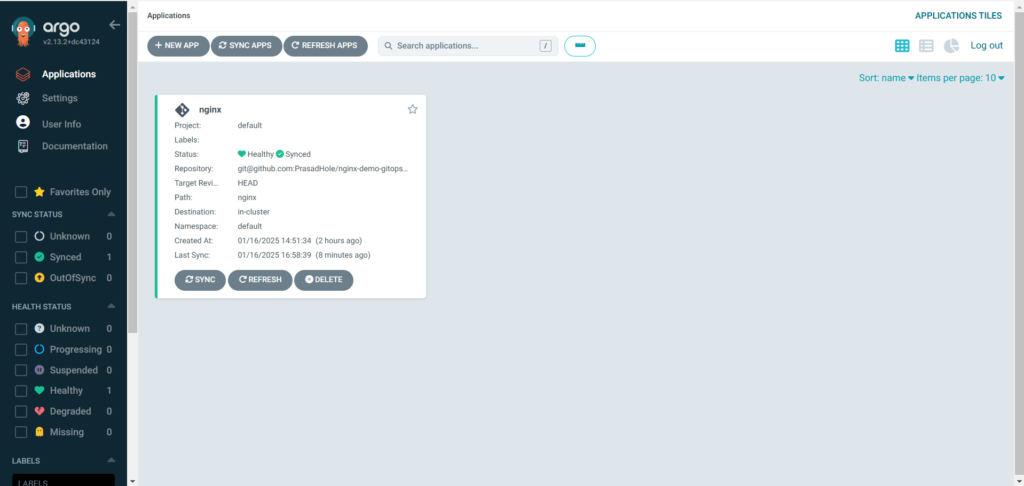
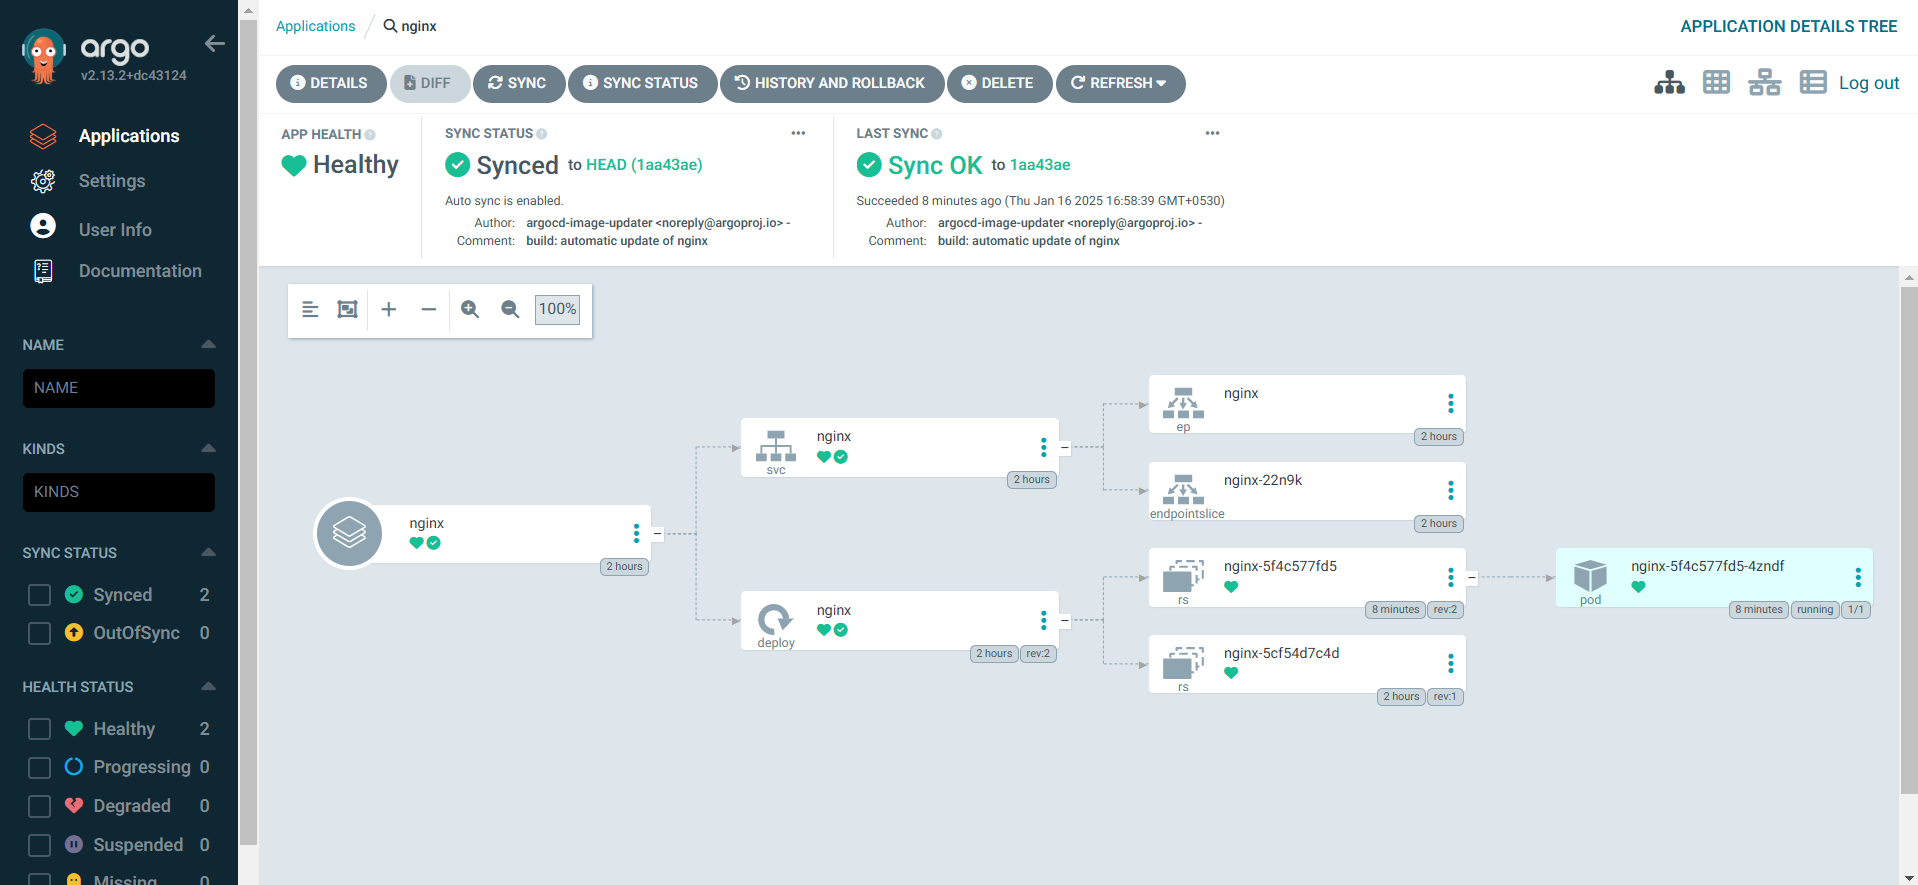
as you can see our image is updated from v1.0 to v1.1.
Conclusion:
Decoupling CI from CD using ArgoCD Image Updater simplifies the deployment process and aligns with GitOps best practices. By allowing CI pipelines to focus solely on building and pushing images while CD pipelines handle application deployment, teams can achieve greater flexibility, transparency, and scalability.
With ArgoCD Image Updater, you can automate image updates in Kubernetes clusters while maintaining full control through versioning in your Git repository. This approach not only reduces manual effort but also ensures that deployments are seamless, secure, and consistent. Embracing this methodology is a step forward in modernizing your DevOps practices and improving your deployment pipeline.
Related Articles:
SonarQube Integration for Python Project Using Gitlab CI
Reference: