
In this article, we will learn how to forward logs to Grafana Loki using Promtail. Grafana Loki is a powerful tool for indexing system logs and visualizing them on a dashboard. Unlike traditional log aggregators, Loki indexes only the labels of logs, reducing the processing and storage overhead. Promtail, similar to Prometheus, serves as a log collector for Loki, forwarding log labels to Grafana Loki for indexing. Here, we’ll cover the installation of Grafana, Loki, and Promtail, along with configuring Loki as a data source in Grafana and visualizing logs on a dashboard.
Table of Contents
Prerequisites
- AWS Account with Ubuntu 22.04 LTS EC2 Instance.
- Basic knowledge of AWS services and Grafana.
Step #1:Install Grafana on Ubuntu
First import the GPG key used by the Grafana package.
wget -q -O - https://packages.grafana.com/gpg.key | sudo apt-key add -
then add the Grafana repository to the APT sources.
sudo add-apt-repository "deb https://packages.grafana.com/oss/deb stable main"
After adding the repository update the package lists
sudo apt update
then install the grafana.
sudo apt install grafana
Start and enable the Grafana service.
sudo systemctl start grafana-server
sudo systemctl enable grafana-server
and if everything works fine and your service is running properly then run grafana by running your Public IP:3000 which is default port of grafana in searchbar.
you will see the login page of grafana (UI) user interface
Grafana has admin as default username and password.
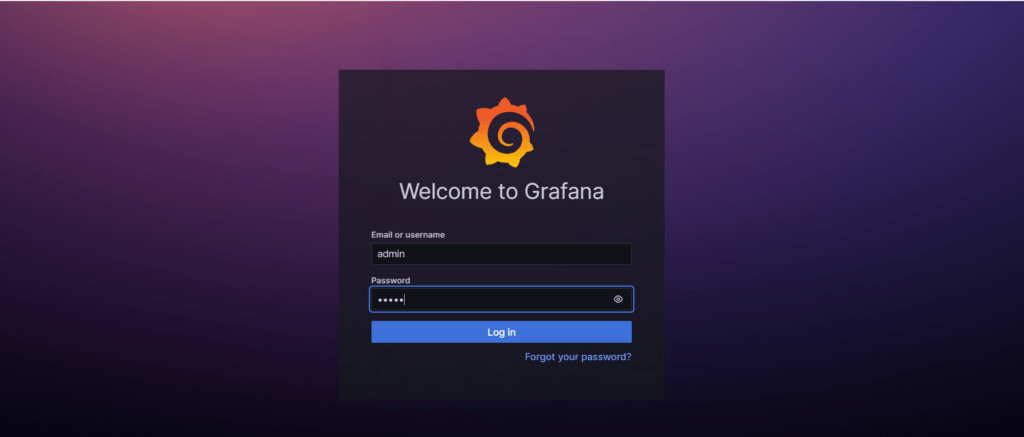
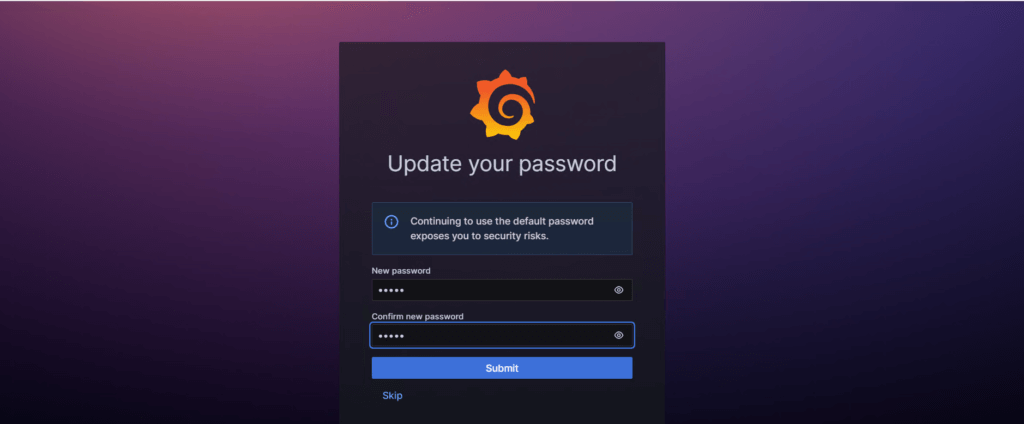
it will ask for changing the password you can change it or skip it.
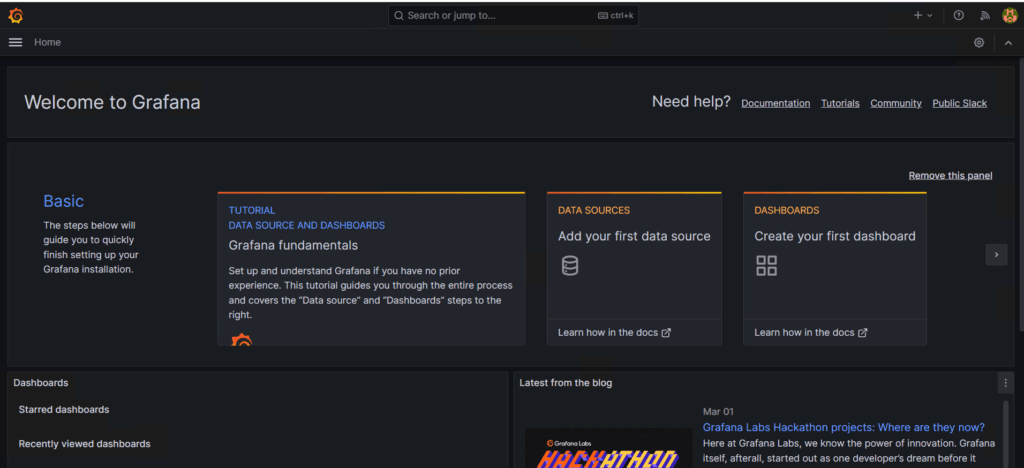
then you will see the welcome page of grafana.
Step #2:Install Grafana Loki on Ubuntu
Now lets download the Loki. To download the latest version of Grafana Loki binary file, run the following command.
curl -s https://api.github.com/repos/grafana/loki/releases/latest | grep browser_download_url | cut -d '"' -f 4 | grep loki-linux-amd64.zip | wget -i -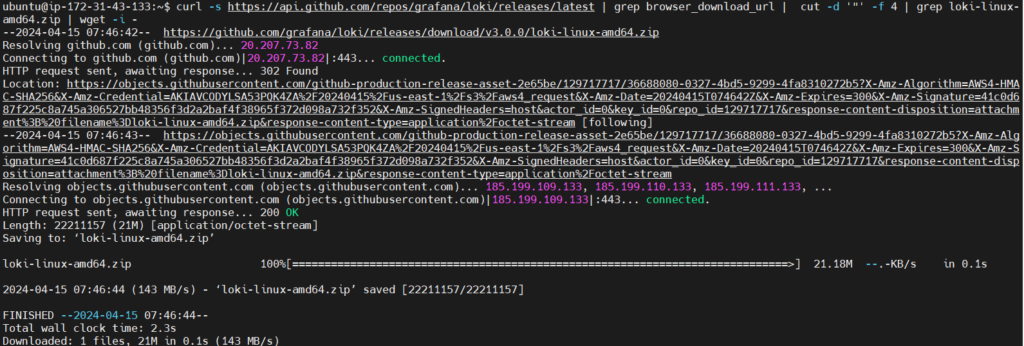
Install unzip to extract the downloaded zip file.
sudo apt install unzip
Unzip the downloaded Loki binary file.
unzip loki-linux-amd64.zip
Move the extracted binary file to /usr/local/bin/loki.
sudo mv loki-linux-amd64 /usr/local/bin/loki
Confirm the installation and check the installed version using loki --version.
loki --version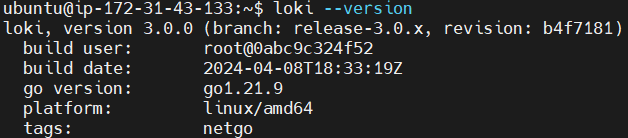
Now let’s Configure Loki. Create data directories required for Loki.
sudo mkdir -p /data/loki
Download a template configuration file for Loki and place it in /etc/loki-local-config.yaml.
sudo wget -O /etc/loki-local-config.yaml https://raw.githubusercontent.com/grafana/loki/main/cmd/loki/loki-local-config.yaml
Open the configuration file to edit.
sudo vim /etc/loki-local-config.yaml
Modify it as shown below. Give your Public IP address
auth_enabled: false

server:
  http_listen_port: 3100
  grpc_listen_port: 9096

common:
  instance_addr: 127.0.0.1
  path_prefix: /tmp/loki
  storage:
    filesystem:
      chunks_directory: /tmp/loki/chunks
      rules_directory: /tmp/loki/rules
  replication_factor: 1
  ring:
    kvstore:
      store: inmemory

query_range:
  results_cache:
    cache:
      embedded_cache:
        enabled: true
        max_size_mb: 100

schema_config:
  configs:
    - from: 2020-10-24
      store: tsdb
      object_store: filesystem
      schema: v13
      index:
        prefix: index_
        period: 24h

ruler:
  alertmanager_url: http://65.0.92.108:9093
Create a systemd service file for Loki to manage its execution.
sudo nano /etc/systemd/system/loki.service
add the following content into it.
[Unit]
Description=Loki service
After=network.target

[Service]
Type=simple
User=root
ExecStart=/usr/local/bin/loki -config.file /etc/loki-local-config.yaml

[Install]
WantedBy=multi-user.target
Save the file and reload the systemd daemon to apply changes.
sudo systemctl daemon-reload
Start the Loki service
sudo systemctl start loki.service
enable it.
sudo systemctl enable loki.service
Check the status of the Loki service to ensure it’s running properly.
sudo systemctl status loki.service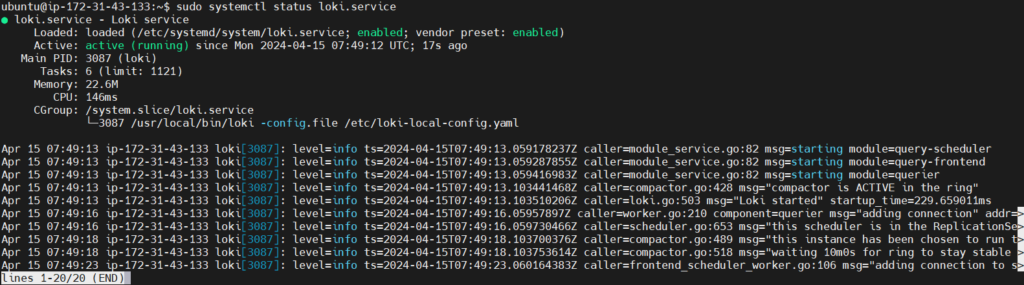
Step #3:Install Promtail Agent on Ubuntu.
next lets download the Promtail agent. To download the latest version of Promtail binary file, run the following command.
curl -s https://api.github.com/repos/grafana/loki/releases/latest | grep browser_download_url | cut -d '"' -f 4 | grep promtail-linux-amd64.zip | wget -i -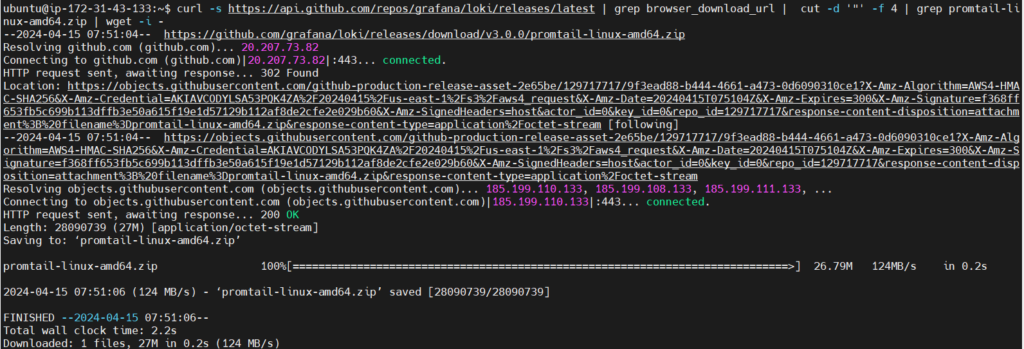
Extract the downloaded zip file
unzip promtail-linux-amd64.zip
move the binary to /usr/local/bin.
sudo mv promtail-linux-amd64 /usr/local/bin/promtail
Confirm the installation and check the installed version.
promtail --version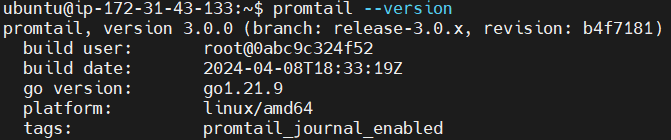
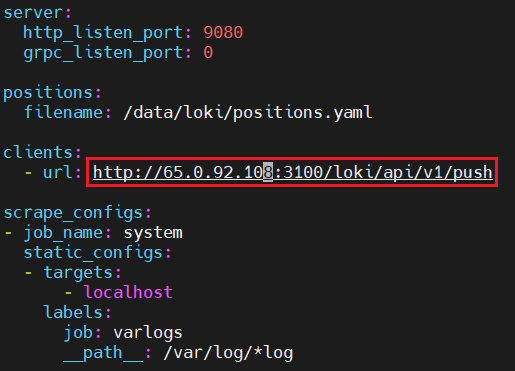
Edit a YAML configuration file for Promtail in the /etc directory.
sudo vim /etc/promtail-local-config.yaml
Modify it as shown below. Give your Public IP address.
server:
  http_listen_port: 9080
  grpc_listen_port: 0

positions:
  filename: /data/loki/positions.yaml

clients:
  - url: http://65.0.92.108:3100/loki/api/v1/push

scrape_configs:
- job_name: system
  static_configs:
  - targets:
      - localhost
    labels:
      job: varlogs
      __path__: /var/log/*log
Create a systemd service file for Promtail.
sudo nano /etc/systemd/system/promtail.service
add the following content into it.
[Unit]
Description=Promtail service
After=network.target

[Service]
Type=simple
User=root
ExecStart=/usr/local/bin/promtail -config.file /etc/promtail-local-config.yaml

[Install]
WantedBy=multi-user.target
save the file and reload the systemd daemon to apply changes.
sudo systemctl daemon-reload
Start the Promtail service.
sudo systemctl start promtail.service
Enable the Promtail service.
sudo systemctl enable promtail.service
Check the status of the Promtail service to ensure it’s running properly.
sudo systemctl status promtail.service
Step #4:Configure Loki Data Source in Grafana
Till now we have installed the Grafana. Loki and Promtail on our system. So let’s configure the loki and start visualizing the data in Grafana.
In the home bar select Data source from Connections.
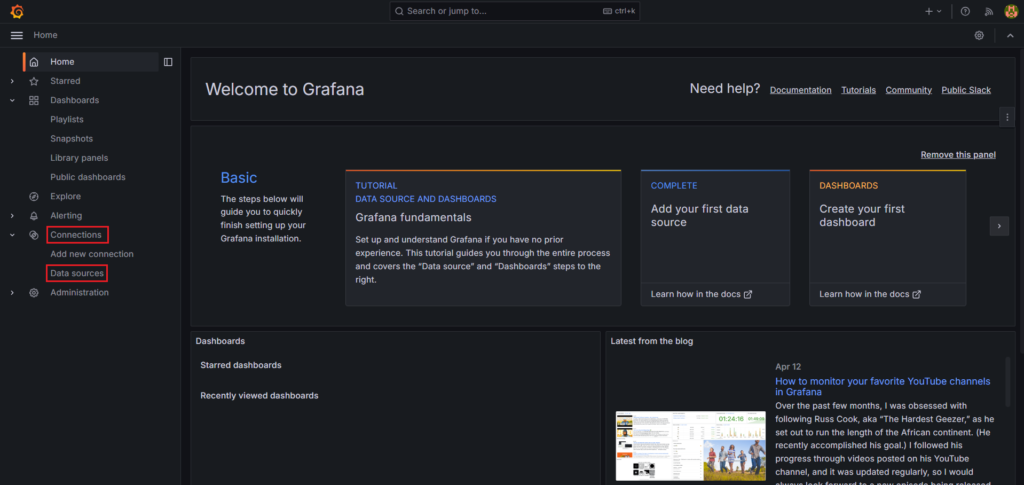
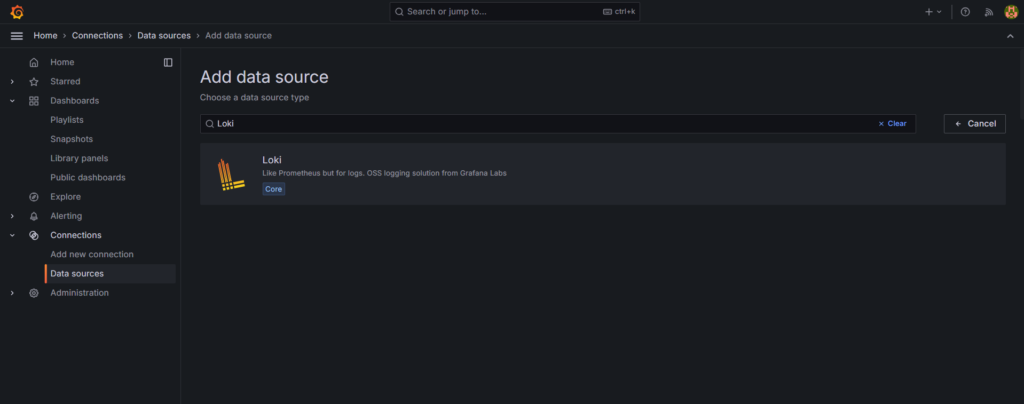
Click on Add data source.

Select Loki as a data source.
Give the name like loki and URL on which Grafana Loki is running.
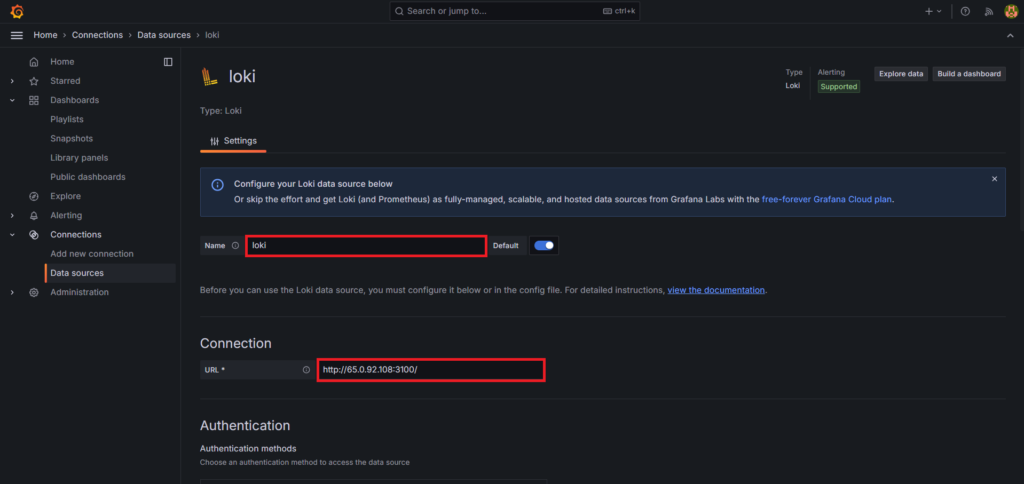
Click on Save and test.

You will see the success message like Data source successfully connected.
Now click on the Explore.

Now click on kick start your query to enter the Grafana Loki query.

There will Log query starters and Metric query starters.
Here we will select the first one from Log query starters.
{} | logfmt | __error__=``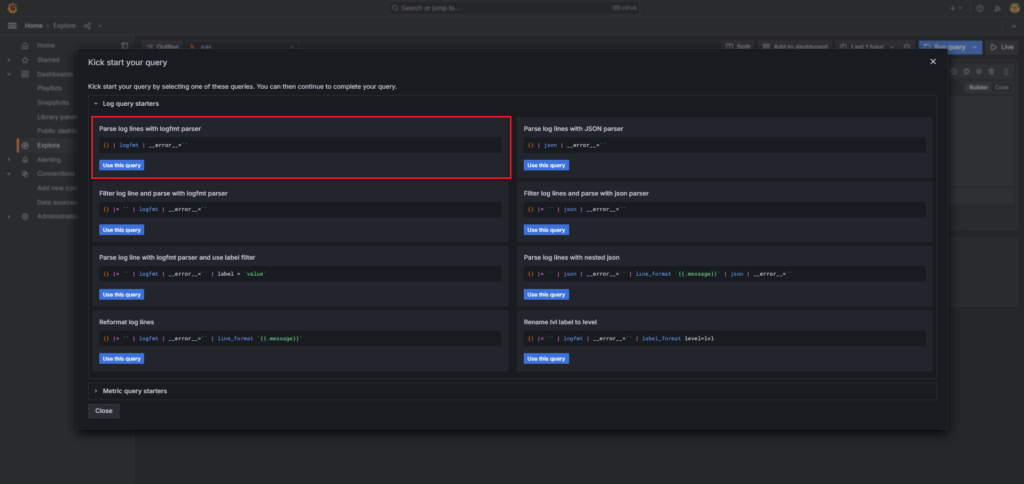
In Label filters: select label as job and select value as varlogs
Click on Run query from top right to run the Grafana Loki query.
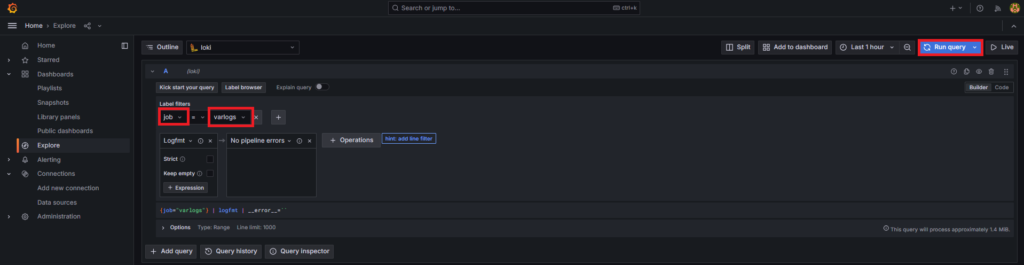
As you can see, you are visualizing the data/logs in graph format. It also showing the logs with timestamps.

Conclusion:
In conclusion, setting up Grafana Loki with Promtail on an Ubuntu EC2 instance is a straightforward process that enhances log indexing and visualization capabilities. By leveraging Grafana’s intuitive interface and Loki’s efficient indexing of log labels, users can easily monitor system logs and troubleshoot issues effectively. Integrating Promtail as a log collector further streamlines the process, ensuring seamless forwarding of logs to Grafana Loki. With these components in place, users can gain valuable insights from their log data, improving system reliability and performance.
Related Articles:
How to Integrate Linux Server for Grafana Cloud
Reference:

Thanks for your effort, I need to store the logs in the s3 bucket and need to query the old data. need your support to complete this.