In this article we will learn How to Integrate GitLab Single Sign-On (SSO) with ArgoCD. Single Sign-On (SSO) simplifies authentication by allowing users to access multiple platforms with a single set of credentials. Integrating GitLab SSO with Argo CD not only streamlines the login process but also enhances security and user management for your DevOps workflows. By using GitLab as the identity provider, you can ensure centralized access control and seamless authentication for your Argo CD users.
Table of Contents
Prerequisites
- AWS Account with Ubuntu 24.04 LTS EC2 Instance.
- Minikube and kubectl Installed.
- Basic knowledge of Kubernetes and GitLab.
Step #1:Set Up DNS for the Custom Domain
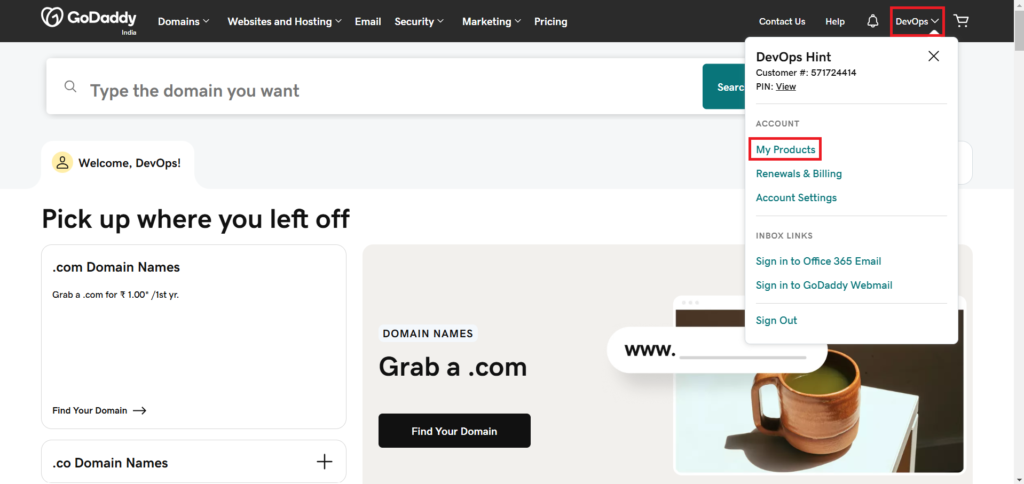
We already have a domain in GoDaddy so first got to GoDaddy.
Go to your account, here “DevOps” and select My Products.
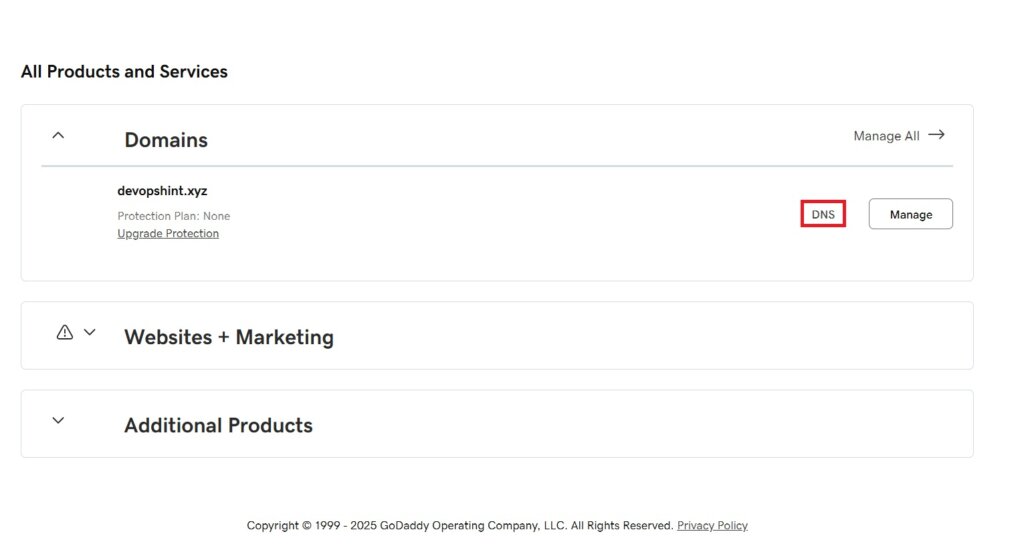
You can see our domain devopshint.xyz below, go to DNS to add the records in it.
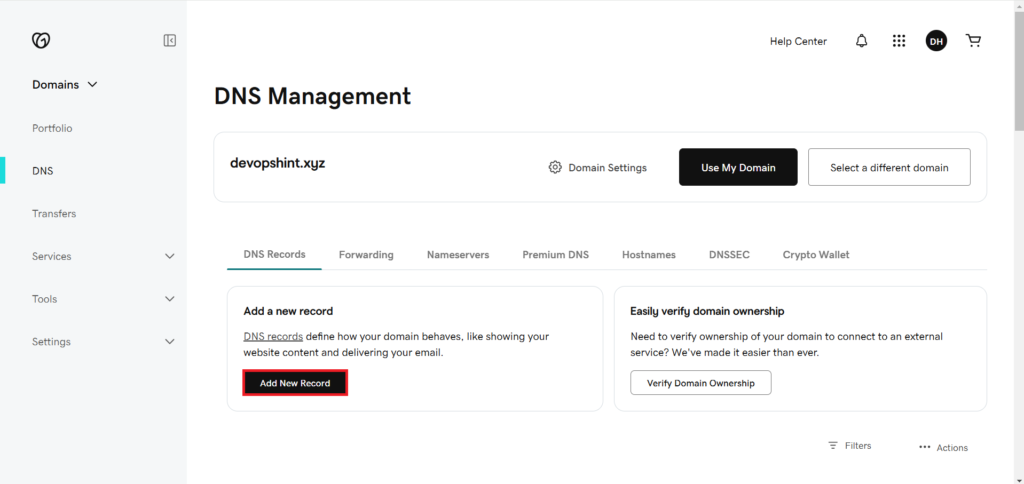
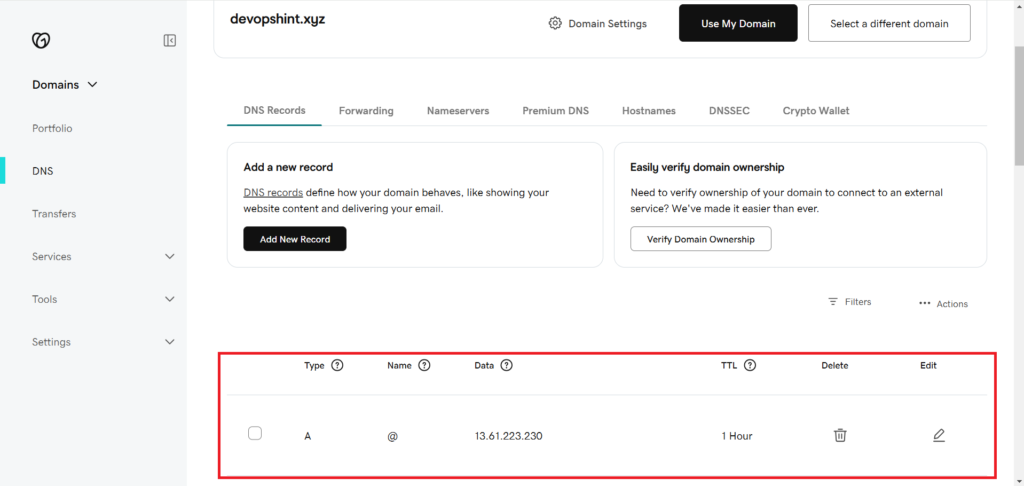
In your domain provider’s dashboard, create a DNS A record. Click on Add New Record.
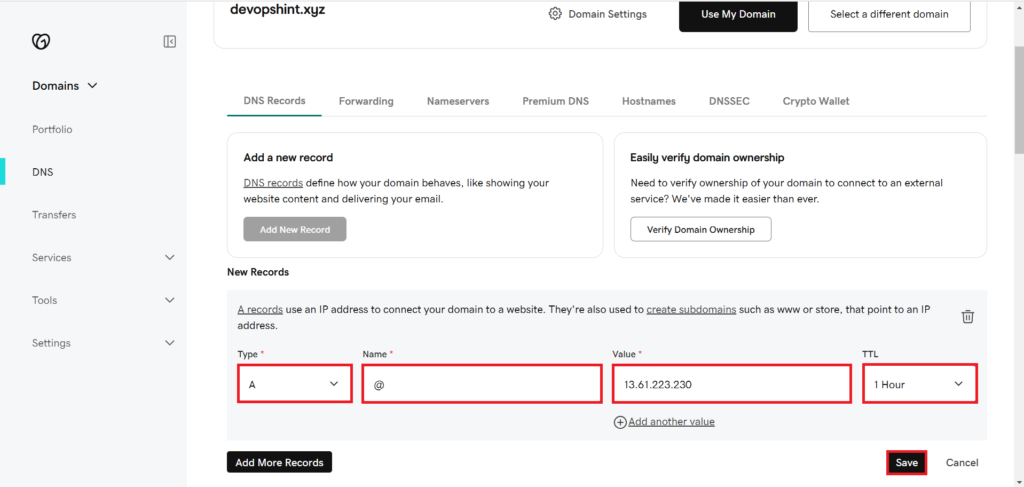
- Type: A
- Name: @
- Value: Your EC2 instance’s public IP address. You must have Elastic IP associated with your EC2 instance.
- TTL: 1 Hour
Save it.
You can see our DNS record is added successfully.
Install NGINX & Certbot:
SSH into your EC2 instance and run:
sudo apt update
sudo apt install nginx certbot python3-certbot-nginx -y
Configure NGINX Reverse Proxy:
Create a new config file:
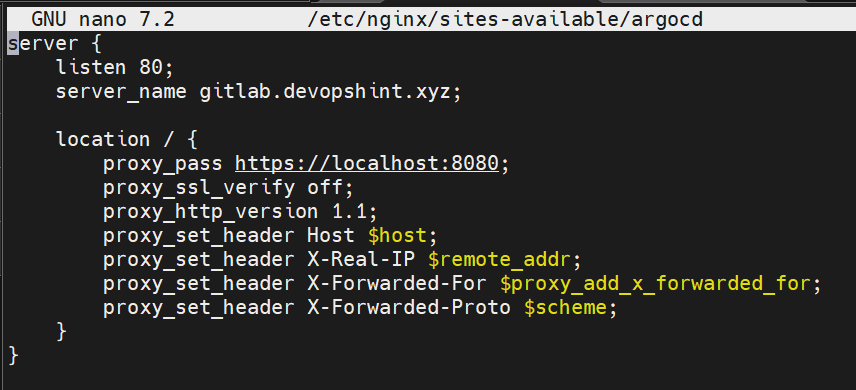
sudo nano /etc/nginx/sites-available/argocd
Paste this content:
server {
    listen 80;
    server_name <name of your server>;

    location / {
        proxy_pass https://localhost:8080;
        proxy_ssl_verify off;
        proxy_http_version 1.1;
        proxy_set_header Host $host;
        proxy_set_header X-Real-IP $remote_addr;
        proxy_set_header X-Forwarded-For $proxy_add_x_forwarded_for;
        proxy_set_header X-Forwarded-Proto $scheme;
    }
}
Enable the config:
sudo ln -s /etc/nginx/sites-available/argocd /etc/nginx/sites-enabled/
sudo nginx -t
sudo systemctl reload nginx
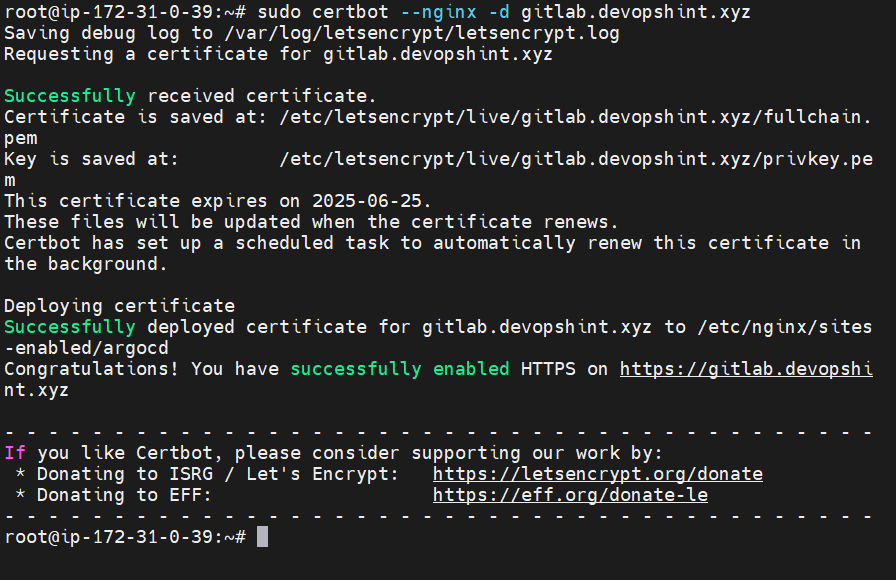
Issue SSL Certificate with Certbot:
Now, run:
sudo certbot --nginx -d <your server name>
Follow the prompts:
- Enter email
- Accept TOS
- Certbot will update your NGINX config to support HTTPS
Step #2:Configure GitLab as an Identity Provider
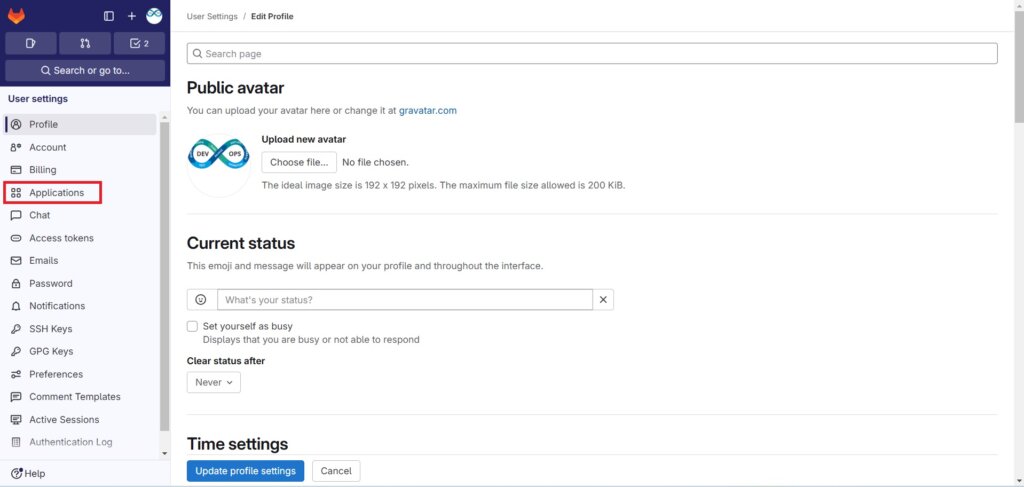
First Log in into the GitLab. On the left sidebar, click on your icon/avatar and select Edit profile.

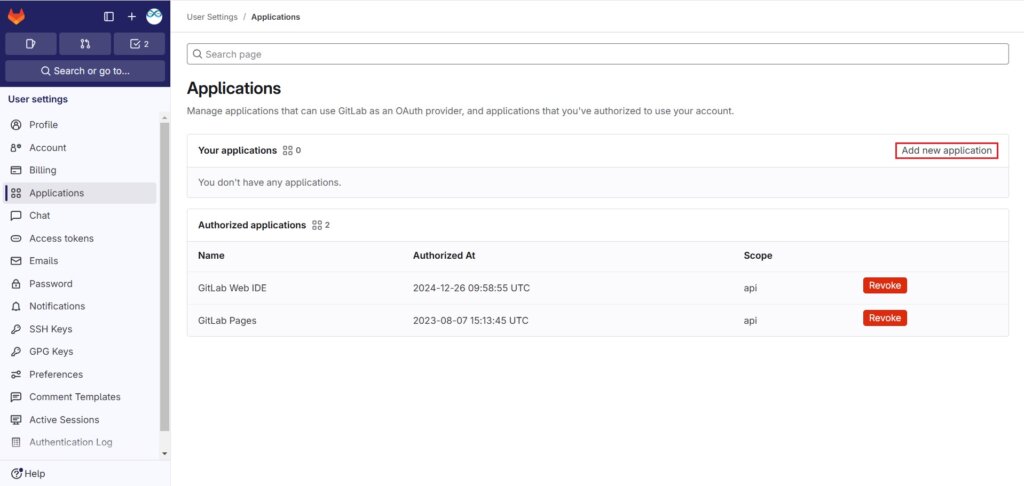
On the left sidebar, from the User settings select Applications.
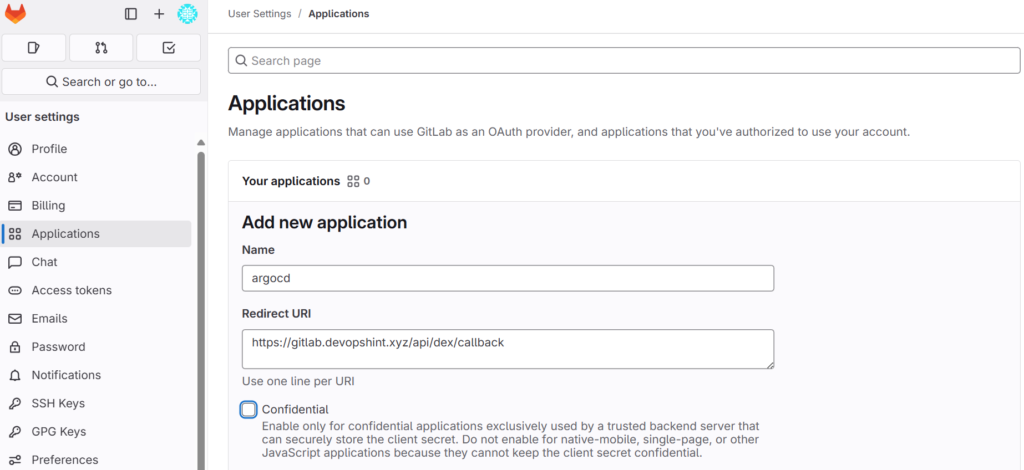
Select the Add new application and fill the required fields.
Enter a Name like ArgoCD and Redirect URI enter the callback URL for Argo CD. Here we have used https://<your-domain-name>/api/dex/callback. Tick off the Confidential checkbox.
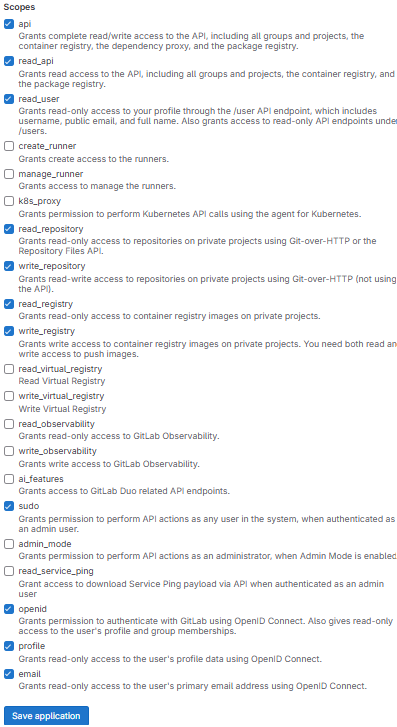
Select the following scopes. Click on Save Application.
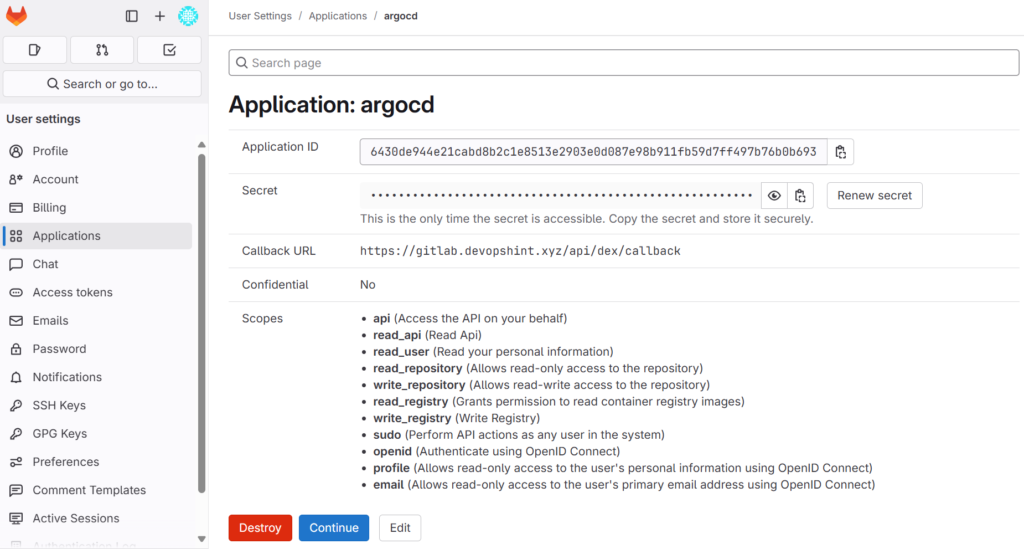
Note down the Application ID (client ID) and Secret (client secret).
Step #3:Configure ArgoCD for SSO
Create a new namespace called argocd in your Kubernetes cluster.
kubectl create namespace argocd
Install ArgoCD in the argocd namespace by applying the YAML file from the provided URL.
kubectl apply -n argocd -f https://raw.githubusercontent.com/argoproj/argo-cd/stable/manifests/install.yaml
List all the resources in the argocd namespace. It provides an overview of the ArgoCD setup includes Pods, Services, Deployments, ReplicaSets, and more.
kubectl -n argocd get all
Edit the service configuration of argocd-server.
kubectl -n argocd edit service argocd-server
modify it shown below. Change the type field from ClusterIP to NodePort. ClusterIP exposes the service only within the cluster. NodePort makes the service accessible externally via a specific port on the nodes.
type: NodePort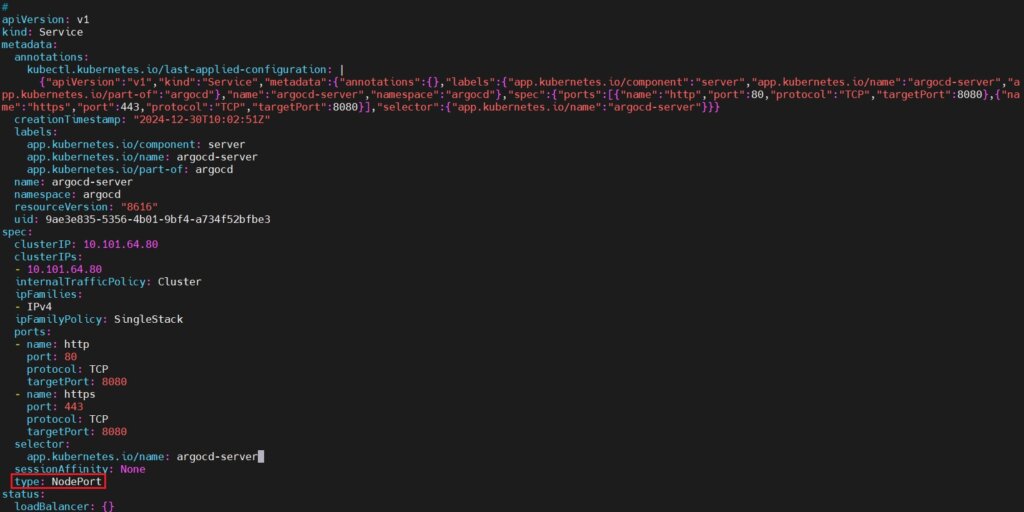
Run the kubectl -n argocd get all again to see if service type changed or not.
kubectl -n argocd get all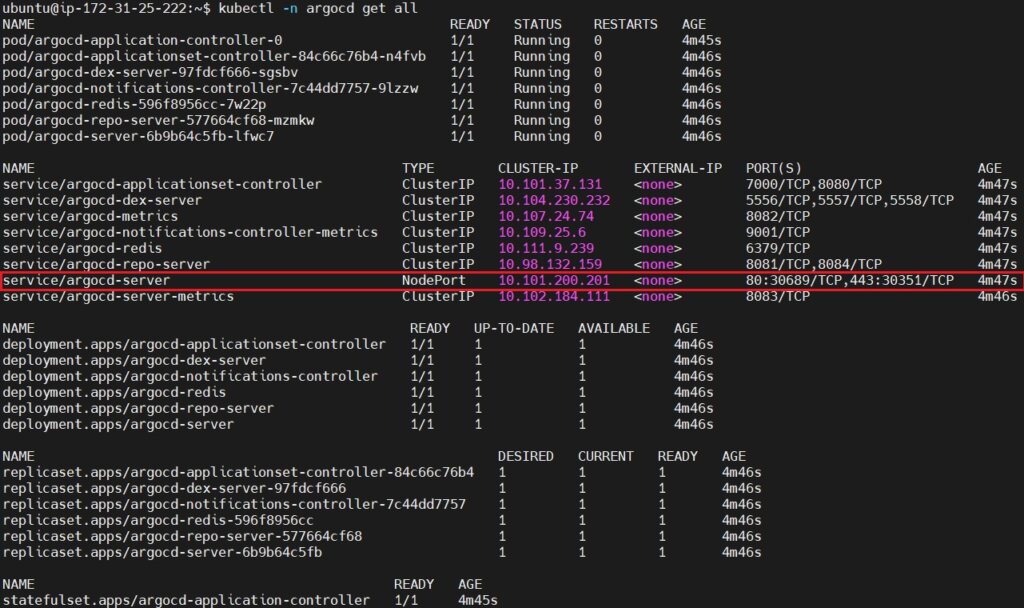
Update the Argo CD ConfigMap.
kubectl -n argocd edit configmap argocd-cm
Modify it as shown below.
Modify clientID, clientSecret, redirectURL and url
# Please edit the object below. Lines beginning with a '#' will be ignored,
# and an empty file will abort the edit. If an error occurs while saving this file will be
# reopened with the relevant failures.
#
apiVersion: v1
data:
  dex.config: |
    connectors:
    - type: gitlab
      id: gitlab
      name: GitLab
      config:
        baseURL: https://gitlab.com
        clientID: 6430de944e21cabd8b2c1e8513e2903e0d087e98b911fb59d7ff497b76b0b693
        clientSecret: gloas-ebf1376437824ccdf9e97fda5679d206e15869eef2af6f9e92b4bea4e2d6a7d8
        redirectURI: https://gitlab.devopshint.xyz/api/dex/callback
        users.anonymous.enabled: "false"
  url: https://gitlab.devopshint.xyz
kind: ConfigMap
metadata:
  annotations:
    kubectl.kubernetes.io/last-applied-configuration: |
      {"apiVersion":"v1","kind":"ConfigMap","metadata":{"annotations":{},"labels":{"app.kubernetes.io/name":"argocd-cm","app.kubernetes.io/part-of":"argocd"},"name":"argocd-cm","namespace":"argocd"}}
  creationTimestamp: "2025-03-27T09:47:29Z"
  labels:
    app.kubernetes.io/name: argocd-cm
    app.kubernetes.io/part-of: argocd
  name: argocd-cm
  namespace: argocd
  resourceVersion: "2059"
  uid: bcb21753-8e99-417b-a9e2-711967c6846a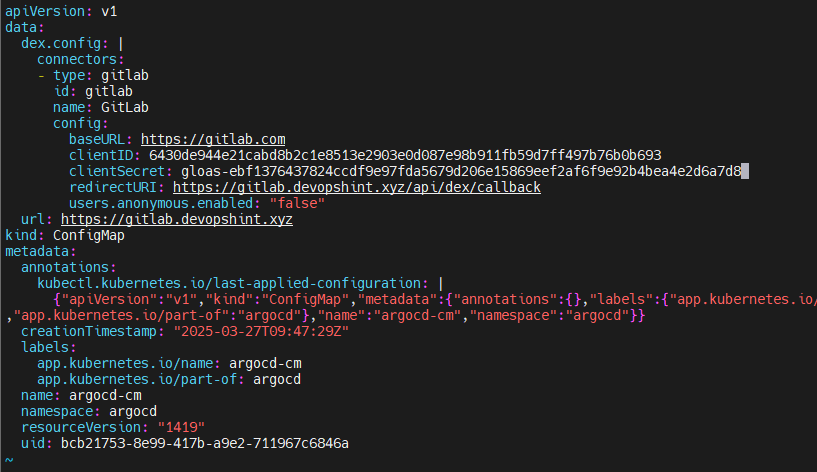
Restart the Argo CD server to apply the changes
kubectl -n argocd rollout restart deployment argocd-server
Run the kubectl port-forward command.
kubectl port-forward svc/argocd-server -n argocd 8080:443
Now open your web browser and run https://<your-domain-name> to go to the home page of ArgoCD.
You’ll see the “LOG IN VIA GITLAB” button on the login page.
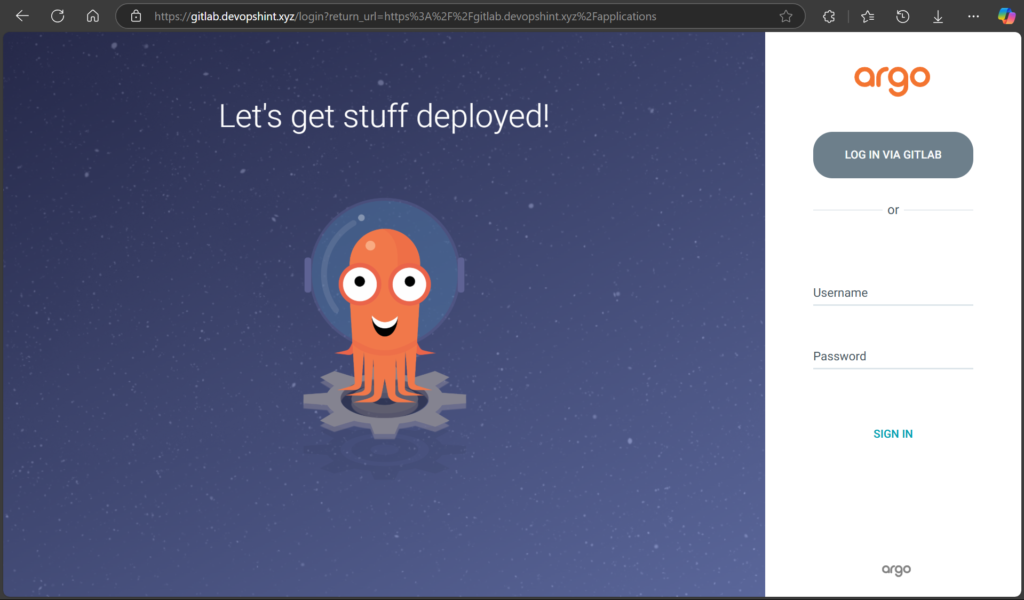
Now click the LOG IN VIA GITLAB button. It will request access to your GitLab account. Click on Authorize ArgoCD.
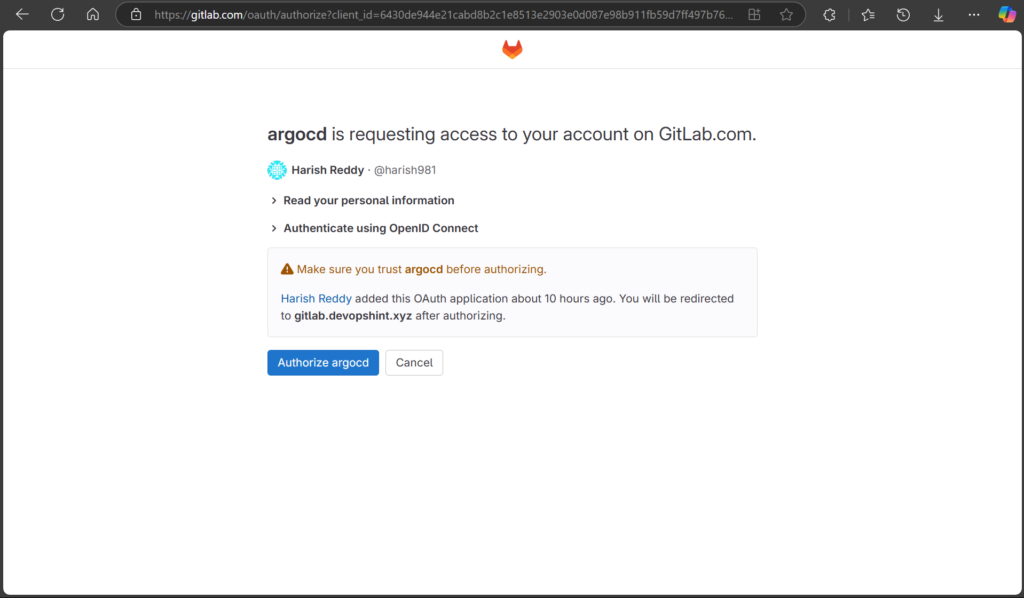
After this you’ll be redirected to the Argo CD dashboard.

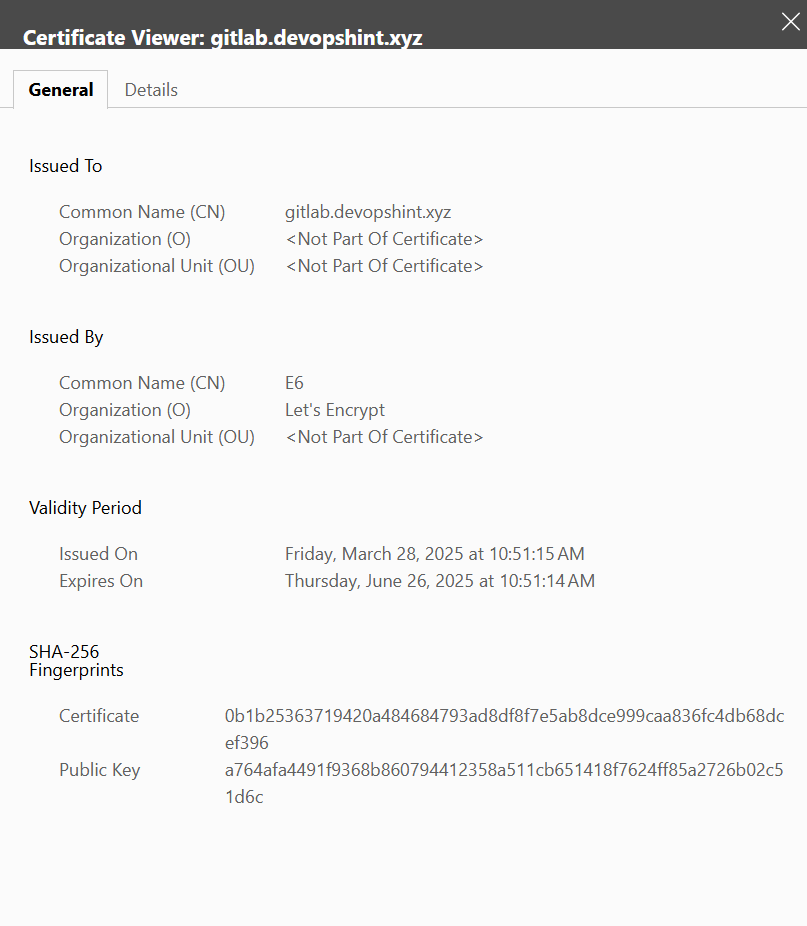
You can view the SSL Certificate by clicking on lock icon beside the https and then connection is secure and then certificate icon:
Conclusion:
Integrating GitLab SSO with Argo CD simplifies user authentication, improves security, and centralizes access management for your DevOps pipeline. With a streamlined login experience, teams can focus on deploying and managing applications rather than juggling credentials. By following this guide, you’ve ensured that your Argo CD setup is aligned with modern security practices while enhancing productivity for your team.
Related Articles:
Configure Single Sign-On (SSO) for ArgoCD using OKTA
Reference: