In this article We are going to perform How to Install AWS CLI on Windows 10, Configure AWS Security Credentials, Uninstall AWS CLI Version from Windows
Prerequisites:
- 64 bit of Windows or Windows Server
- Administrator Access
How to Install AWS CLI on Windows 10
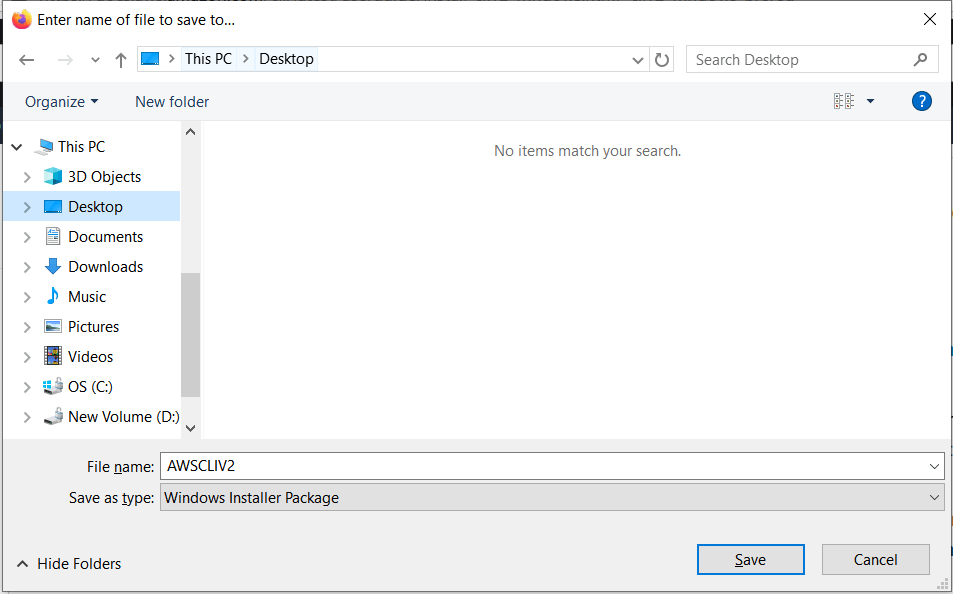
Step #1: Download the AWS Cli .msi file for windows.

Step #2: Save the .msi file in your system
Step #3: Click on Next.

Step #4: Accept the License agreement and click on Next.

Step #5: Set installation location and click on Next
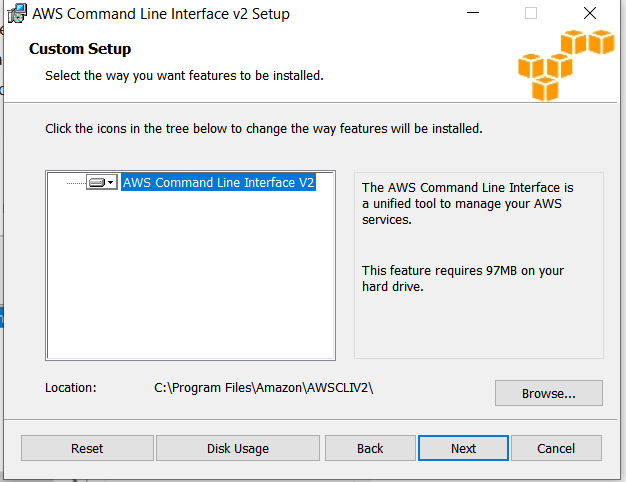
Step #6: Click on Next
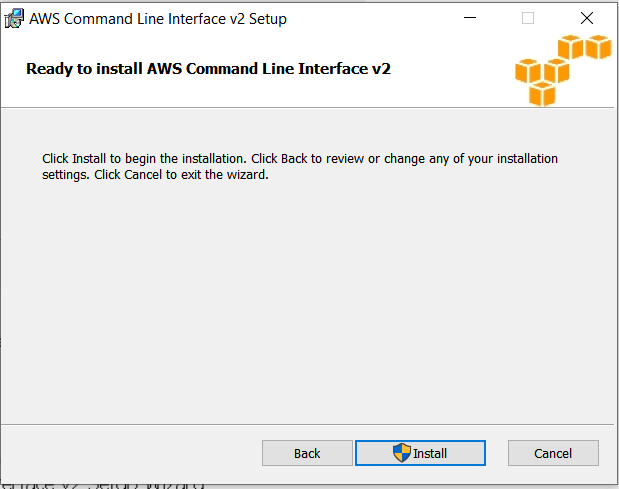
Step #7: Verify publisher and click on Yes.

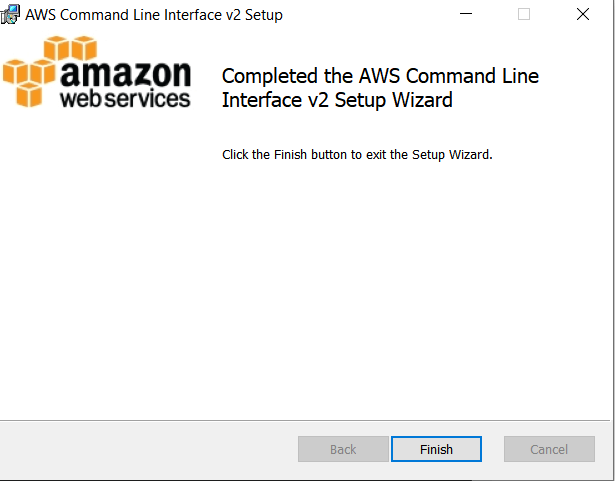
Step #8: Wait till installation complete

Step #9: once installation is complete, click on Finish
Step #10: Open the command prompt, enter the below command to check aws cli version on windows
aws --version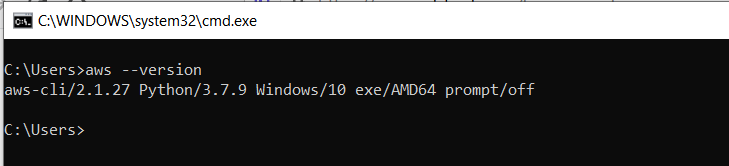
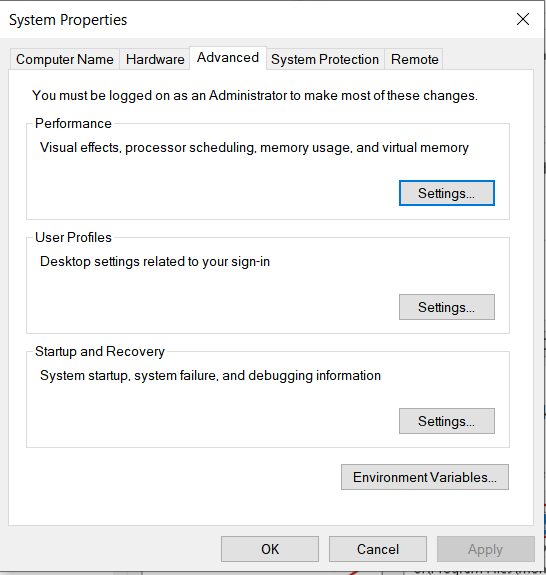
if your installation directory is different then set the environment variables
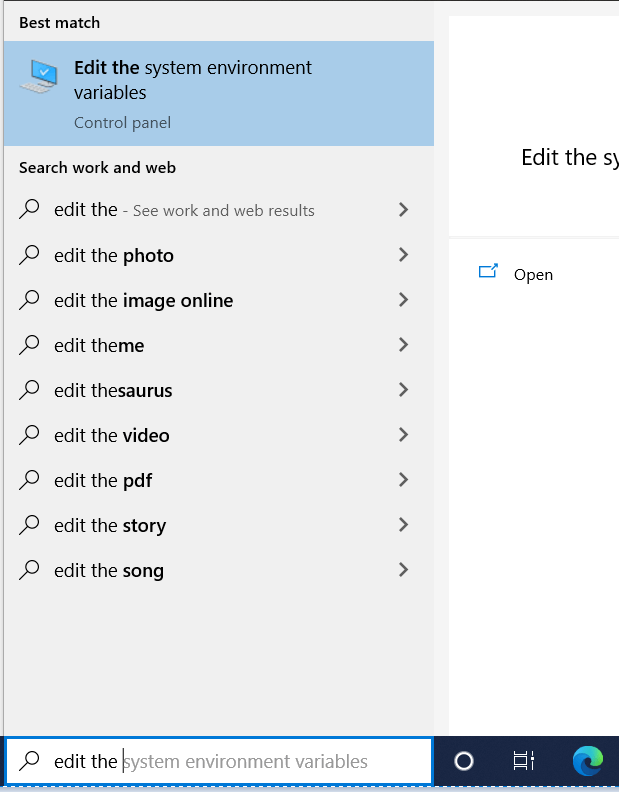
In advanced tab, click on Environment Variables. edit the path and add the path of AWS CLI.
Step #11: Configure AWS Security Credentials
Follow this article to create IAM User in AWS
How to Create IAM User in AWS Step by Step (devopshint.com)
Now login to AWS Management console, Search IAM, Click on users in IAM Dashbaord, Click on Create access key, download the AWS secrets key and secret,

Open the command prompt , enter the below command , Enter AWS Access Key, AWS Secret Access Key, Default region name , now you have logged to AWS using CLI.

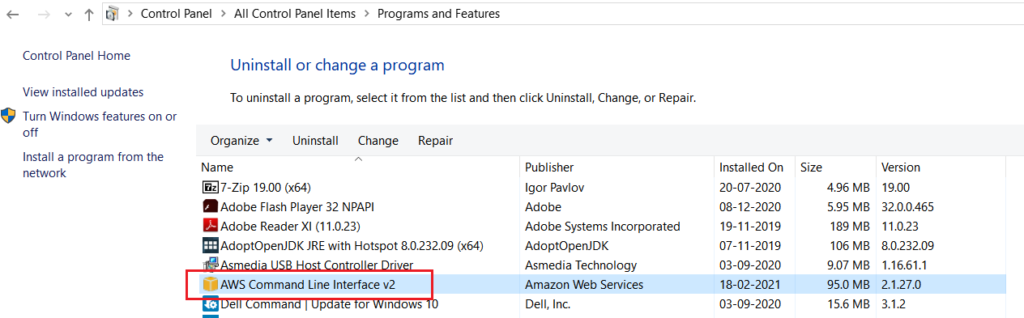
Uninstall AWS CLI Version 2 From Windows
Open the Control Panel then click on Programs and Features, click on AWS Commands Line Interface setup as per installed and click on Uninstall.
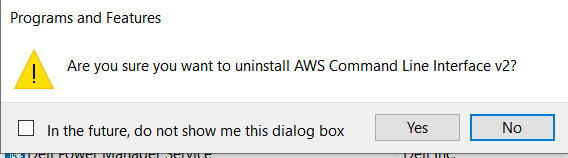
Uninstaller will launch then confirm to Uninstall.
OR
You can run the below command to go Control Panel -> Programs and Features
C:\appwiz.cplClick on Yes.
Conclusion:
We have covered How to Install AWS CLI on Windows 10, Configure AWS Security Credentials, Uninstall AWS CLI Version from Windows
Related Articles: