In this article we are going to cover Install OpenJDK 1.8 on Ubuntu 20.04 LTS, Download Nexus Repository Manager setup on Ubuntu 20.04 LTS, How to Install Nexus Repository on Ubuntu 20.04 LTS.
Run Nexus as a service using Systemd, Access Nexus Repository Web Interface
Table of Contents
What is Artifactory in DevOps ?
In CI/CD process when we build our project we obtain an artifactory after a build.So further in deployment phase we deploy these artifactories on our production / pre-production server.
So now if we assume what if we don’t use artifacts…It will be really very difficult over time.hat is why Artifacts are important to hold onto throughout the development process and also after that.
What is Nexus Repository Manager ?
Artifact Repository: Artifact repository is a location where you can store your all artifacts which are needed for the projects.
Nexus Repository Manager: It allows developer to collect, retrieve, manage our artifacts.
Basically Nexus Repository Manager helps us to host our repositories.
For eg- “Maven Central Repository” so we can use it to retrieve all dependencies needed for a Maven build.
Prerequisites
- Open JDK 8
- Minimum CPU’s: 4
- Ubuntu Server with User sudo privileges.
- Set User limits
- Web Browser
- Firewall/Inbound port: 22, 8081
you can go through Nexus artifactory official page to know more about system requirement for Nexus.
update the system packages
sudo apt-get update
#1: Install OpenJDK 1.8 on Ubuntu 20.04 LTS
sudo apt install openjdk-8-jre-headless
#2: Download Nexus Repository Manager setup on Ubuntu 20.04 LTS
Download the latest Nexus Repository Manager Setup from official nexus page.
Navigate to /opt directory
cd /opt
Download the SonaType Nexus on Ubuntu using wget
sudo wget https://download.sonatype.com/nexus/3/latest-unix.tar.gz
#3: Install Nexus Repository on Ubuntu 20.04 LTS
Extract the Nexus repository setup in /opt directory
tar -zxvf latest-unix.tar.gz
Rename the extracted Nexus setup folder to nexus
sudo mv /opt/nexus-3.30.1-01 /opt/nexus
As security practice, not to run nexus service using root user, so lets create new user named nexus to run nexus service
sudo adduser nexus
To set no password for nexus user open the visudo file in ubuntu
sudo visudo
Add below line into it , save and exit
nexus ALL=(ALL) NOPASSWD: ALL
Give permission to nexus files and nexus directory to nexus user
sudo chown -R nexus:nexus /opt/nexus
sudo chown -R nexus:nexus /opt/sonatype-work
To run nexus as service at boot time, open /opt/nexus/bin/nexus.rc file, uncomment it and add nexus user as shown below
sudo nano /opt/nexus/bin/nexus.rc
run_as_user="nexus"
To Increase the nexus JVM heap size, open the /opt/nexus/bin/nexus.vmoptions file, you can modify the size as shown below
In the below settings, the directory is changed from ../sonatype-work to ./sonatype-work
-Xms1024m
-Xmx1024m
-XX:MaxDirectMemorySize=1024m

-XX:LogFile=./sonatype-work/nexus3/log/jvm.log
-XX:-OmitStackTraceInFastThrow
-Djava.net.preferIPv4Stack=true
-Dkaraf.home=.
-Dkaraf.base=.
-Dkaraf.etc=etc/karaf
-Djava.util.logging.config.file=/etc/karaf/java.util.logging.properties
-Dkaraf.data=./sonatype-work/nexus3
-Dkaraf.log=./sonatype-work/nexus3/log
-Djava.io.tmpdir=./sonatype-work/nexus3/tmp
#4: Run Nexus as a service using Systemd
To run nexus as service using Systemd
sudo nano /etc/systemd/system/nexus.service
paste the below lines into it.
[Unit]
Description=nexus service
After=network.target

[Service]
Type=forking
LimitNOFILE=65536
ExecStart=/opt/nexus/bin/nexus start
ExecStop=/opt/nexus/bin/nexus stop
User=nexus
Restart=on-abort

[Install]
WantedBy=multi-user.target
To start nexus service using systemctl
sudo systemctl start nexus
To enable nexus service at system startup
sudo systemctl enable nexus
To check nexus service status
sudo systemctl status nexus
To stop Nexus service
sudo systemctl stop nexus
if the nexus service is not started, you can the nexus logs using below command
tail -f /opt/sonatype-work/nexus3/log/nexus.log
We have covered How to Install Nexus Repository on Ubuntu 20.04 LTS.
#5: Access Nexus Repository Web Interface
To access Nexus repository web interface , open your favorite browser
if you are running UFW firewall on Ubuntu, open the firewall port 8081 using below command
ufw allow 8081/tcp
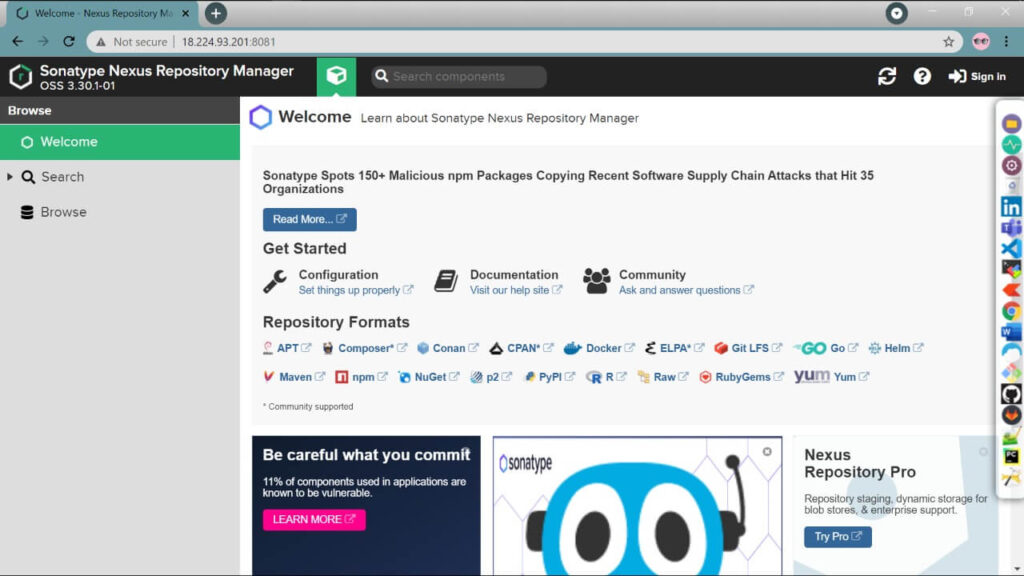
http://server_IP:8081
you will see below default nexus page
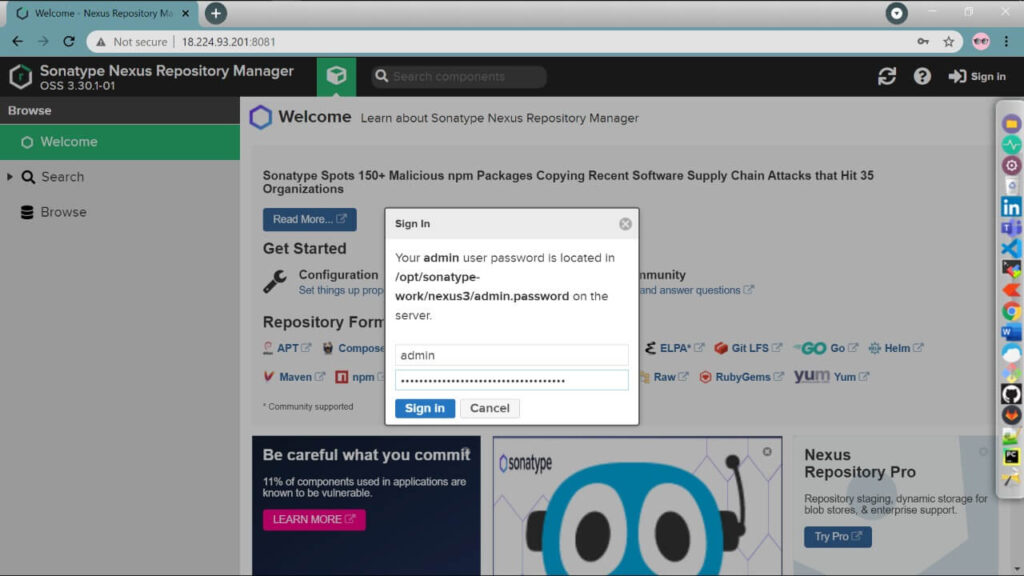
To login to Nexus, click on Sign In, default username is admin
To find default password run the below command
cat /opt/nexus/sonatype-work/nexus3/admin.password
copy the default nexus password and login, you can reset the password once logged in to nexus
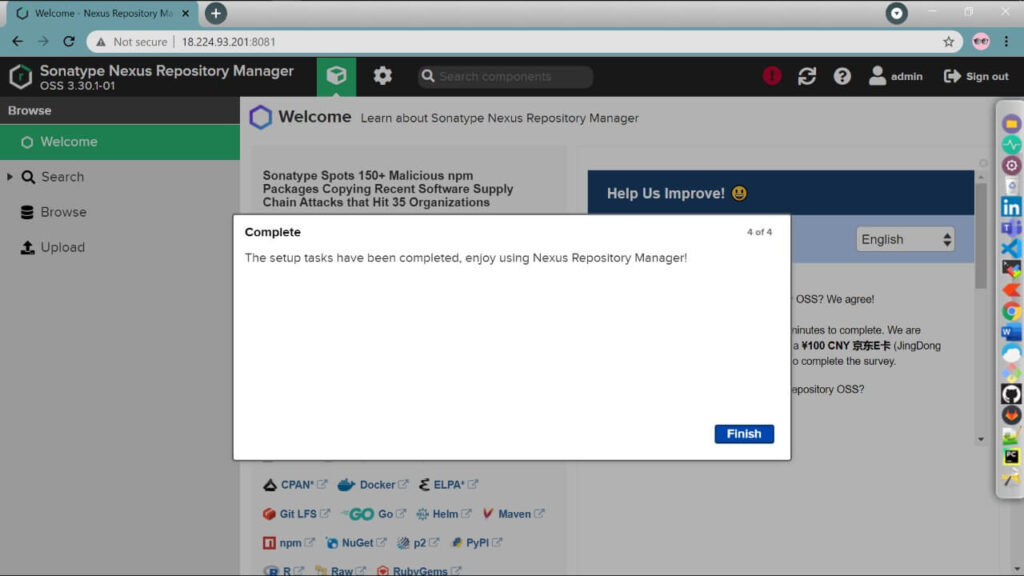
Below nexus setup wizard will show
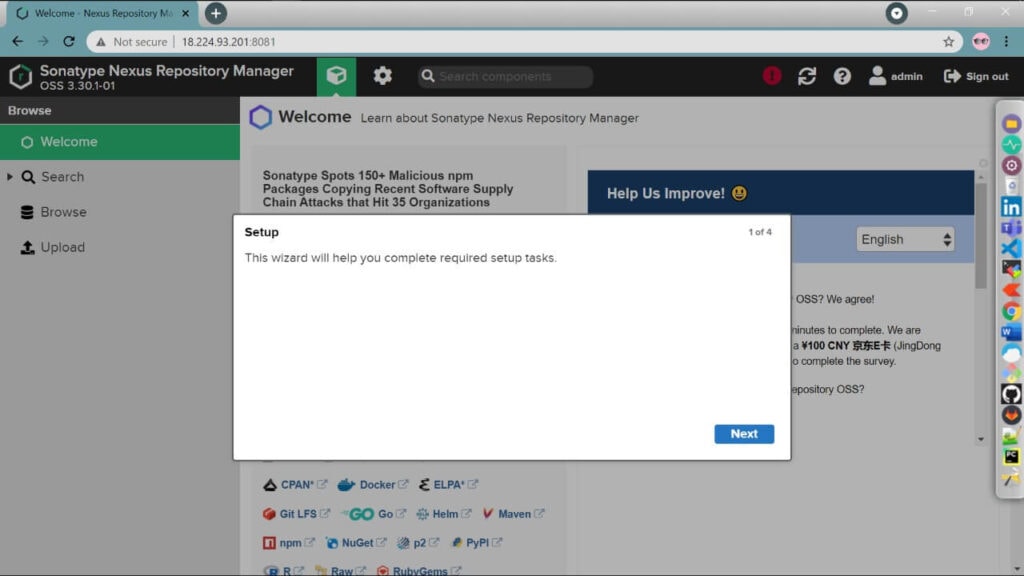
Change the default nexus admin password

configure Anonymous Access
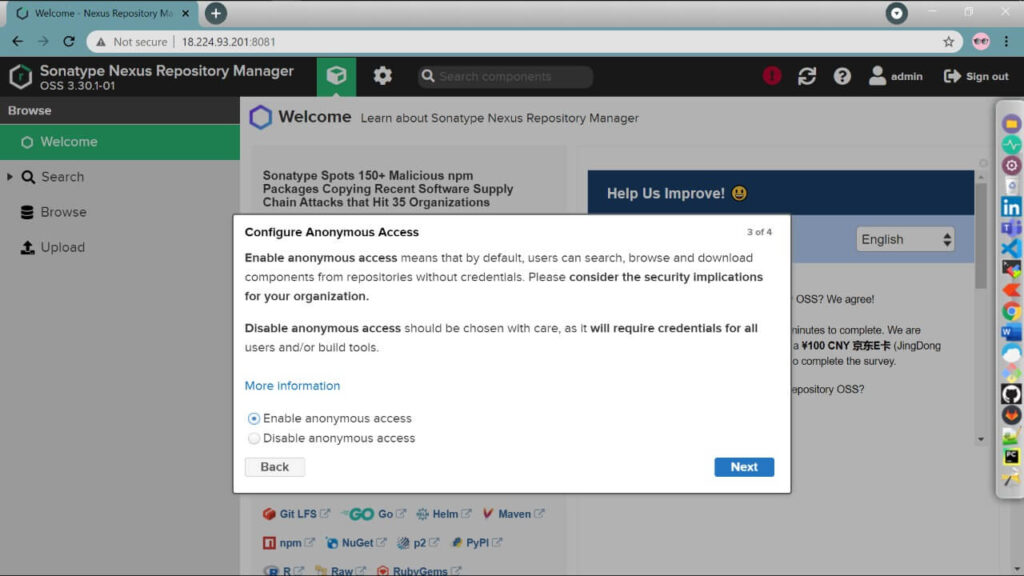
click on Finish.
Conclusion:
In this article we have covered How to Install Nexus Repository on Ubuntu 20.04 LTS
Related Articles:
Thank you for complete guide
would you please explian how can we add sepereate hard disk to nexus for keeping data?
Awesome 👍.
Thanks for your feedback.
Hi facing the below issue
cat /opt/nexus/sonatype-work/nexus3/admin.password
cat: /opt/nexus/sonatype-work/nexus3/admin.password: No such file or directory
not being able to login on nexus portal using the password available in admin.passowrd file. any guidance regarding this?