In this article, We are going to cover How to Install Laravel on Ubuntu 20.04/18.04 LTS
Table of Contents
Introduction
Laravel is open source web framework for PHP. It is used to create overall web tasks and easy for app development.
Prerequisites
- Ubuntu 20.04/18.04 LTS
- SSH Access with sudo privileges
Install curl, zip , unzip and common packages
sudo apt install curl zip unzip software-properties-common
Install an Apache2 on Ubuntu 20.04/18.04 LTS if not installed
sudo apt install apache2
Step 1: Install PHP 7.4 on Ubuntu 20.04/18.04 LTS
Install PHP 7.4 on Ubuntu 20.04 LTS
if you are using Apache web server, Install php 7.4 with Apache on Ubuntu 20.04 LTS using below commands
sudo apt update
sudo apt install php libapache2-mod-php
Restart an Apache service to take effect
sudo systemctl restart apache2
Install php 7.4 modules required for Laravel on Ubuntu 20.04 LTS
sudo apt install php7.4-common php7.4-cli php7.4-gd php7.4-mysql php7.4-curl php7.4-intl php7.4-mbstring php7.4-bcmath php7.4-imap php7.4-xml php7.4-zip
Install PHP 7.4 on Ubuntu 18.04 LTS using PPA
Install php 7.4 on Ubuntu 18.04 LTS using PPA with php modules
sudo add-apt-repository ppa:ondrej/php
sudo apt update
sudo apt install php7.4-common php7.4-cli php7.4-gd php7.4-mysql php7.4-curl php7.4-intl php7.4-mbstring php7.4-bcmath php7.4-imap php7.4-xml php7.4-zip
Check the PHP version using command line
php -v
Output:
PHP 7.4.9 (cli) (built: Aug  7 2020 14:29:36) ( NTS )
Copyright (c) The PHP Group
Zend Engine v3.4.0, Copyright (c) Zend Technologies
with Zend OPcache v7.4.9, Copyright (c), by Zend Technologies
Step 2: Install MySQL on Ubuntu 20.04/18.04 LTS
Install MySQL on Ubuntu 20.04/18.04 LTS using below command, this will install default MySQL on it.
sudo apt-get install mysql-server mysql-client
If you want install specific MySQL Version like 5.7 or 8 then follow below articles
How to Install MySQL 5.7 on Ubuntu 20.04 LTS
How to Install MySQL 8.0 on Ubuntu 18.04/16.04
How to Install MariaDB on Ubuntu 18.04/16.04 LTS
Secure the MySQL Installation
MySQL Server comes with a script mysql_secure_installation this can do multiple security related operations,
Run the below script on command prompt. you’ll first be need to enter the root password which you created during MySQL setup.
You will be asked to opt VALIDATE PASSWORD PLUGIN or not. This enables we to test MySQL Passwords and improve security.
Next, you have to enter yes or No to below security features,
- Change the password for root ? ((Press Y|Y for Yes, any other key for No)
- Remove anonymous users? (Press Y|Y for Yes, any other key for No)
- Disallow root login remotely? (Press Y|Y for Yes, any other key for No)
- Remove test database and access to it? (Press Y|Y for Yes, any other key for No)
- Reload privilege tables now? (Press Y|Y for Yes, any other key for No)
mysql_secure_installation
Step 3: Install phpMyAdmin on Ubuntu
If you want to install phpMyAdmin on Ubuntu then follow below article
How to Install phpMyAdmin on Ubuntu 18.04/16.04
Step 4: Install PHP Composer on Ubuntu
Install composer to install all dependencies for laravel application using curl
curl -sS https://getcomposer.org/installer | php
Output:
All settings correct for using Composer
Downloading...

Composer (version 1.10.10) successfully installed to: /root/composer.phar
Use it: php composer.phar
Move composer.phar to /usr/local/bin directory
sudo mv composer.phar /usr/local/bin/composer
Make executable to composer
sudo chmod +x /usr/local/bin/composer
To check composer version
Composer -v
Step 4: Install Laravel on Ubuntu
Navigate to cd /var/www/ directory
cd /var/www/html
Download the Latest Laravel from GitHub in /var/www/html directory
git clone https://github.com/laravel/laravel.git
Now Navigate to laravel folder
cd /var/www/html/laravel
OR
you can clone your laravel project from GitHub/Bitbucket and you can install compose into your project directory
Install all dependencies using composer
sudo composer install
once all dependencies installed, set the permissions
chown -R www-data.www-data /var/www/html/laravel
chmod -R 755 /var/www/html/laravel
chmod -R 777 /var/www/html/laravel/storage
We have covered Install Laravel on Ubuntu.
Step 5: Creating Database and User in MySQL
Login to MySQL , create a database and user in MySQL for Laravel Project
mysql -u root -p
mysql> create database laraveldb;
mysql> CREATE USER 'dbuser'@'%' IDENTIFIED BY 'fosstechnix@123';
mysql> GRANT ALL PRIVILEGES ON . TO 'dbuser'@'localhost' WITH GRANT OPTION;
mysql> FLUSH PRIVILEGES;
mysql> exit
Step 6: Setting up Environment for Laravel Project
By default laravel create .env.example file, rename it to .env to set all environment settings for your laravel project
sudo mv .env.example .env
Generate the base64 key for your laravel project
php artisan key:generate
Output:
php artisan key:generate
Application key set successfully.
open the .env file and set your project configuration
sudo nano .env
APP_NAME=fosstechnixDev
APP_ENV=Dev
APP_KEY=base64:La/otbbUH6wpP/ObQqSMMu9QQvab8Sg1nMJwX+dbgAw=
APP_DEBUG=true
APP_URL=http://localhost
change the Database Settings
DB_CONNECTION=mysql
DB_HOST=localhost
DB_PORT=3306
DB_DATABASE=laraveldb
DB_USERNAME=dbuser
DB_PASSWORD=fosstechnix@123
Step 7: Apache Configuration for Laravel
open the default virtual host file and update you project’s path into it
sudo nano /etc/apache2/sites-available/000-default.conf
update the virtual host configuration as shown below
<VirtualHost *:80>

        ServerAdmin webmaster@localhost
        DocumentRoot /var/www/html/laravel/public


        <Directory />
                Options FollowSymLinks
                AllowOverride None
        </Directory>
        <Directory /var/www/html/laravel/public>
                AllowOverride All
        </Directory>


        ErrorLog ${APACHE_LOG_DIR}/error.log
        CustomLog ${APACHE_LOG_DIR}/access.log combined

        </VirtualHost>
Restart Apache2 service to take effect
sudo systemctl restart apache2
We have covered Install Laravel on Ubuntu.
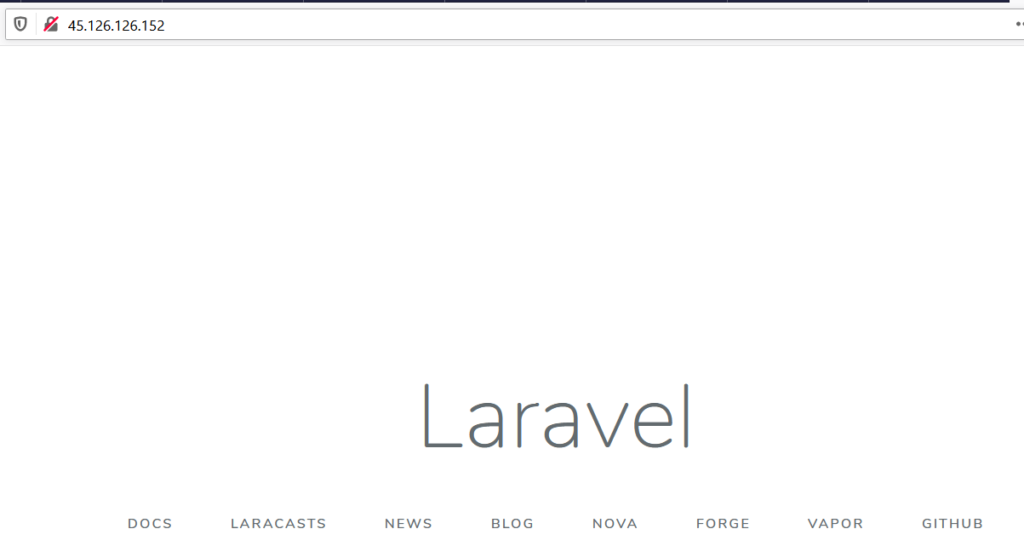
Step 8: Access Laravel UI
Now access Laravel application UI using Server IP or Domain Name
http://server_IP
Uninstalling Laravel and Composer
To uninstall/remove Laravel and composer from Ubuntu
sudo rm /usr/local/bin/composer
Troubleshooting
Error: laravel the requested url was not found on this server:404
Solution:
sudo a2enmod rewrite
sudo systemctl restart apache2
Conclusion:
We have covered, How to Install Laravel on Ubuntu 20.04/18.04 LTS, Install php and MySQL, Installing composer and laravel, creating MySQL db and user for laravel project, creating environment settings and Apache configuration for laravel.