
In this article we will cover How to Install Spring Boot Application on Ubuntu 24.04 LTS.
Table of Contents
What is Spring Boot?
Spring Boot is a Java-based language framework that is used to create an application. Spring Boot is one of the most popular frameworks for building Java-based web applications. It’s built on top of the Spring Framework and makes it easy to create stand-alone, production-ready applications with minimal configuration.
In this blog, we will show you how to deploy a Spring Boot application on Ubuntu 24.04 LTS version.
Prerequisites:
- AWS Account with Ubuntu 24.04 LTS EC2 Instance.
- Basic understanding of Java and Gradle.
Step #1:Install Java JDK (Java Development Kit)
Update Package Index.
sudo apt update
Run the following command:
sudo apt install openjdk-17-jdk-headless -y
After installation, verify Java:
java -version
Output would be like
openjdk version "17.0.15" 2025-04-15
OpenJDK Runtime Environment (build 17.0.15+6-Ubuntu-0ubuntu124.04)
OpenJDK 64-Bit Server VM (build 17.0.15+6-Ubuntu-0ubuntu124.04, mixed mode, sharing)
Step #2:Install Spring Boot CLI on Ubuntu 24.04 LTS
Spring Boot CLI helps to create and test apps quickly from the command line. So install zip and unzip first.
There are multiple ways to install Spring Boot. In this tutorial, we will install Spring Boot CLI using SDKMAN.
apt install zip unzip -y
Then install SDKMAN:
curl -s https://get.sdkman.io | bash
Once done, load SDKMAN into your shell:
source "$HOME/.sdkman/bin/sdkman-init.sh"
Now install Spring Boot CLI:
sdk install springboot
Once installation is done, verify it by typing the command “spring –version.”
Step #3:Create a Spring Boot Application
Install Gradle:
sdk install gradle 8.14
Generate a basic Spring Boot app named hello in a folder hello-world:
spring init --build=gradle --type=gradle-project --dependencies=web --name=hello hello-world
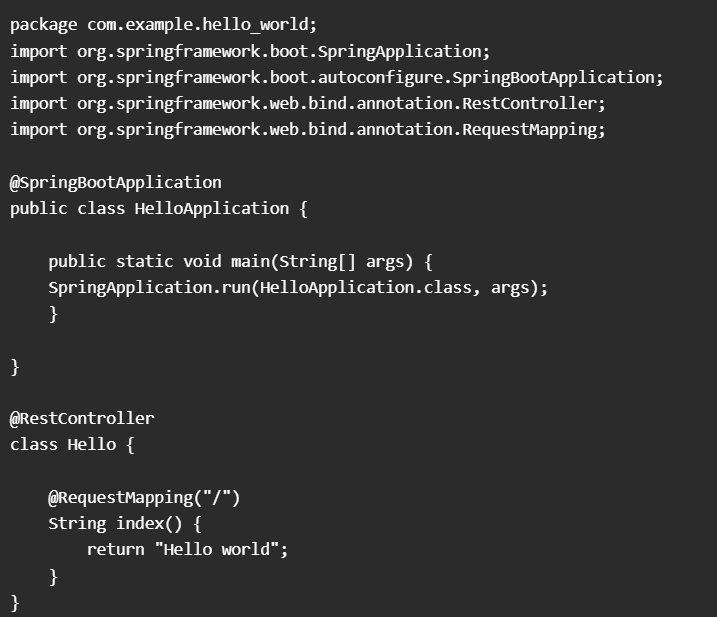
Edit the main application file:
nano ~/hello-world/src/main/java/com/example/hello_world/HelloApplication.java
Replace the content with:
package com.example.hello_world;

import org.springframework.boot.SpringApplication;
import org.springframework.boot.autoconfigure.SpringBootApplication;
import org.springframework.web.bind.annotation.RestController;
import org.springframework.web.bind.annotation.RequestMapping;

@SpringBootApplication
public class HelloApplication {
    public static void main(String[] args) {
        SpringApplication.run(HelloApplication.class, args);
    }
}

@RestController
class Hello {
    @RequestMapping("/")
    String index() {
        return "Hello world";
    }
}
Save and close (Ctrl + O, Enter, Ctrl + X).
Build the application:
cd ~/hello-world
./gradlew build
or type this :
cd ~/hello-world
./gradlew  clean build
Step #4:Run the Spring Boot Application
Run the application directly without building a JAR file:
./gradlew bootRun
Expected Output:

If you get stuck at this only, then your task is done; just test the application.

Test it by visiting :
http://<EC2-public-ip-address>:8080/
use your AWS EC2 instance public IP address.
Conclusion:
Spring Boot streamlines Java development by eliminating complex configurations and enabling rapid application setup. With just a few commands, you can create, build, and deploy a production-ready application. Integrating it with systemd and Nginx ensures reliable background service and web access. This setup is ideal for developers looking to build scalable and maintainable Java applications on Linux servers.
Related Articles:
How to Build Spring Boot Project Using Gradle
Reference:
