In this article we will learn Secure Nginx with Certbot and Let’s Encrypt on Ubuntu 24.04 LTS. Securing your Nginx server with HTTPS is essential for ensuring data encryption, authenticity, and overall user trust. Let’s Encrypt offers free SSL/TLS certificates and an automated process for certificate issuance and renewal. This guide will walk you through securing Nginx with Certbot (Let’s Encrypt) on Ubuntu 24.04 LTS.
Table of Contents
Prerequisites
- AWS Account with Ubuntu 24.04 LTS EC2 Instance.
- Domain name pointing to your server (in this guide, we use devopshint.xyz and nginx.DevOpsHint.xyz).
Step #1:Set Up DNS for the Custom Domain
We already have a domain in GoDaddy so first got to GoDaddy.
Go to your account, here “DevOps” and select My Products.
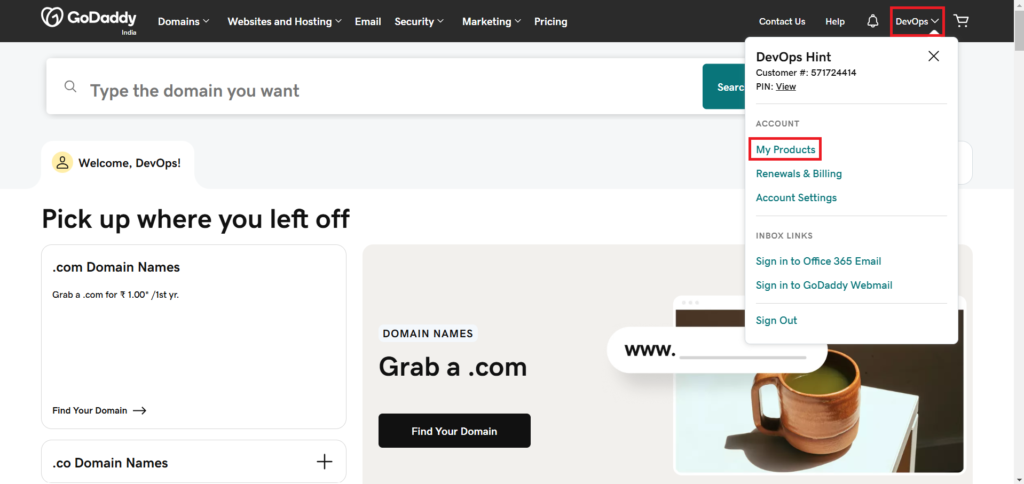
You can see our domain devopshint.xyz below, go to DNS to add the records in it.
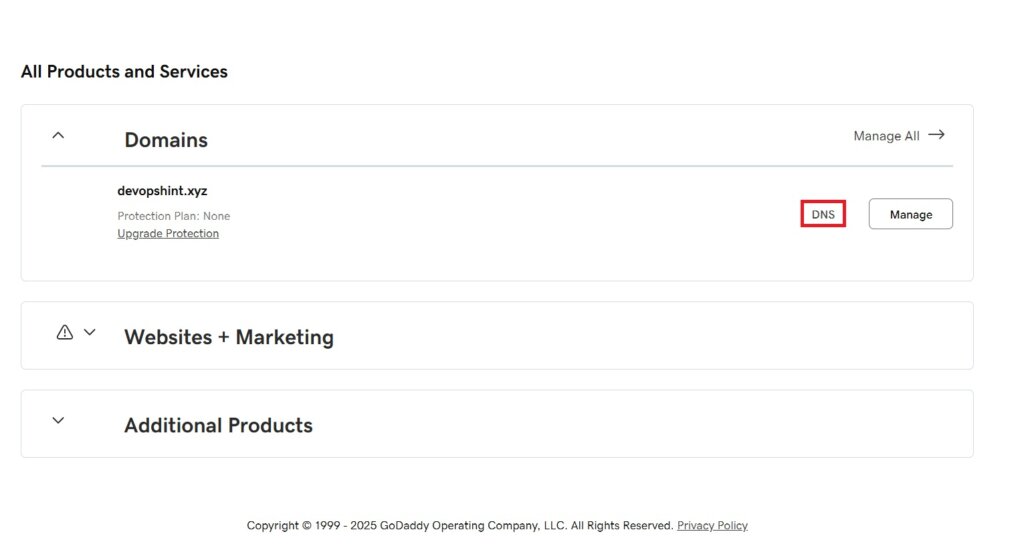
In your domain provider’s dashboard, create a DNS A record. Click on Add New Record.
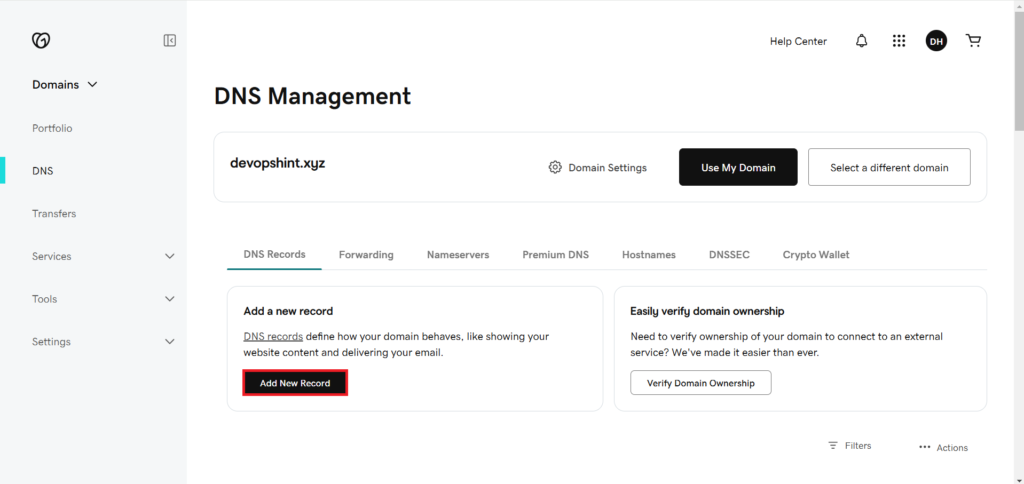
- Type: A
- Name: @
- Value: Your EC2 instance’s public IP address. You must have Elastic IP associated with your EC2 instance.
- TTL: 1 Hour
Save it.

- Type: A
- Name: nginx
- Value: Your EC2 instance’s public IP address. You must have Elastic IP associated with your EC2 instance.
- TTL: 1 Hour
Save it.

Step #2:Install Nginx
Before installing any software, ensure your package lists are up-to-date.
sudo apt update
Install the Nginx web server using the following command.
sudo apt install nginx -y
After installation, check the status of the Nginx service to ensure it’s running.
sudo systemctl status nginx
Step #3:Install Certbot for Nginx
Certbot is a tool that automates the process of installing and renewing SSL/TLS certificates from Let’s Encrypt. Install it using the following command.
sudo apt install certbot python3-certbot-nginx -y
Run the following command to obtain and configure an SSL certificate for your domain.
sudo certbot --nginx -d devopshint.xyz -d nginx.DevOpsHint.xyzCertbot will automatically:
- Verify domain ownership.
- Configure Nginx to use the obtained certificates.
- Reload Nginx to apply the changes.

Once the certificate is issued, open a web browser and access your site at
https://nginx.DevOpsHint.xyzIf the SSL certificate was successfully installed, You should see a secure connection indicator in your browser.


Conclusion:
In conclusion, securing your website with Certbot and Let’s Encrypt is an important step in building a trustworthy and safe online presence. By enabling HTTPS on your Nginx server, you not only protect your users’ data but also improve your website’s ranking in search engines. Following this guide makes the process simple and manageable.
Related Articles:
Configure Single Sign-On (SSO) for ArgoCD using OKTA
Reference: