In this article we are going to cover How to Implement Blue-Green Deployment Using Terraform.
Blue-Green Deployment is a strategy to achieve zero-downtime infrastructure upgrades. The idea is simple: you maintain two environments — Blue (live) and Green (new version). Once the Green environment is ready, you switch traffic to it and eventually tear down the Blue environment.
In this article, we’ll:
- Set up a basic AWS infrastructure using Terraform.
- Use workspaces to manage Blue and Green environments.
- Route traffic via an Application Load Balancer (ALB).
- Ensure a beginner-friendly, step-by-step setup.
Table of Contents
Prerequisites
Before you start, make sure you have:
- An AWS account.
- Terraform installed.
- An IAM user with programmatic access (with permissions for EC2, VPC, ALB).
- AWS CLI configured on your terminal (
aws configure).
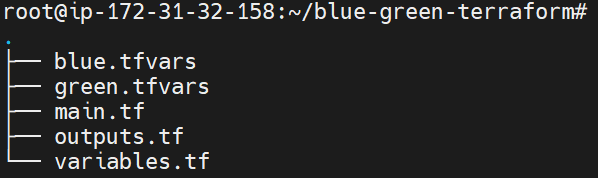
Directory Structure
blue-green-terraform/
├── main.tf
├── variables.tf
├── outputs.tf
├── blue.tfvars
├── green.tfvars
Terraform Configuration Files
main.tf
The full infrastructure definition.
provider "aws" {
  region = "ap-south-1"
}

###################
# VPC and Network #
###################

resource "aws_vpc" "main" {
  cidr_block = "10.0.0.0/16"
}

resource "aws_internet_gateway" "gw" {
  vpc_id = aws_vpc.main.id
}

resource "aws_subnet" "subnet_1" {
  vpc_id                  = aws_vpc.main.id
  cidr_block              = "10.0.1.0/24"
  availability_zone       = "ap-south-1a"
  map_public_ip_on_launch = true
}

resource "aws_subnet" "subnet_2" {
  vpc_id                  = aws_vpc.main.id
  cidr_block              = "10.0.2.0/24"
  availability_zone       = "ap-south-1b"
  map_public_ip_on_launch = true
}

resource "aws_route_table" "rt" {
  vpc_id = aws_vpc.main.id

  route {
    cidr_block = "0.0.0.0/0"
    gateway_id = aws_internet_gateway.gw.id
  }
}

resource "aws_route_table_association" "rta1" {
  subnet_id      = aws_subnet.subnet_1.id
  route_table_id = aws_route_table.rt.id
}

resource "aws_route_table_association" "rta2" {
  subnet_id      = aws_subnet.subnet_2.id
  route_table_id = aws_route_table.rt.id
}

#####################
# Security Group    #
#####################

resource "aws_security_group" "blue_sg" {
  name        = "blue-sg"
  description = "Allow HTTP"
  vpc_id      = aws_vpc.main.id

  ingress {
    from_port   = 80
    to_port     = 80
    protocol    = "tcp"
    cidr_blocks = ["0.0.0.0/0"]
  }

  egress {
    from_port   = 0
    to_port     = 0
    protocol    = "-1"
    cidr_blocks = ["0.0.0.0/0"]
  }
}

##################
# EC2 Instance   #
##################

resource "aws_instance" "app" {
  ami                         = var.ami_id
  instance_type               = "t2.micro"
  subnet_id                   = aws_subnet.subnet_1.id
  vpc_security_group_ids      = [aws_security_group.blue_sg.id]
  associate_public_ip_address = true

  user_data = <<-EOF
              #!/bin/bash
              echo "<h1>${var.env} environment</h1>" > index.html
              nohup python3 -m http.server 80 &
              EOF

  tags = {
    Name = "${var.env}-instance"
  }
}

##########################
# Load Balancer (ALB)    #
##########################

resource "aws_lb" "app_lb" {
  name               = "${var.env}-alb"
  internal           = false
  load_balancer_type = "application"
  security_groups    = [aws_security_group.blue_sg.id]
  subnets            = [aws_subnet.subnet_1.id, aws_subnet.subnet_2.id]
}

resource "aws_lb_target_group" "app_tg" {
  name     = "${var.env}-tg"
  port     = 80
  protocol = "HTTP"
  vpc_id   = aws_vpc.main.id

  health_check {
    path                = "/"
    protocol            = "HTTP"
    matcher             = "200"
    interval            = 30
    timeout             = 5
    healthy_threshold   = 2
    unhealthy_threshold = 2
  }
}

resource "aws_lb_listener" "app_listener" {
  load_balancer_arn = aws_lb.app_lb.arn
  port              = 80
  protocol          = "HTTP"

  default_action {
    type             = "forward"
    target_group_arn = aws_lb_target_group.app_tg.arn
  }
}

resource "aws_lb_target_group_attachment" "app_attach" {
  target_group_arn = aws_lb_target_group.app_tg.arn
  target_id        = aws_instance.app.id
  port             = 80
}
variables.tf
Define all configurable variables.
variable "env" {
  description = "Environment name: blue or green"
  type        = string
}

variable "ami_id" {
  description = "AMI ID to use for EC2 instance"
  type        = string
}
outputs.tf
output "alb_dns_name" {
  description = "Load Balancer DNS"
  value       = aws_lb.app_lb.dns_name
}
blue.tfvars
env    = "blue"
ami_id = "ami-0e35ddab05955cf57"
green.tfvars
env    = "green"
ami_id = "ami-0e35ddab05955cf57"
Step-by-Step Deployment
#1.Initialize Terraform
terraform init

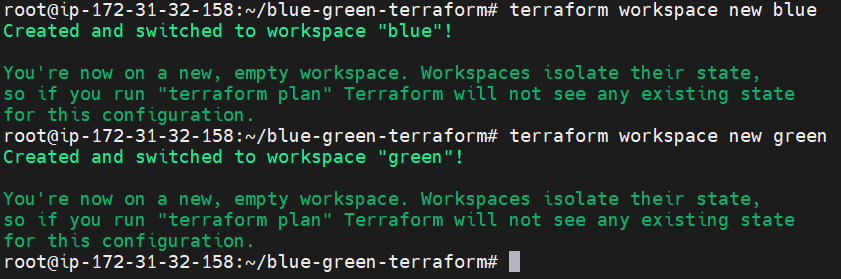
#2.Create Workspaces
terraform workspace new blue
terraform workspace new green
#3.Deploy Blue Environment
terraform workspace select blue
terraform apply -var-file="blue.tfvars"

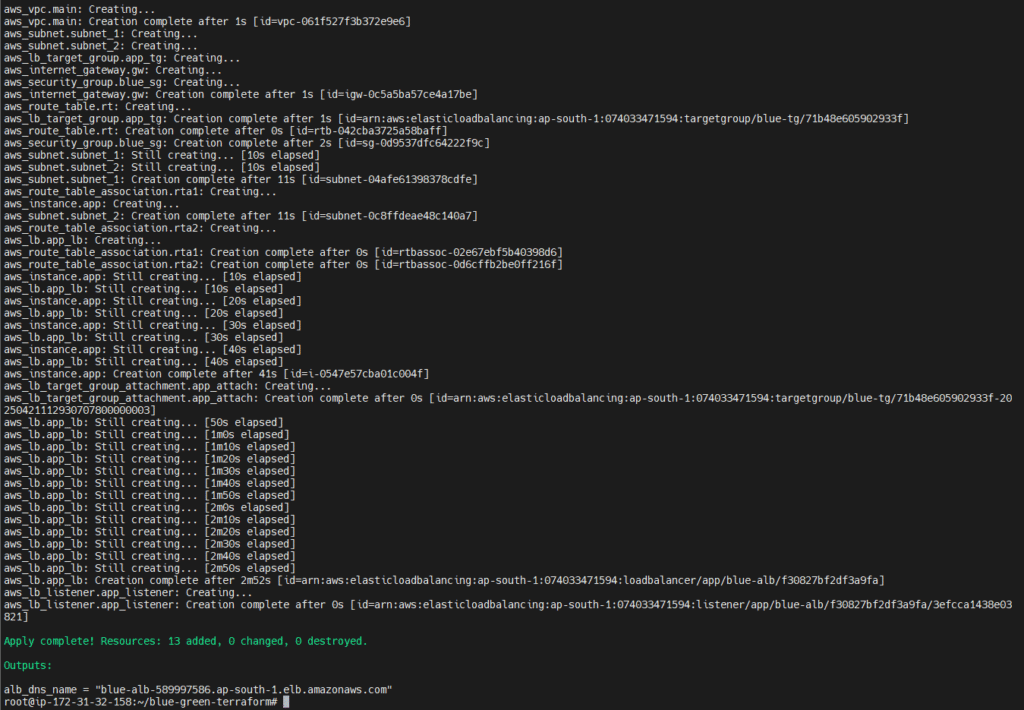
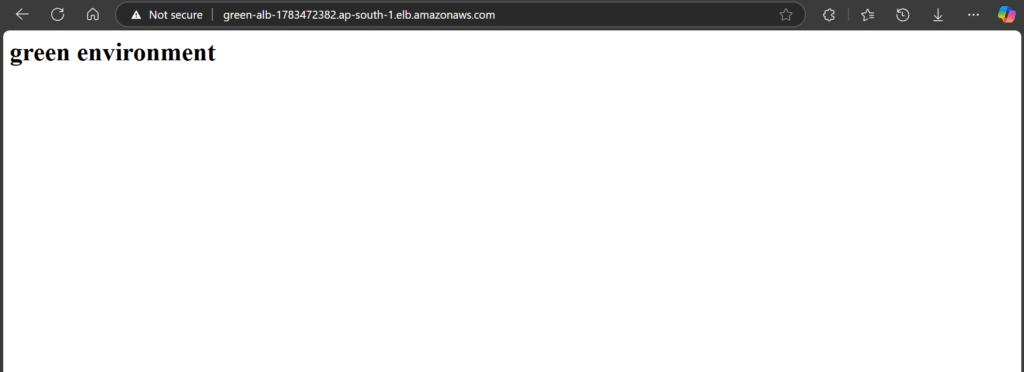
Note the load_balancer_dns in the output — this is where traffic is routed.
You’ll get a DNS URL after each apply. You can open it in your browser and see if it shows blue environment or green environment.

#4.Deploy Green Environment
terraform workspace select green
terraform apply -var-file="green.tfvars"

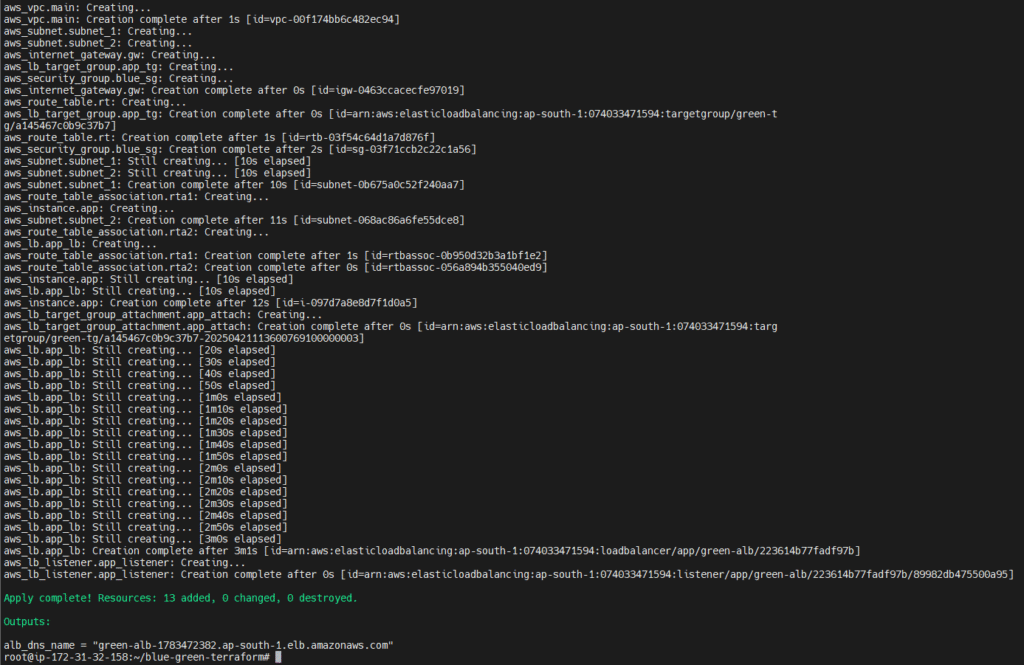
Now you have both environments running in parallel.
Traffic Switching Strategy
You have 2 options:
- Switch the DNS record from Blue’s ALB to Green’s ALB.
- Use a static ALB and swap the target group (advanced).
Cleaning Up
To destroy environments:
Blue Environment:
terraform workspace select blue
terraform destroy -var-file="blue.tfvars"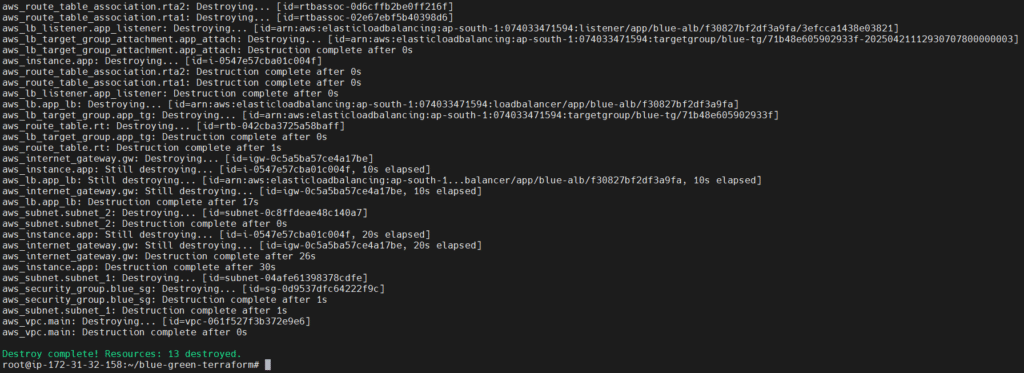
Green Environment:
terraform workspace select green
terraform destroy -var-file="green.tfvars"
Pro Tips
- Use workspaces for Blue & Green separation
- Use AMI from your region (search using
aws ec2 describe-images) - ALB requires subnets in at least one AZ with internet gateway
- Always tag your resources for clarity
Conclusion:
In this article, we explored Blue-Green Deployment using Terraform, focusing on achieving zero-downtime infrastructure upgrades. We created separate environments (Blue and Green), launched EC2 instances, configured networking with subnets and internet gateways, and used a Load Balancer to manage traffic between environments.
By leveraging Terraform workspaces, we isolated each environment effectively, and with simple tweaks like DNS or Load Balancer changes, we seamlessly switched traffic from Green (old) to Blue (new) without affecting end users.
This approach ensures safe and reliable updates, helping you roll out new features confidently while preserving system availability.
Related Articles:
Preventing Terraform Drift & Manual Changes in Terraform State File
Reference:
Use Application Load Balancers for blue-green and canary deployments