In this article, we’ll walk you through the step-by-step process of setting up the LiteSpeed Cache plugin on your WordPress site to improve loading speed and performance | How to boost WordPress Speed by Using LiteSpeed Cache: A Complete Beginner’s Guide
Table of Contents
What is LiteSpeed Cache?
LiteSpeed Cache is one of the most powerful and efficient caching plugins available for WordPress. Designed to work seamlessly with LiteSpeed Web Server and OpenLiteSpeed, this plugin offers a wide range of performance-boosting features, including full-page caching, image optimization, database cleanup, CSS/JS minification, and built-in CDN support.
Improving website speed is essential for better SEO rankings, user experience, and conversion rates. LiteSpeed Cache makes it easy to achieve faster load times with minimal technical effort, making it a favorite among WordPress users and developers.
Prerequisites:
- A WordPress website installed and running
- Hosting that uses LiteSpeed Web Server or OpenLiteSpeed (required for full plugin functionality)
- Access to your WordPress admin dashboard
- Basic familiarity with WordPress settings and plugin installation
In this blog post, we’ll guide you step-by-step on how to install and configure the LiteSpeed Cache plugin for WordPress to improve your website’s speed and performance.
Step #1:Log In to Your WordPress Admin Dashboard
Open your browser and go to your_domain.com/wp-admin then enter your username and password to log in. You’ll be redirected to the WordPress Dashboard.

Step #2:Check If Your Hosting Supports LiteSpeed
In the left side go to the ‘Tools’ section, select the ‘Site Health’ option, and then click on the Info tab. Now scroll down to the server section and look for the value that says LiteSpeed or OpenLiteSpeed.


If your host doesn’t use LiteSpeed, the plugin won’t work fully.
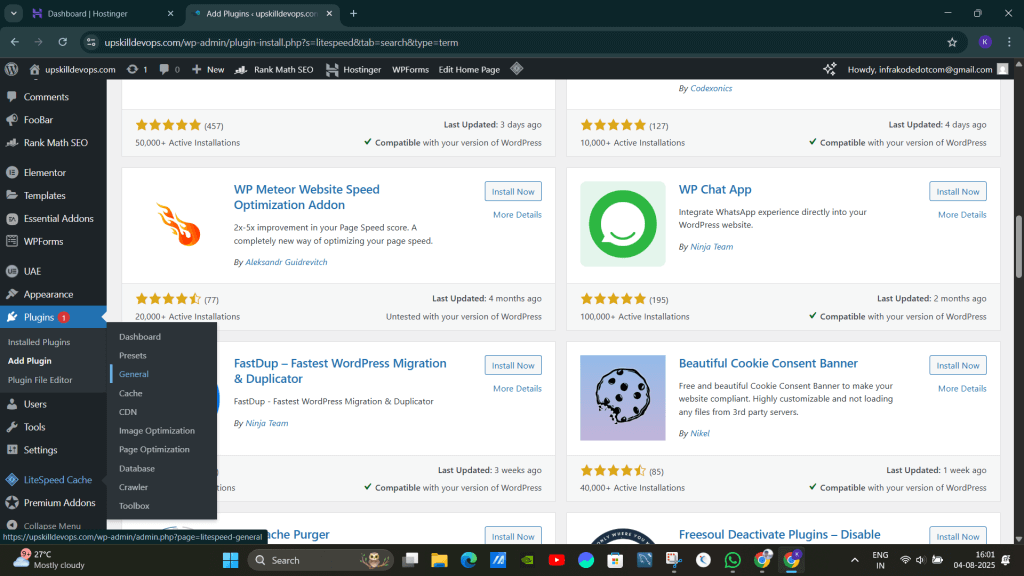
Step #3:Install the LiteSpeed Cache Plugin
In your WordPress dashboard, go to Plugins and select the option Add New, then search for LiteSpeed Cache. Click Install Now, then click Activate.


Step #4:Enable LiteSpeed Cache
After activating the plugin, the cache may not be turned on by default. You need to enable it.

Now set the Automatically Upgrade, Guest Mode, and Guest Optimization to ON and leave the server IP blank. If you want the notifications ON, you can keep it as it is or simply just turn them OFF. Save the changes.

Step #5:Enable Page Caching in LiteSpeed Cache
Go to the LiteSpeed Cache → Cache (from the WordPress sidebar)

Now just turn off the Cache Logged-in Users and save the changes.

Step #6:Enable Browser Cache and Object Cache
Enable Browser Cache by clicking on the browser option.

Enable Object Cache by clicking on the Object option.

Step #7:Optimize CSS, JavaScript, and HTML
This step improves your page load speed, which directly affects your Google rankings, user experience, and Core Web Vitals.
Now go to :LiteSpeed Cache → Page Optimization → CSS Settings / JS Settings / HTML Settings
In CSS Settings enable the following things:
- CSS Minify-ON
- CSS Combine-ON
- Generate UCSS-ON
- UCSS Inline-ON
- CSS Combine External + Inline-ON
- Load CSS Asynchronously-ON
- CCSS Per URL-OFF
- Inline CSS Async Lib-ON
- Font Display Optimization-ON

In JS Settings enable the following things:
- JS Minify-ON
- JS Combine-ON
- JS Combine External and Inline-ON
- Load JS Deferred (set to Deferred)

In HTML Settings enable the following things:
- HTML Minify-ON
- Inline CSS Minify-ON
- Inline JS Minify-ON
- DNS Prefetch Control-ON
- Remove HTML Comments (This is labeled “HTML Keep “Comments”—leave it empty)
- Load Google Fonts Asynchronously-ON
You can leave the following things blank unless you have specific needs:
- DNS Prefetch (optional; you can add links like
//fonts.googleapis.com) - HTML Lazy Load Selectors (leave blank)
- HTML Keep Comments (leave blank)
- DNS Preconnect (optional; for performance geeks)
Except for this, don’t do any other changes.

Step #8:Media Optimization Settings (LiteSpeed Cache)
Now go to the Page Optimization section, which is under the LiteSpeed Cache, and select the Media Settings.
Do the following changes:
- Lazy Load Images-ON
- Basic Image Placeholder-ON
- Responsive Placeholder-ON
- LQIP Cloud Generator-ON
- Lazy Load Iframes-ON
- Add Missing Sizes-ON

Step #9:Database Optimization
Now under the LiteSpeed Cache, click on the Database.
Click Clean All

Step #10:Test Your Performance
Now to test the performance of your site, go to the following URL and enter your website’s address, and analyze the performance.
Before applying the LiteSpeed Cache plugin:

After applying the LiteSpeed Cache plugin:

Conclusion:
LiteSpeed Cache is a game-changer when it comes to speeding up your WordPress site and boosting SEO performance. With minimal setup and no need for coding skills, you can unlock powerful features like page caching, image optimization, minification, CDN integration, and more. Each setting you configure brings your website one step closer to faster load times, better user experience, and higher search engine rankings.
Related Articles:
Monitoring Java API 5xx alerts with OpenTelemetry, Prometheus, and Grafana
Reference: