In this article we are going to learn Install Jenkins Pipeline Linter Connector extension in VS code, How to Validate Jenkinsfile using Visual studio code.
Pr-requisites:
- Jenkins Server with User credentials
- Preinstalled Visual Studio Code
- Jenkins Pipeline Linter Connector for Visual Studio Code.
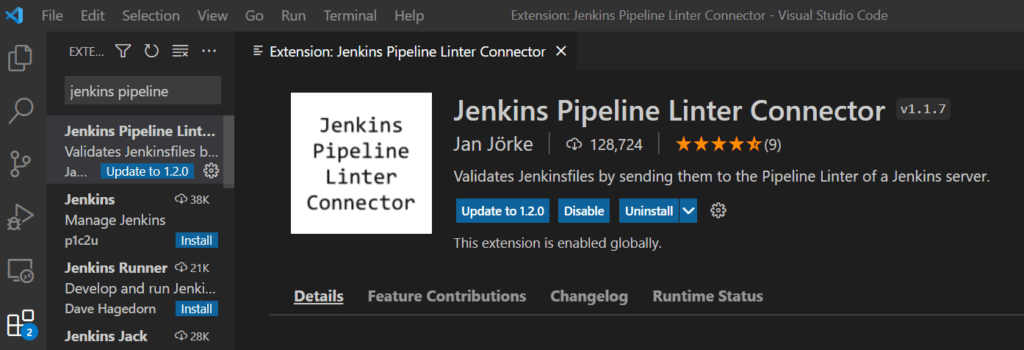
Step #1:Install Jenkins Pipeline Linter Connector extension in VS code
Install Jenkins Pipeline Linter Connector extension in your Extension panel in Visual studio code.
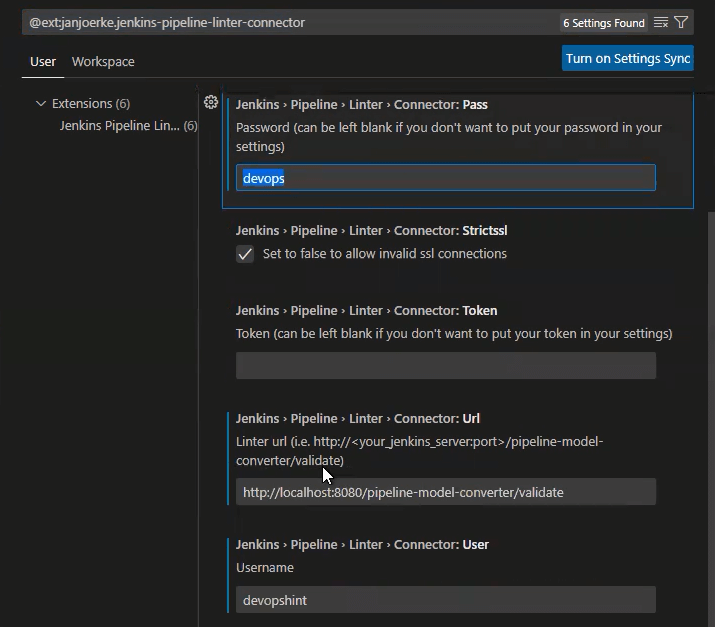
Once the installation process is finished, you need to configure it. Go to the Settings section in VS Code. In the “Search settings” field write “Jenkins”.
Connector Pass: Enter your Jenkins user password here.
Connector URL: Enter your Jenkins server URL here.(using below format)
https://<JENKINS SERVER URL>/pipeline-model-converter/validate
Connector User: Enter your Jenkins username here.
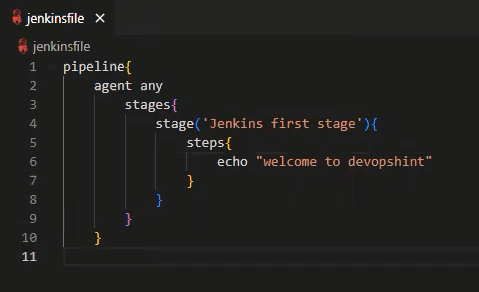
Now it’s done open your Jenkinsfile.
This is our example of how a Jenkinsfile looks:
pipeline{
    agent any
    stages{
        stage('Jenkins first Demo'){
            steps{
                echo "welcome to devopshint"
            }

        }
    }
}
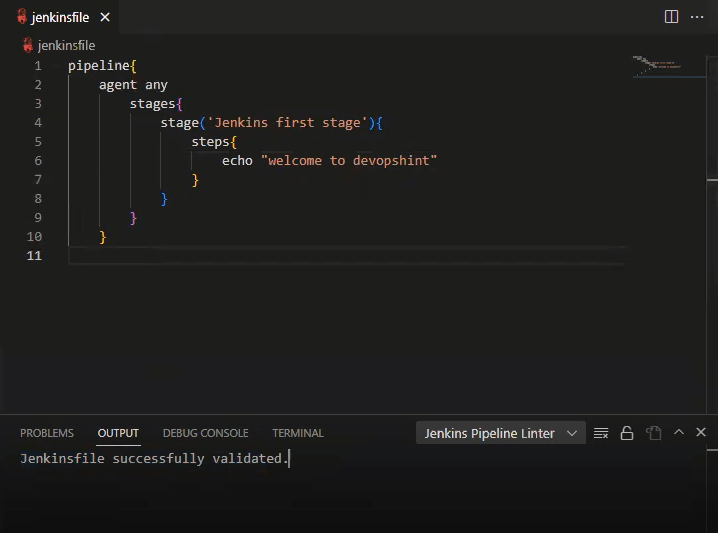
Step #2:Validate Jenkinsfile using Visual Studio Code
Go to View menu -> command palette
Open the Command Palette (In VS code go to view and then open command palette) and write “Validate Jenkins”

If the syntax of your file is valid, you’ll have a message like this.
Conclusion:
In this article we have covered Install Jenkins Pipeline Linter Connector extension in VS code, How to Validate Jenkinsfile using Visual studio code.
Reference:
Validate jenkinsfile using visual studio code official page
Related Articles: