In this Article we are going to learn How to install Apache2 on Ubuntu 22.04 LTS and Setting Up Virtual Hosts on Apache2.
Table of Contents
Step #1: Install Apache2 on Ubuntu 22.04 LTS
Update your system package:
sudo apt-get update
Install Apache
Run this command to install the apache package on ubuntu:
sudo apt-get install apache2
Step #2: Verify Apache Installation
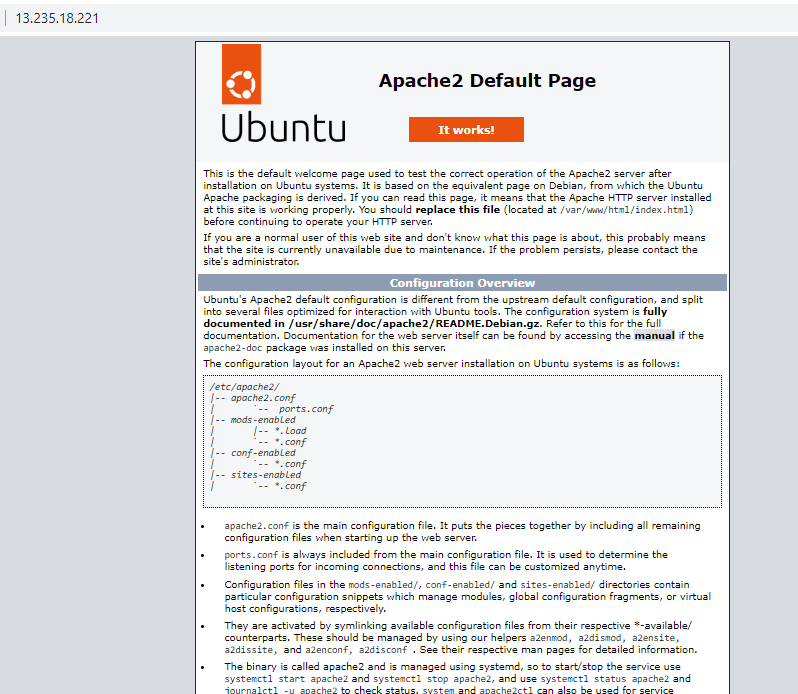
For Verify Apache was installed correctly, open a web browser and type in the address bar http://server_ip_address
After opening this URL you can see the apache2 default page as in the image below:
Step #3. Configure Your Firewall
Check the available ufw application profiles:
sudo ufw app list
Output:
Available applications:
  Apache
  Apache Full
  Apache Secure
  OpenSSH
Let’s enable the most restrictive profile that will still allow the traffic you’ve configured, permitting traffic on port 80:
sudo ufw allow 'Apache'
Output:
Rules updated
Rules updated (v6)
Verify the change:
sudo ufw status
If your status is inactive like this:
ubuntu@ip-172-31-35-121:~$ sudo ufw status
Status: inactive
Then you need to enable first then check the status:
sudo ufw enable
sudo ufw status
Output:
ubuntu@ip-172-31-35-121:~$ sudo ufw enable
Command may disrupt existing ssh connections. Proceed with operation (y|n)? y
Firewall is active and enabled on system startup
ubuntu@ip-172-31-35-121:~$ sudo ufw status
Status: active

To                         Action      From
--                         ------      ----
Apache                     ALLOW       Anywhere
Apache (v6)                ALLOW       Anywhere (v6)
Step #4. Managing the Apache Process
Some basic management commands.
To stop your web server, run this command:
sudo systemctl stop apache2
To start the web server when it is stopped, run this command:
sudo systemctl start apache2
To stop and then start the service again, run this command:
sudo systemctl restart apache2
Apache can often reload without dropping connections. To do this, use this command:
sudo systemctl reload apache2
By default, Apache is configured to start automatically when the server boots. If this is not what you want, disable this behavior by typing:
sudo systemctl disable apache2
To re-enable the service to start up at boot, type:
sudo systemctl enable apache2
Step #5 : Setting Up Virtual Hosts in Apache2
Create the directory for your_domain as follows:
sudo mkdir /var/www/your_domain
Next, assign ownership of the directory to the user you’re currently signed in as with the $USER environment variable:
sudo chown -R $USER:$USER /var/www/your_domain
To ensure that your permissions are correct and allow the owner to read, write, and execute the files while granting only read and execute permissions to groups and others, you can input the following command:
sudo chmod -R 755 /var/www/your_domain
Next, create a sample index.html page using nano editor:
sudo nano /var/www/your_domain/index.html
Inside, add the following sample HTML:
<html>
    <head>
        <title>Welcome to devopshint!</title>
    </head>
    <body>
        <h1>Success!  Welcome to devopshint. And its working</h1>
    </body>
</html>
Save and close the file when you are finished. If you’re using nano, you can do this by pressing CTRL + X, then Y and ENTER.
Make a new one at /etc/apache2/sites-available/your_domain.conf:
sudo nano /etc/apache2/sites-available/your_domain.conf
Add in the following configuration block, which is similar to the default, but updated for your new directory and domain name:
<VirtualHost *:80>
    ServerAdmin webmaster@localhost
    ServerName your_domain
    ServerAlias www.your_domain
    DocumentRoot /var/www/your_domain
    ErrorLog ${APACHE_LOG_DIR}/error.log
    CustomLog ${APACHE_LOG_DIR}/access.log combined
</VirtualHost>
Save and close the file when you are finished.
Now enable the file with the a2ensite tool:
sudo a2ensite your_domain.conf
Disable the default site defined in 000-default.conf:
sudo a2dissite 000-default.conf
Next, test for configuration errors:
sudo apache2ctl configtest
You should receive the following output
. . .
Syntax OK
Restart Apache to implement your changes:
sudo systemctl restart apache2
You can test this by navigating to http://your_domain, where you will see the changes

We have covered How to install Apache2 on Ubuntu 22.04 LTS.
Conclusion
In this article, We have covered How to install Apache2 on Ubuntu 22.04 LTS and Setting Up Virtual Hosts on Apache2.
Related Articles
How to Setup Apache Virtual Host on Ubuntu 18.04/16.04 LTS
Reference: